Frosted Cookie Cups

I’m not going to lie to you…these can be a little bit tricky to make, but the effect is quite spectacular! Just be careful and they’ll be perfect.
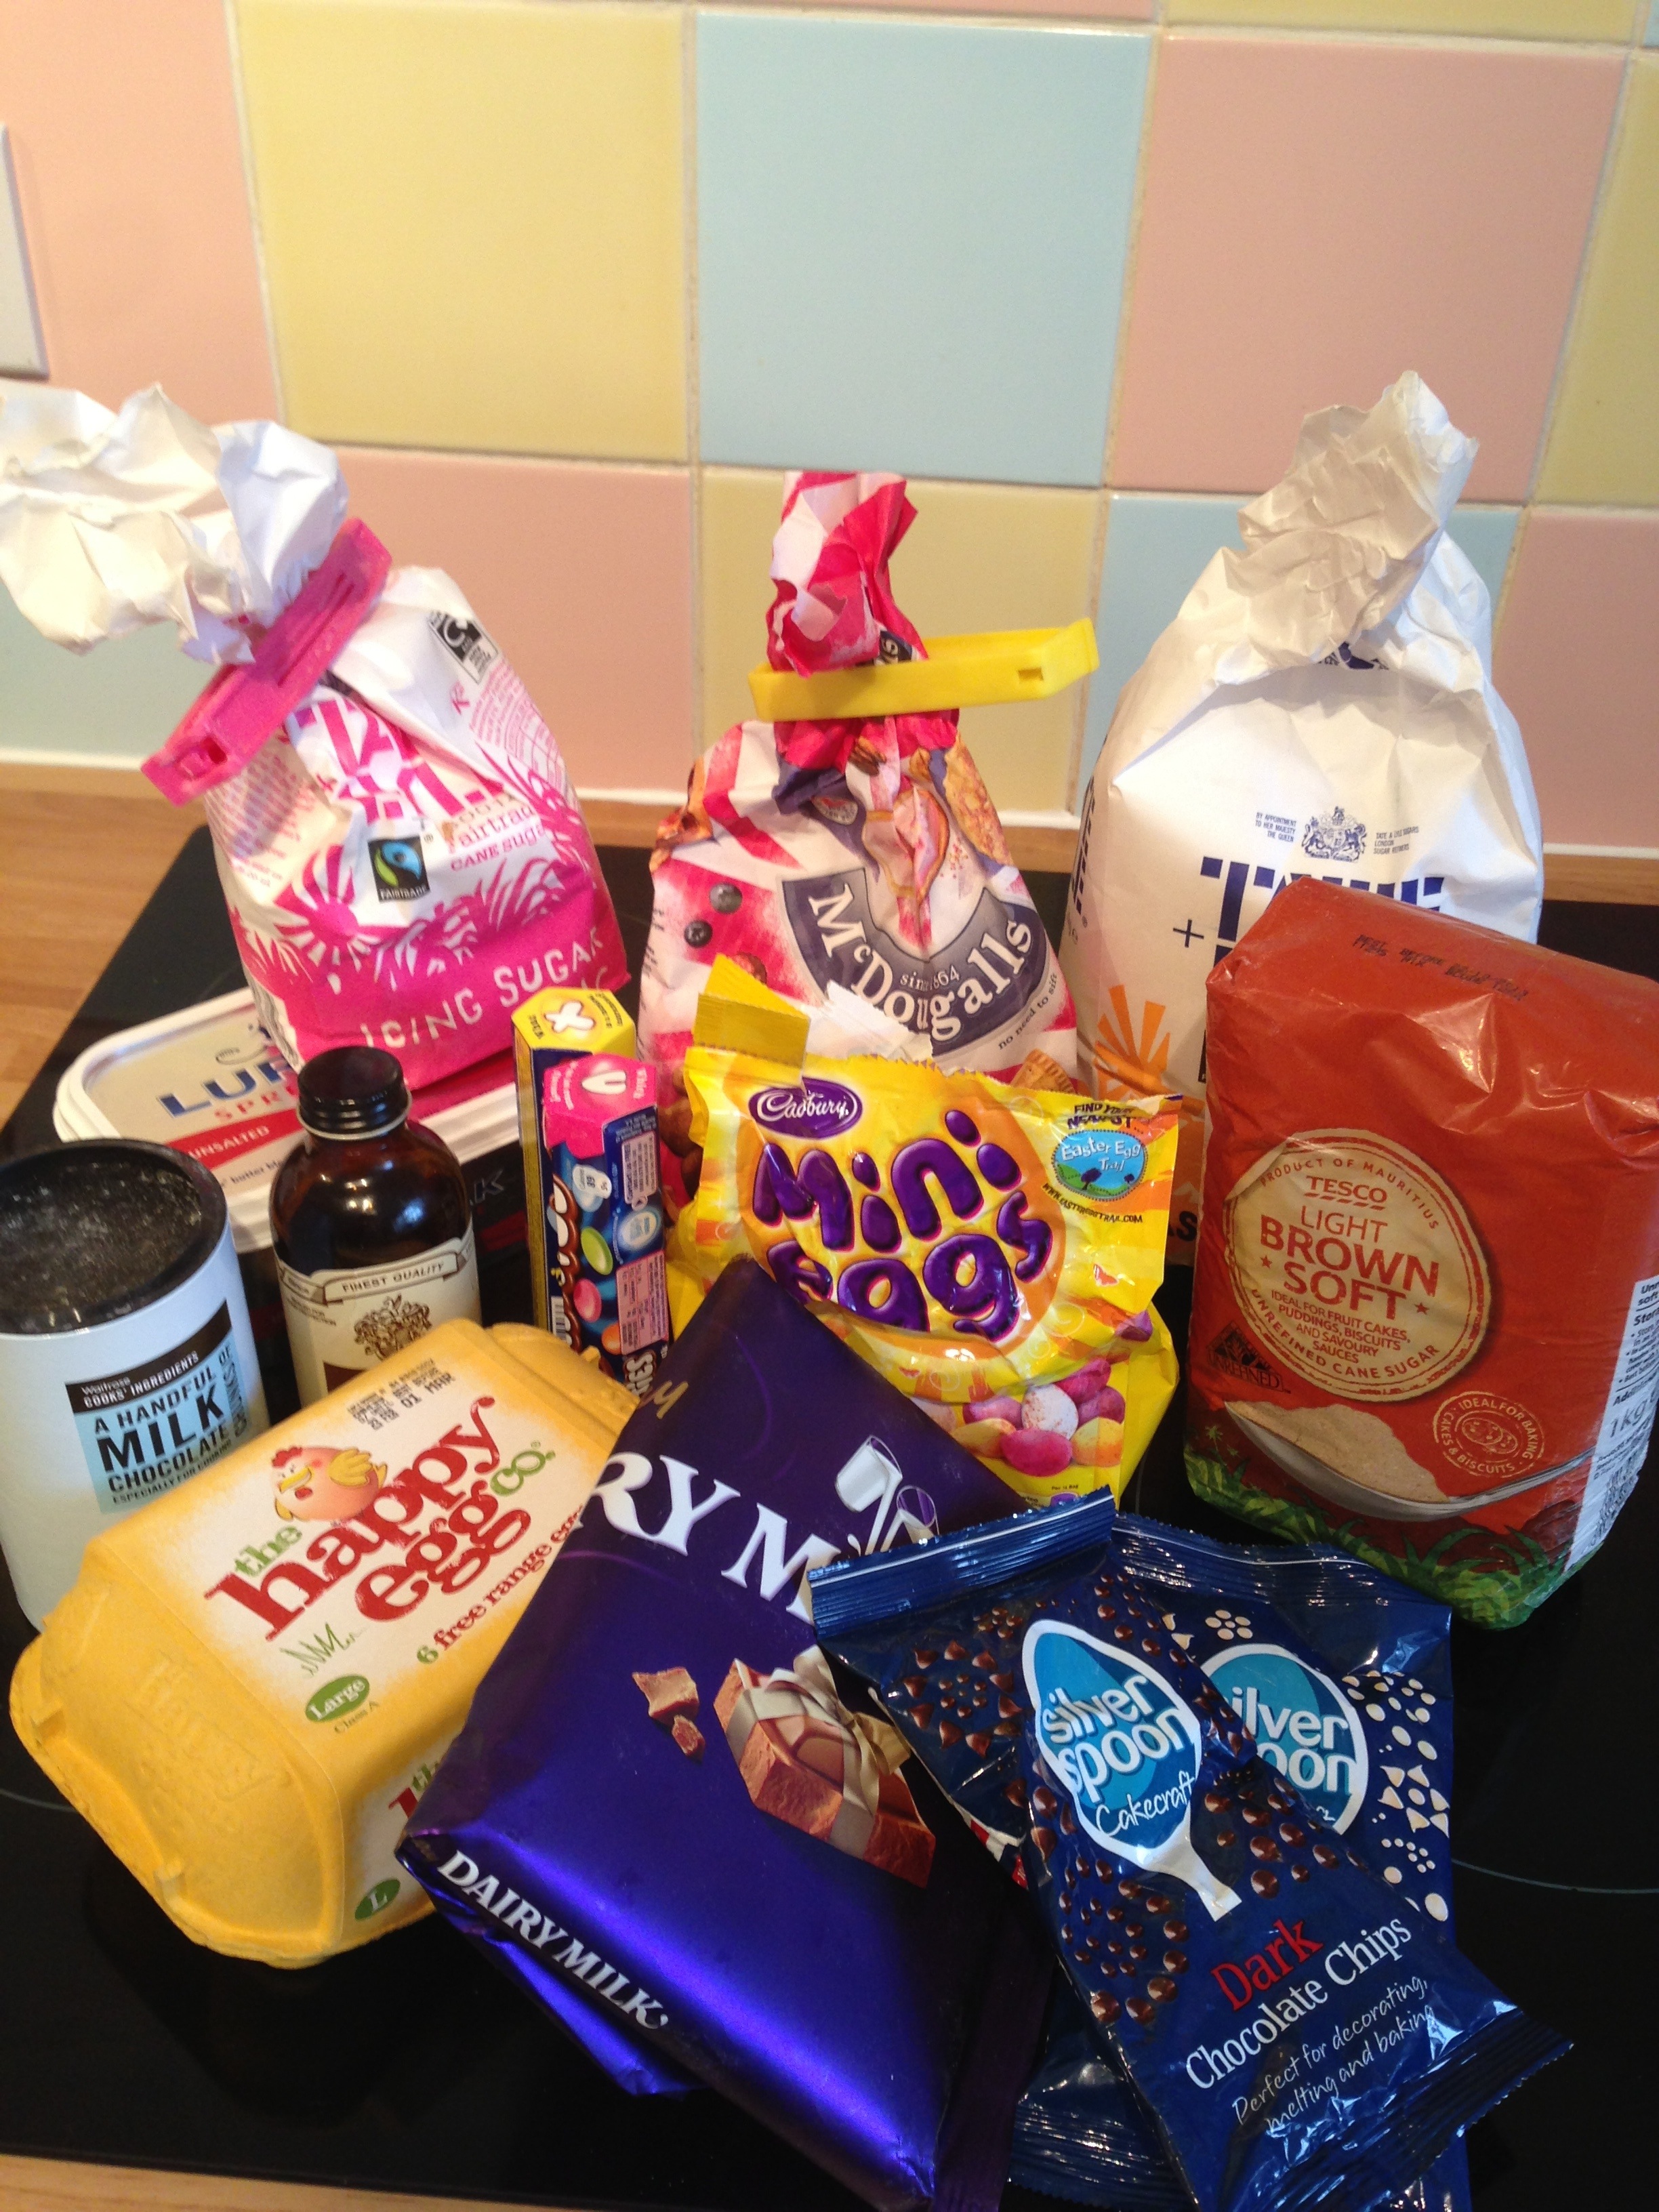
Ingredients:
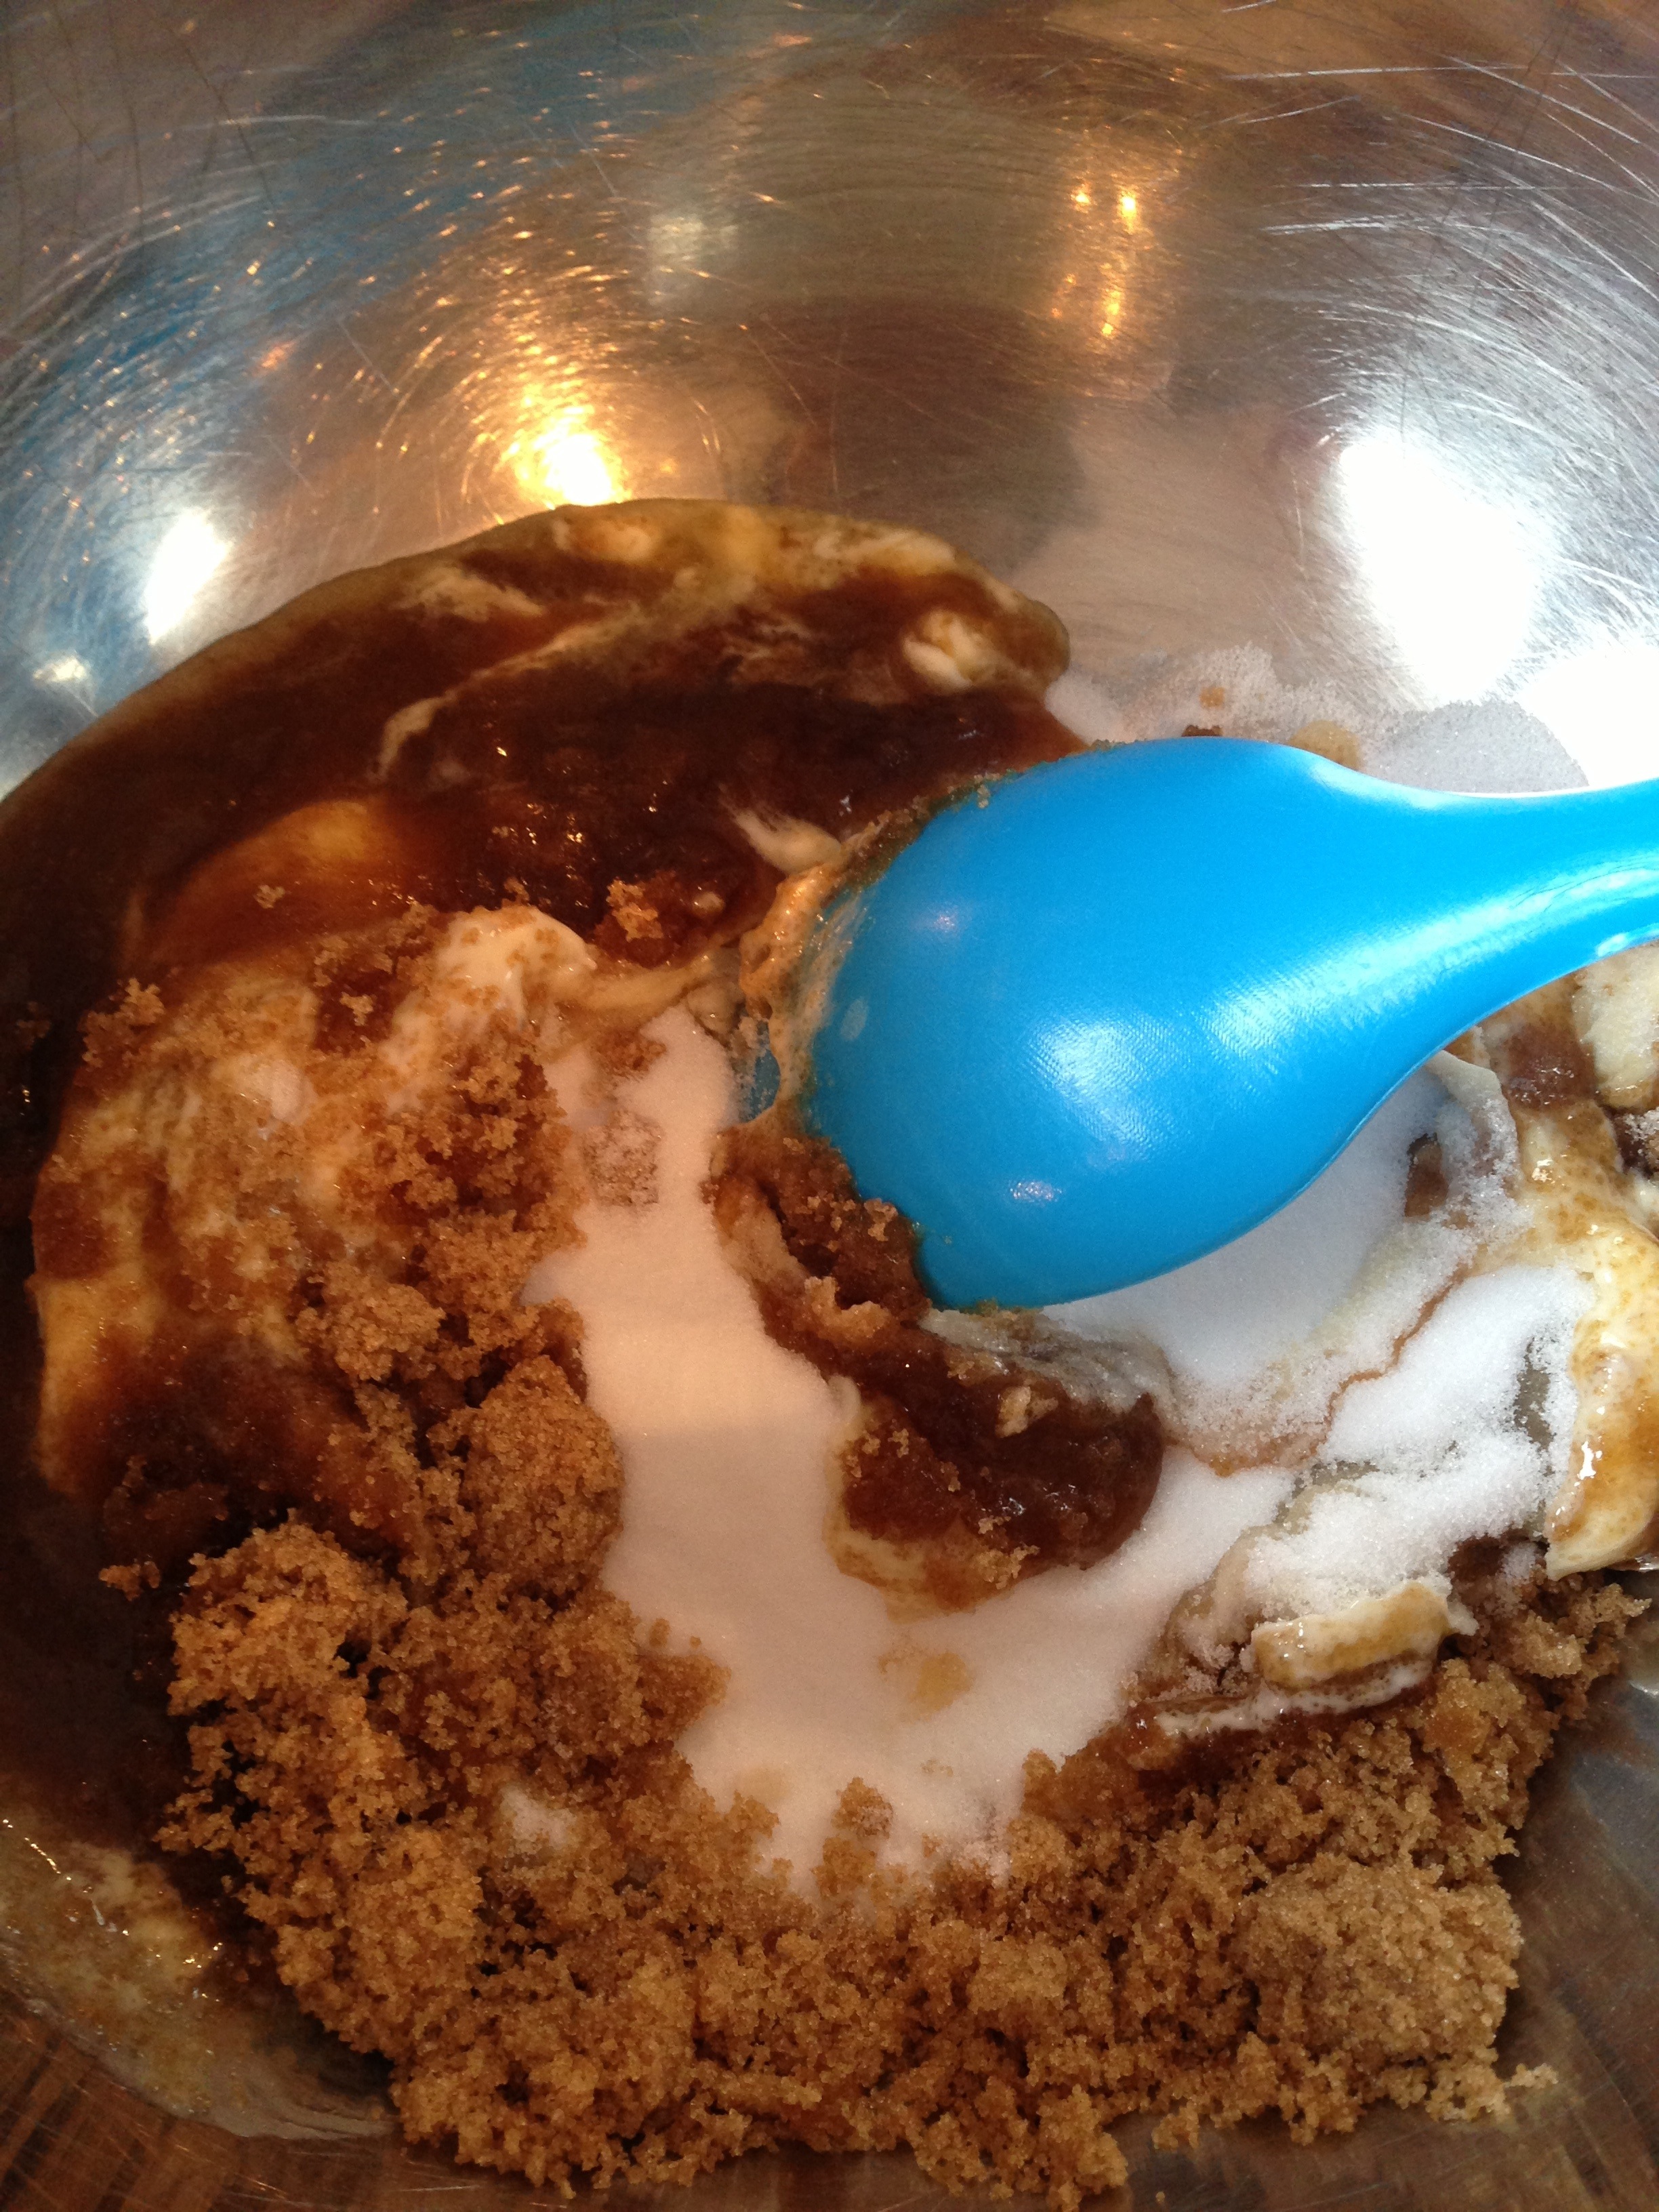
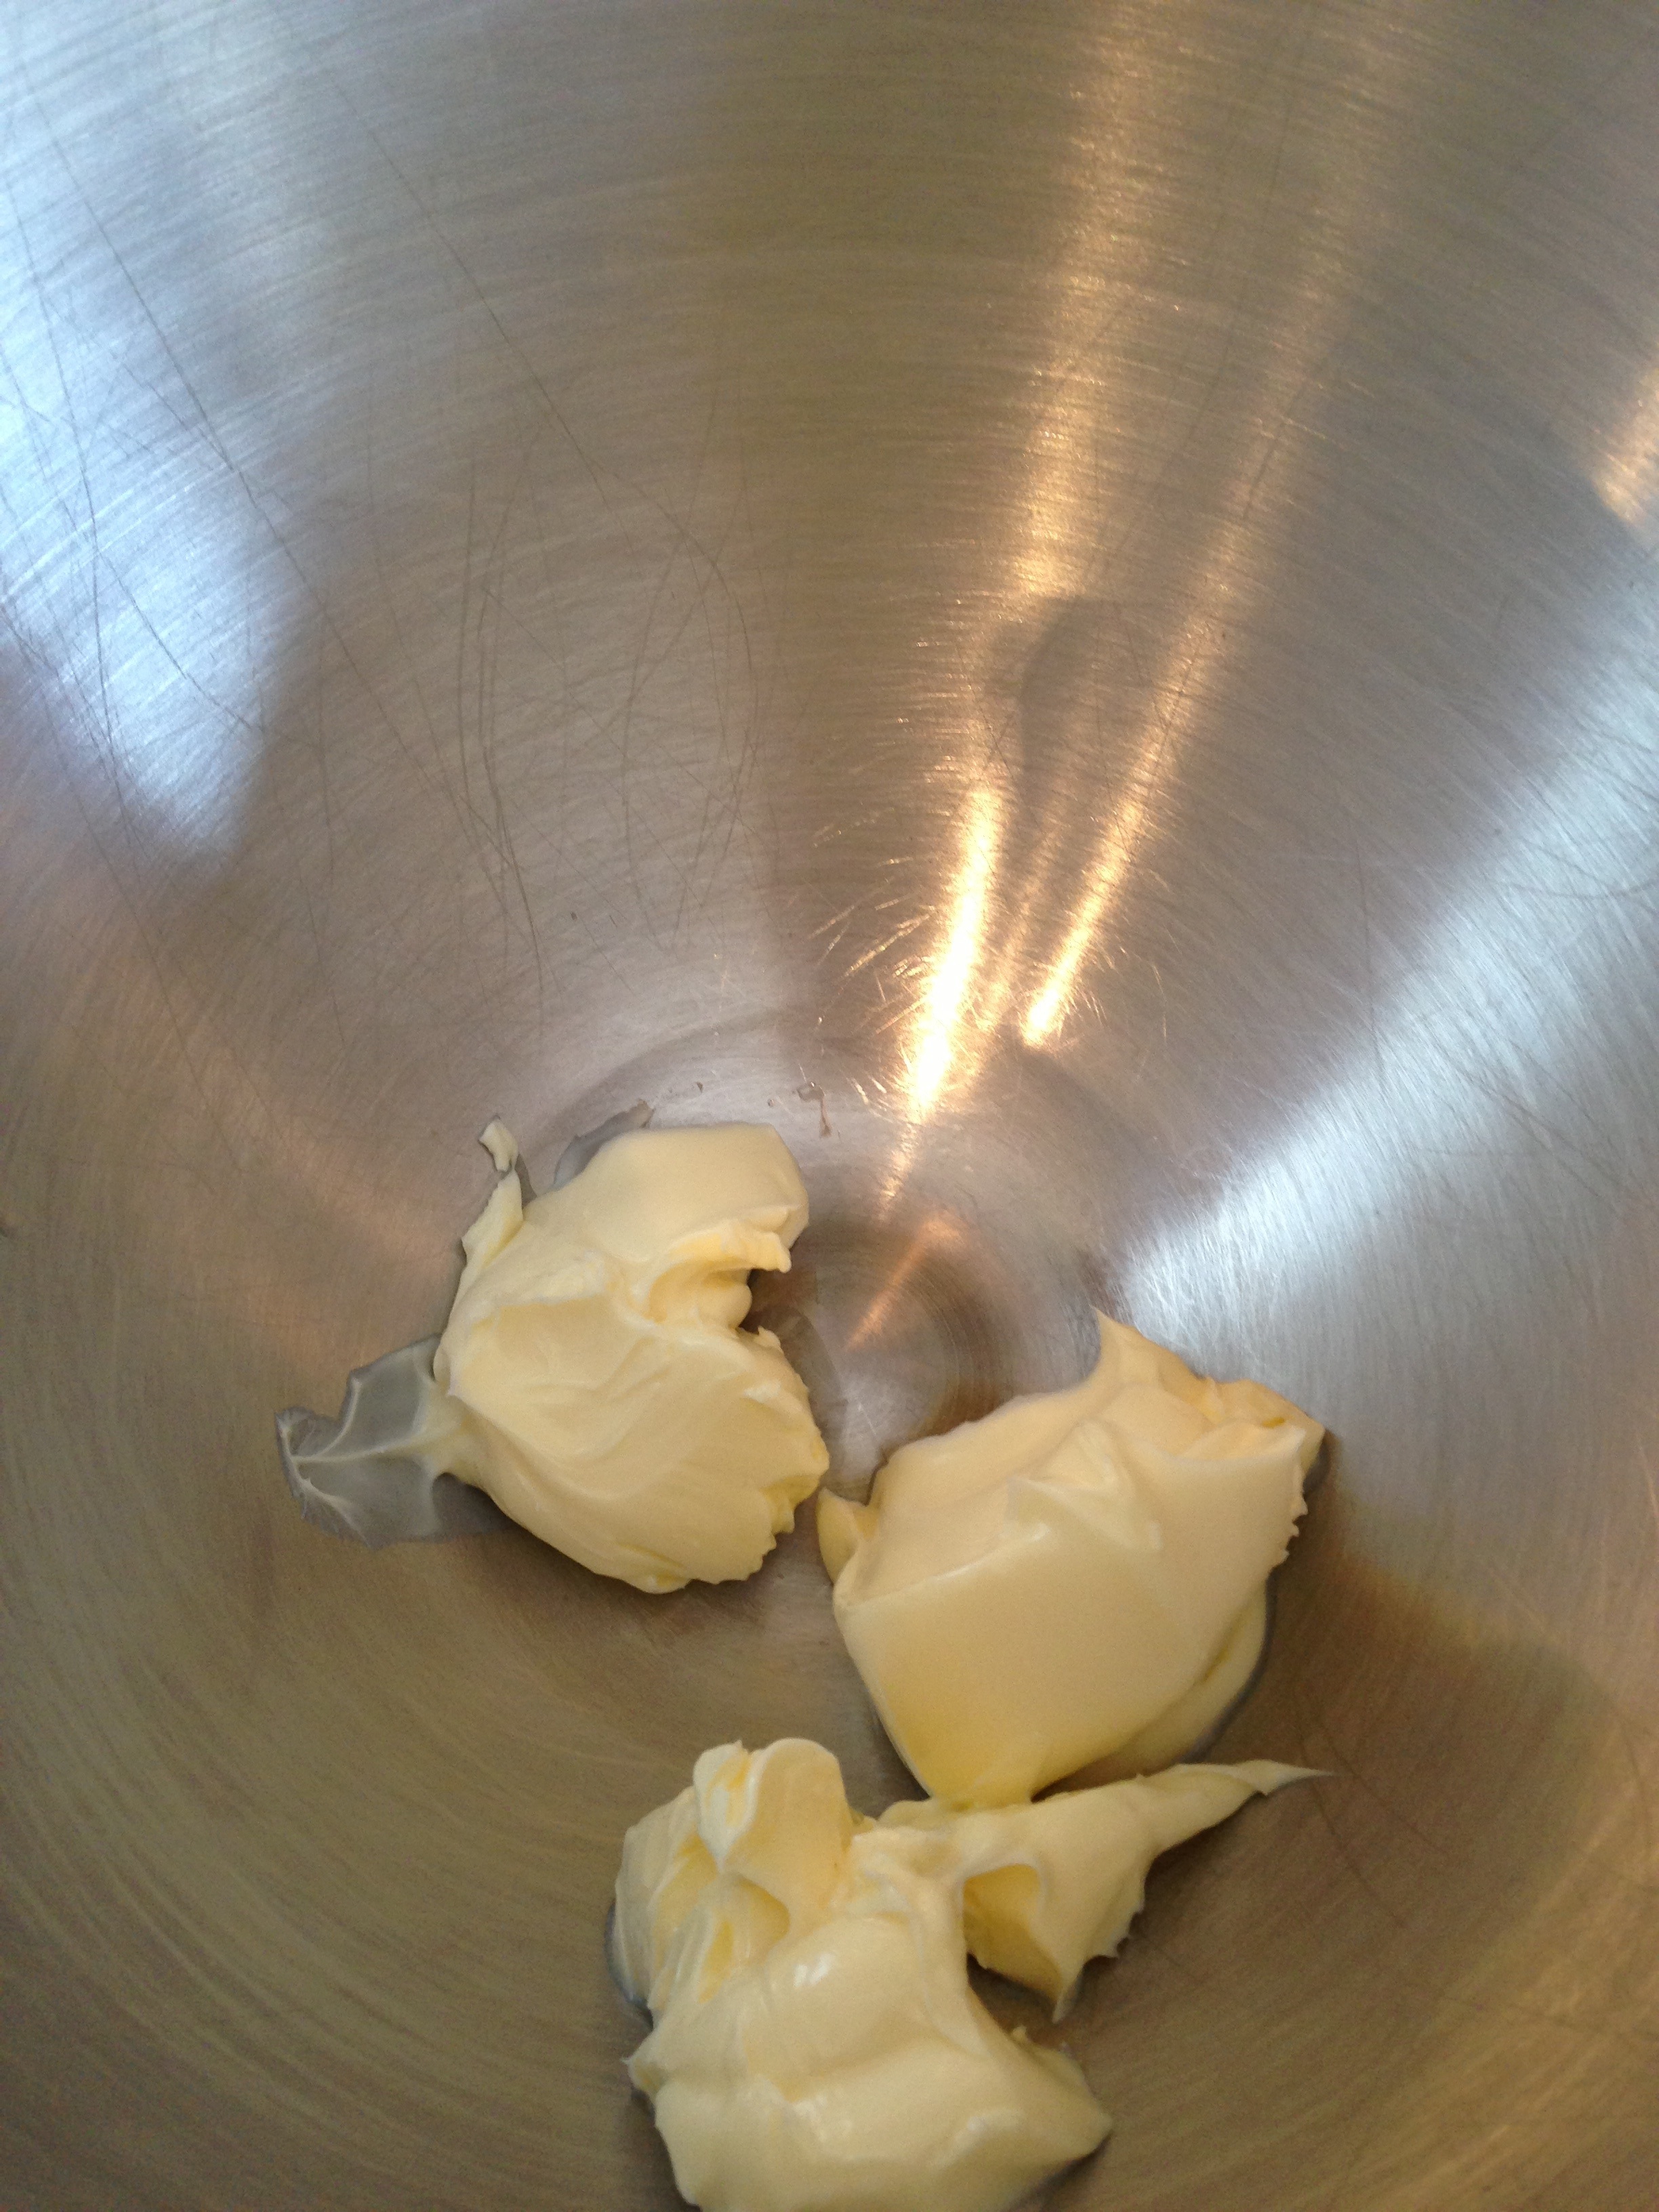
100g butter
125g light brown sugar
150g caster sugar
1 egg plus one yolk (cold from the fridge)
1 1/2 tsp vanilla extract
1 Tbs milk
325 plain flour
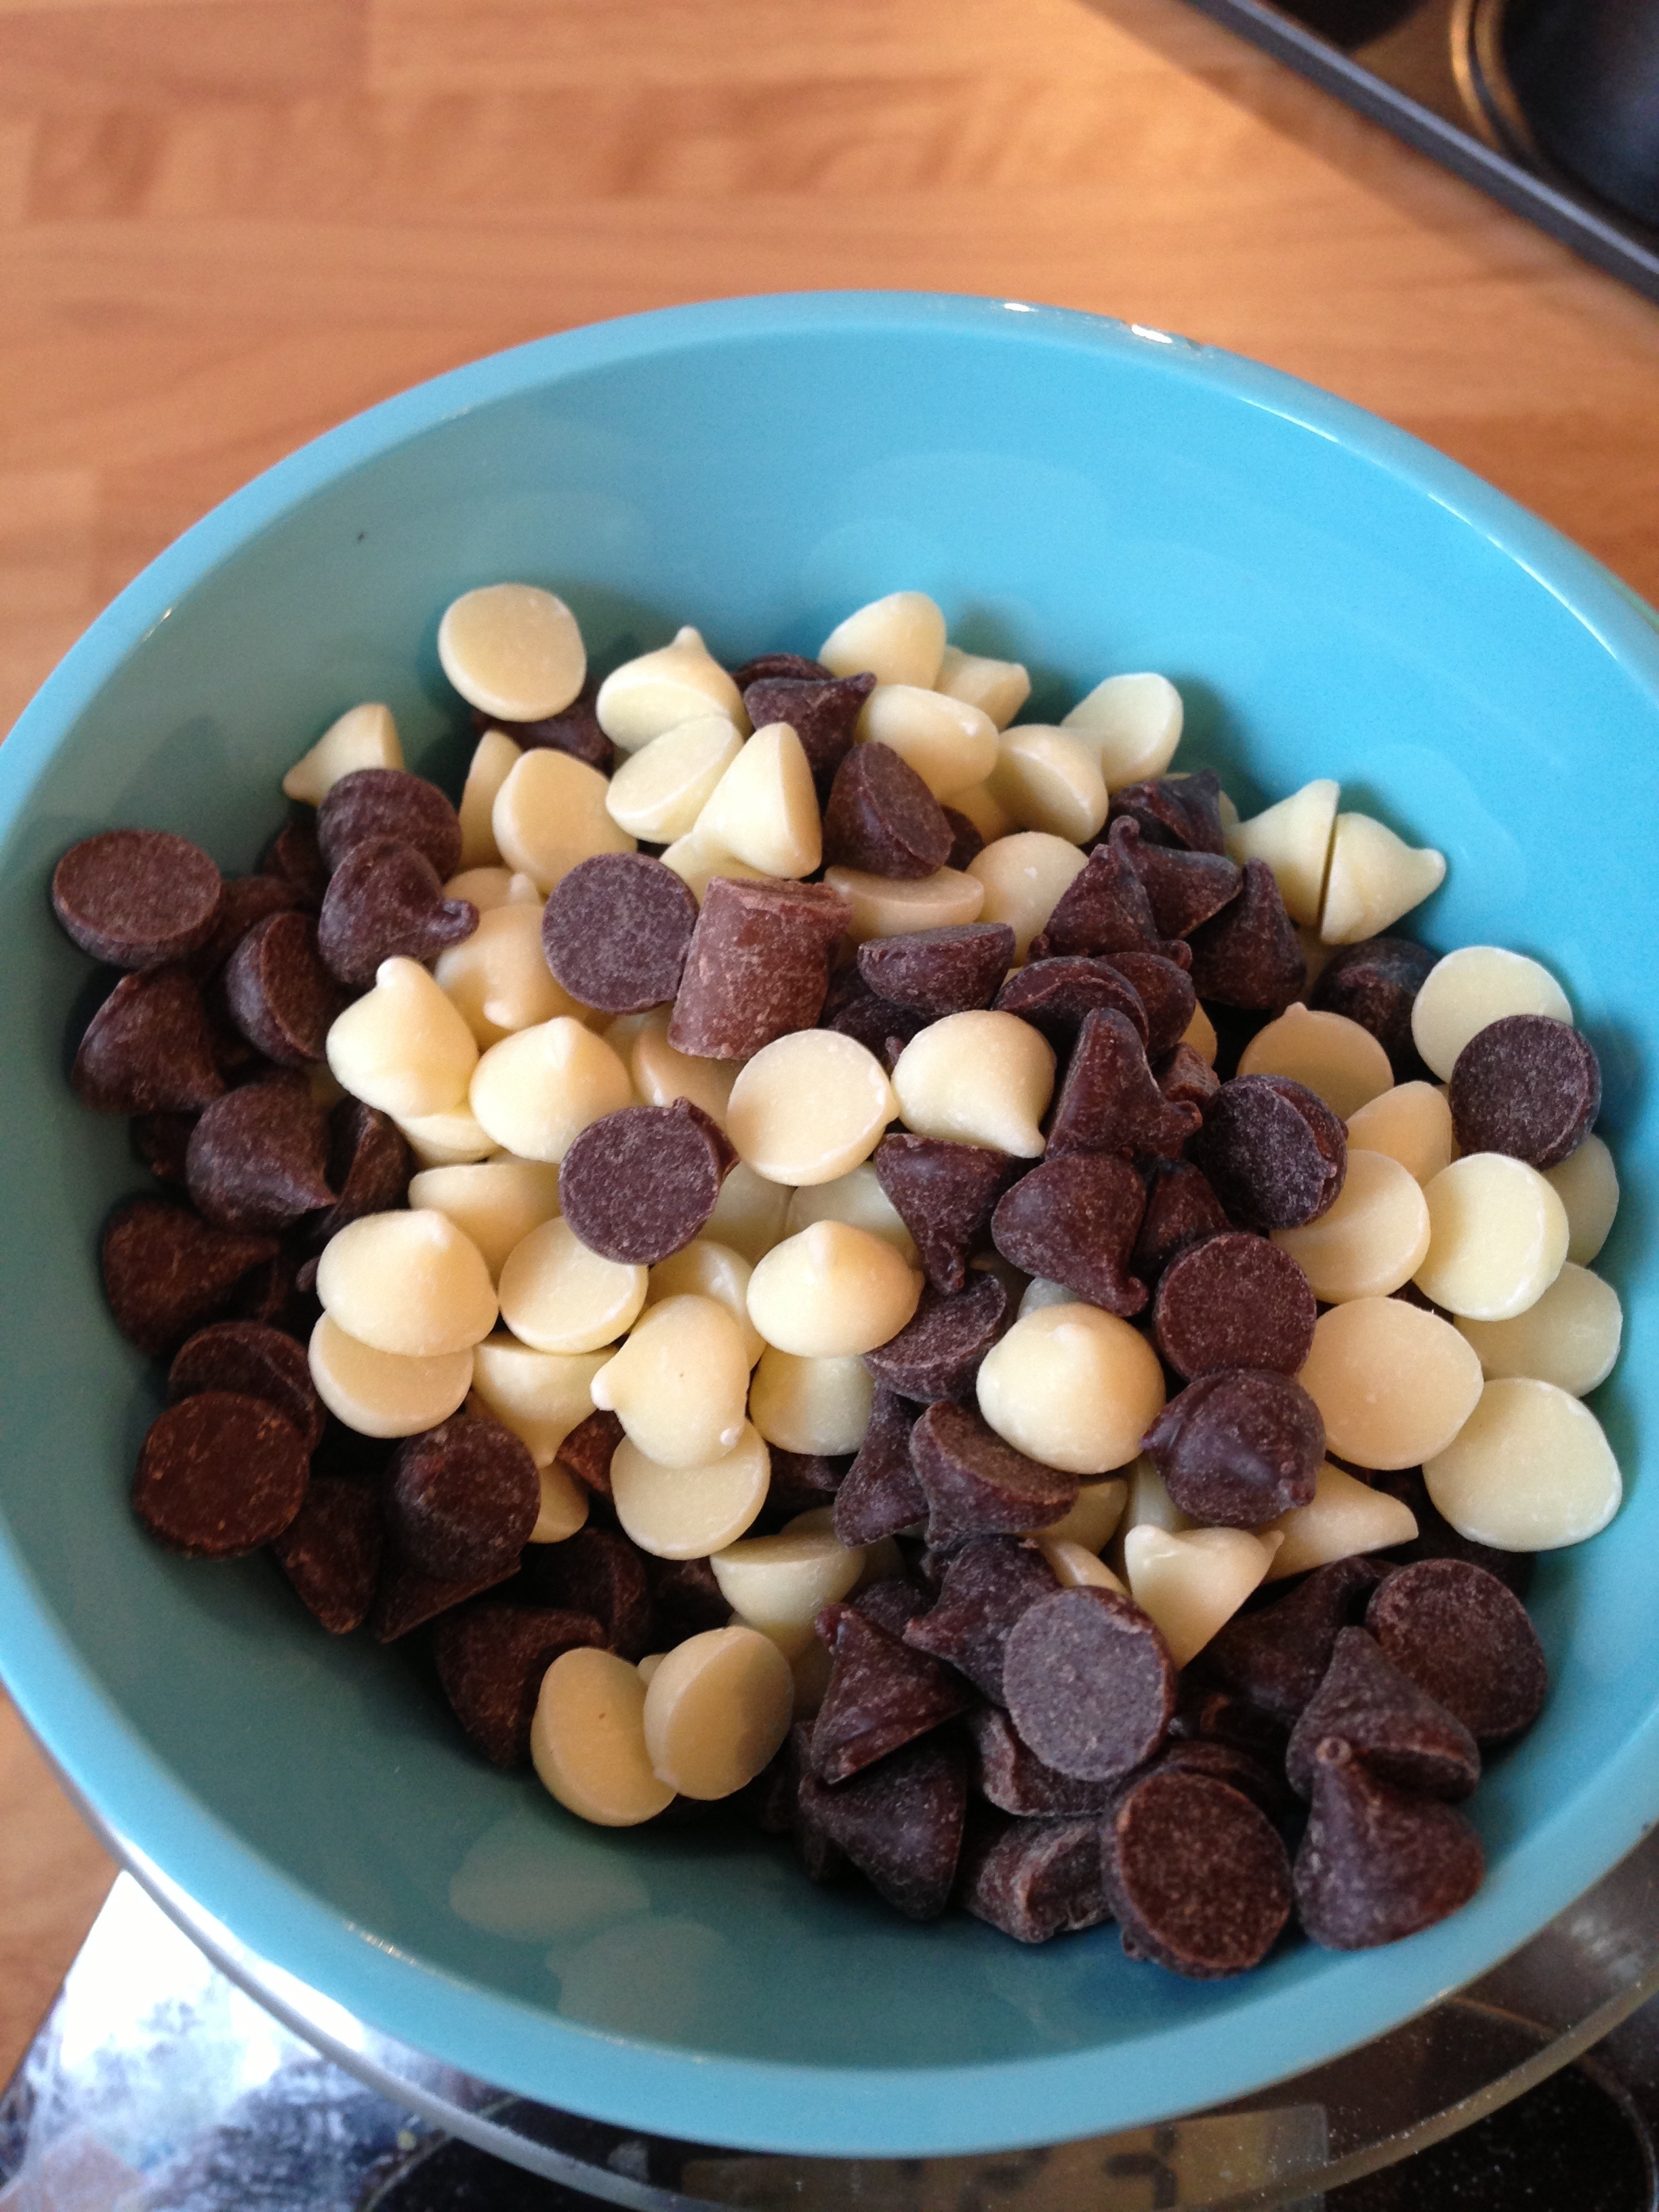
40g milk chocolate chips or chunks
40g white chocolate chips or chunks
40g dark chocolate chips or chunks
Frosting Ingredients:
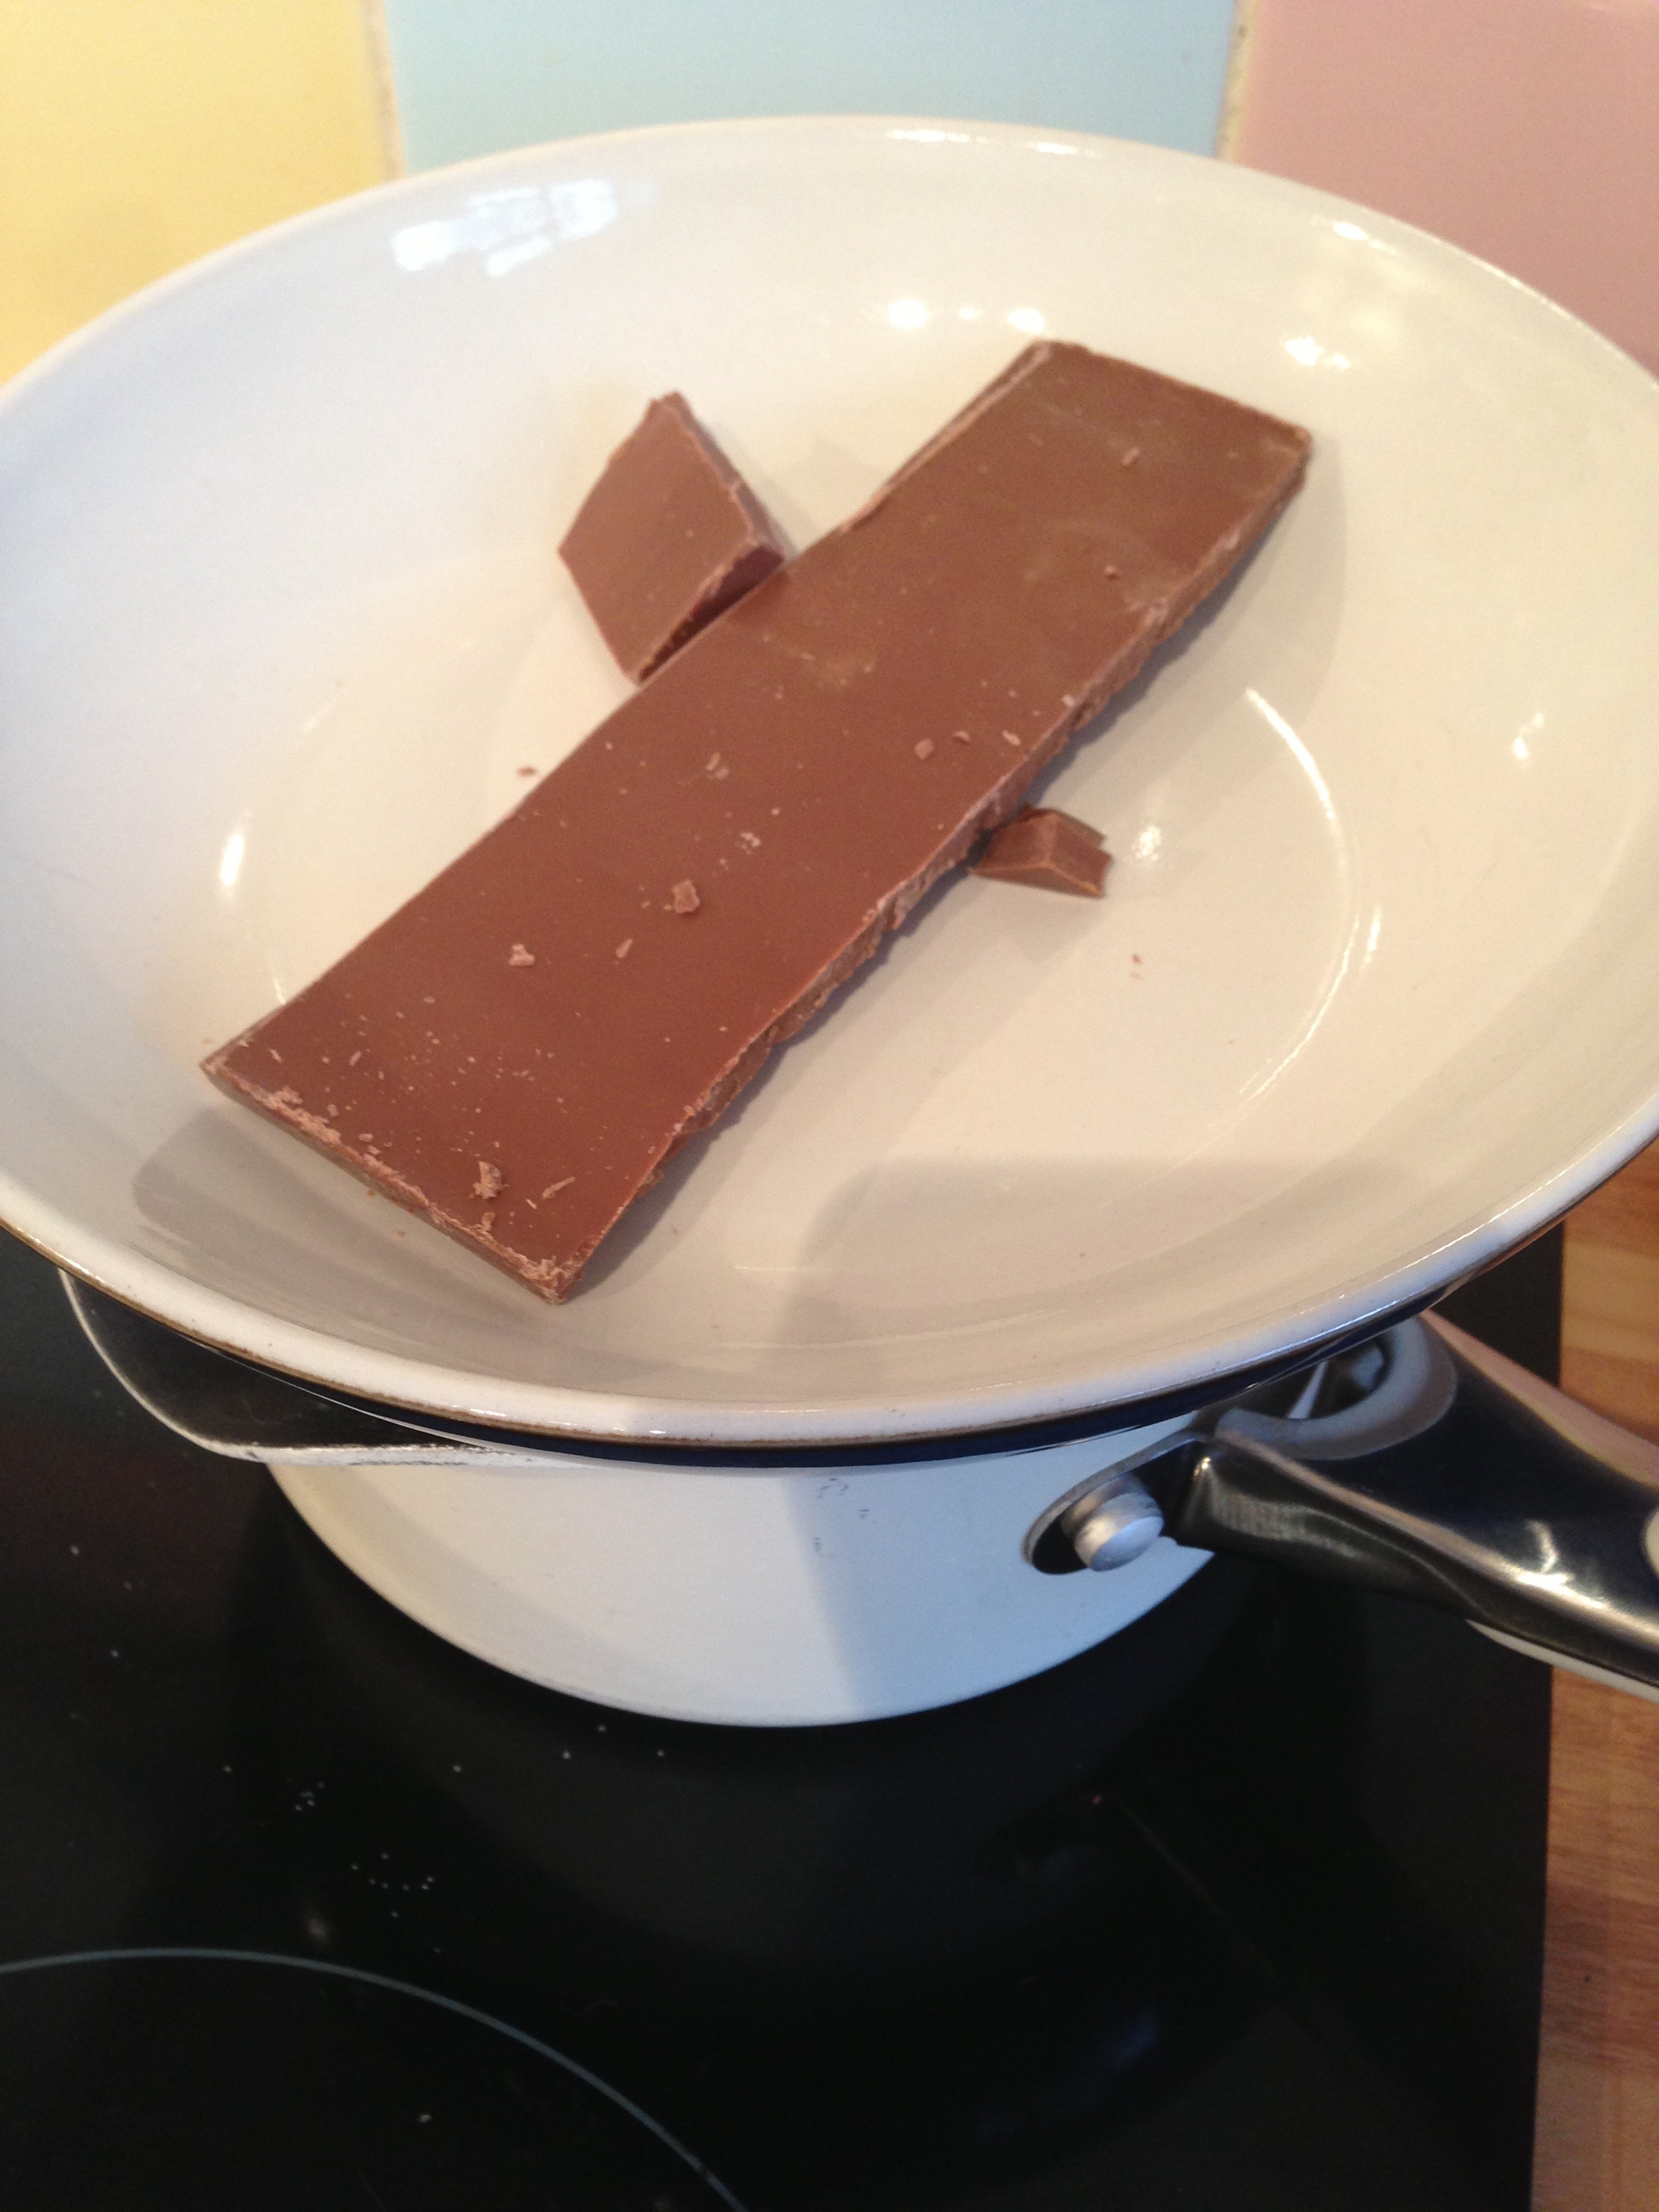
100g milk chocolate
100g butter
350g icing sugar
3 Tbs milk
Mini Eggs and/or Smarties to decorate
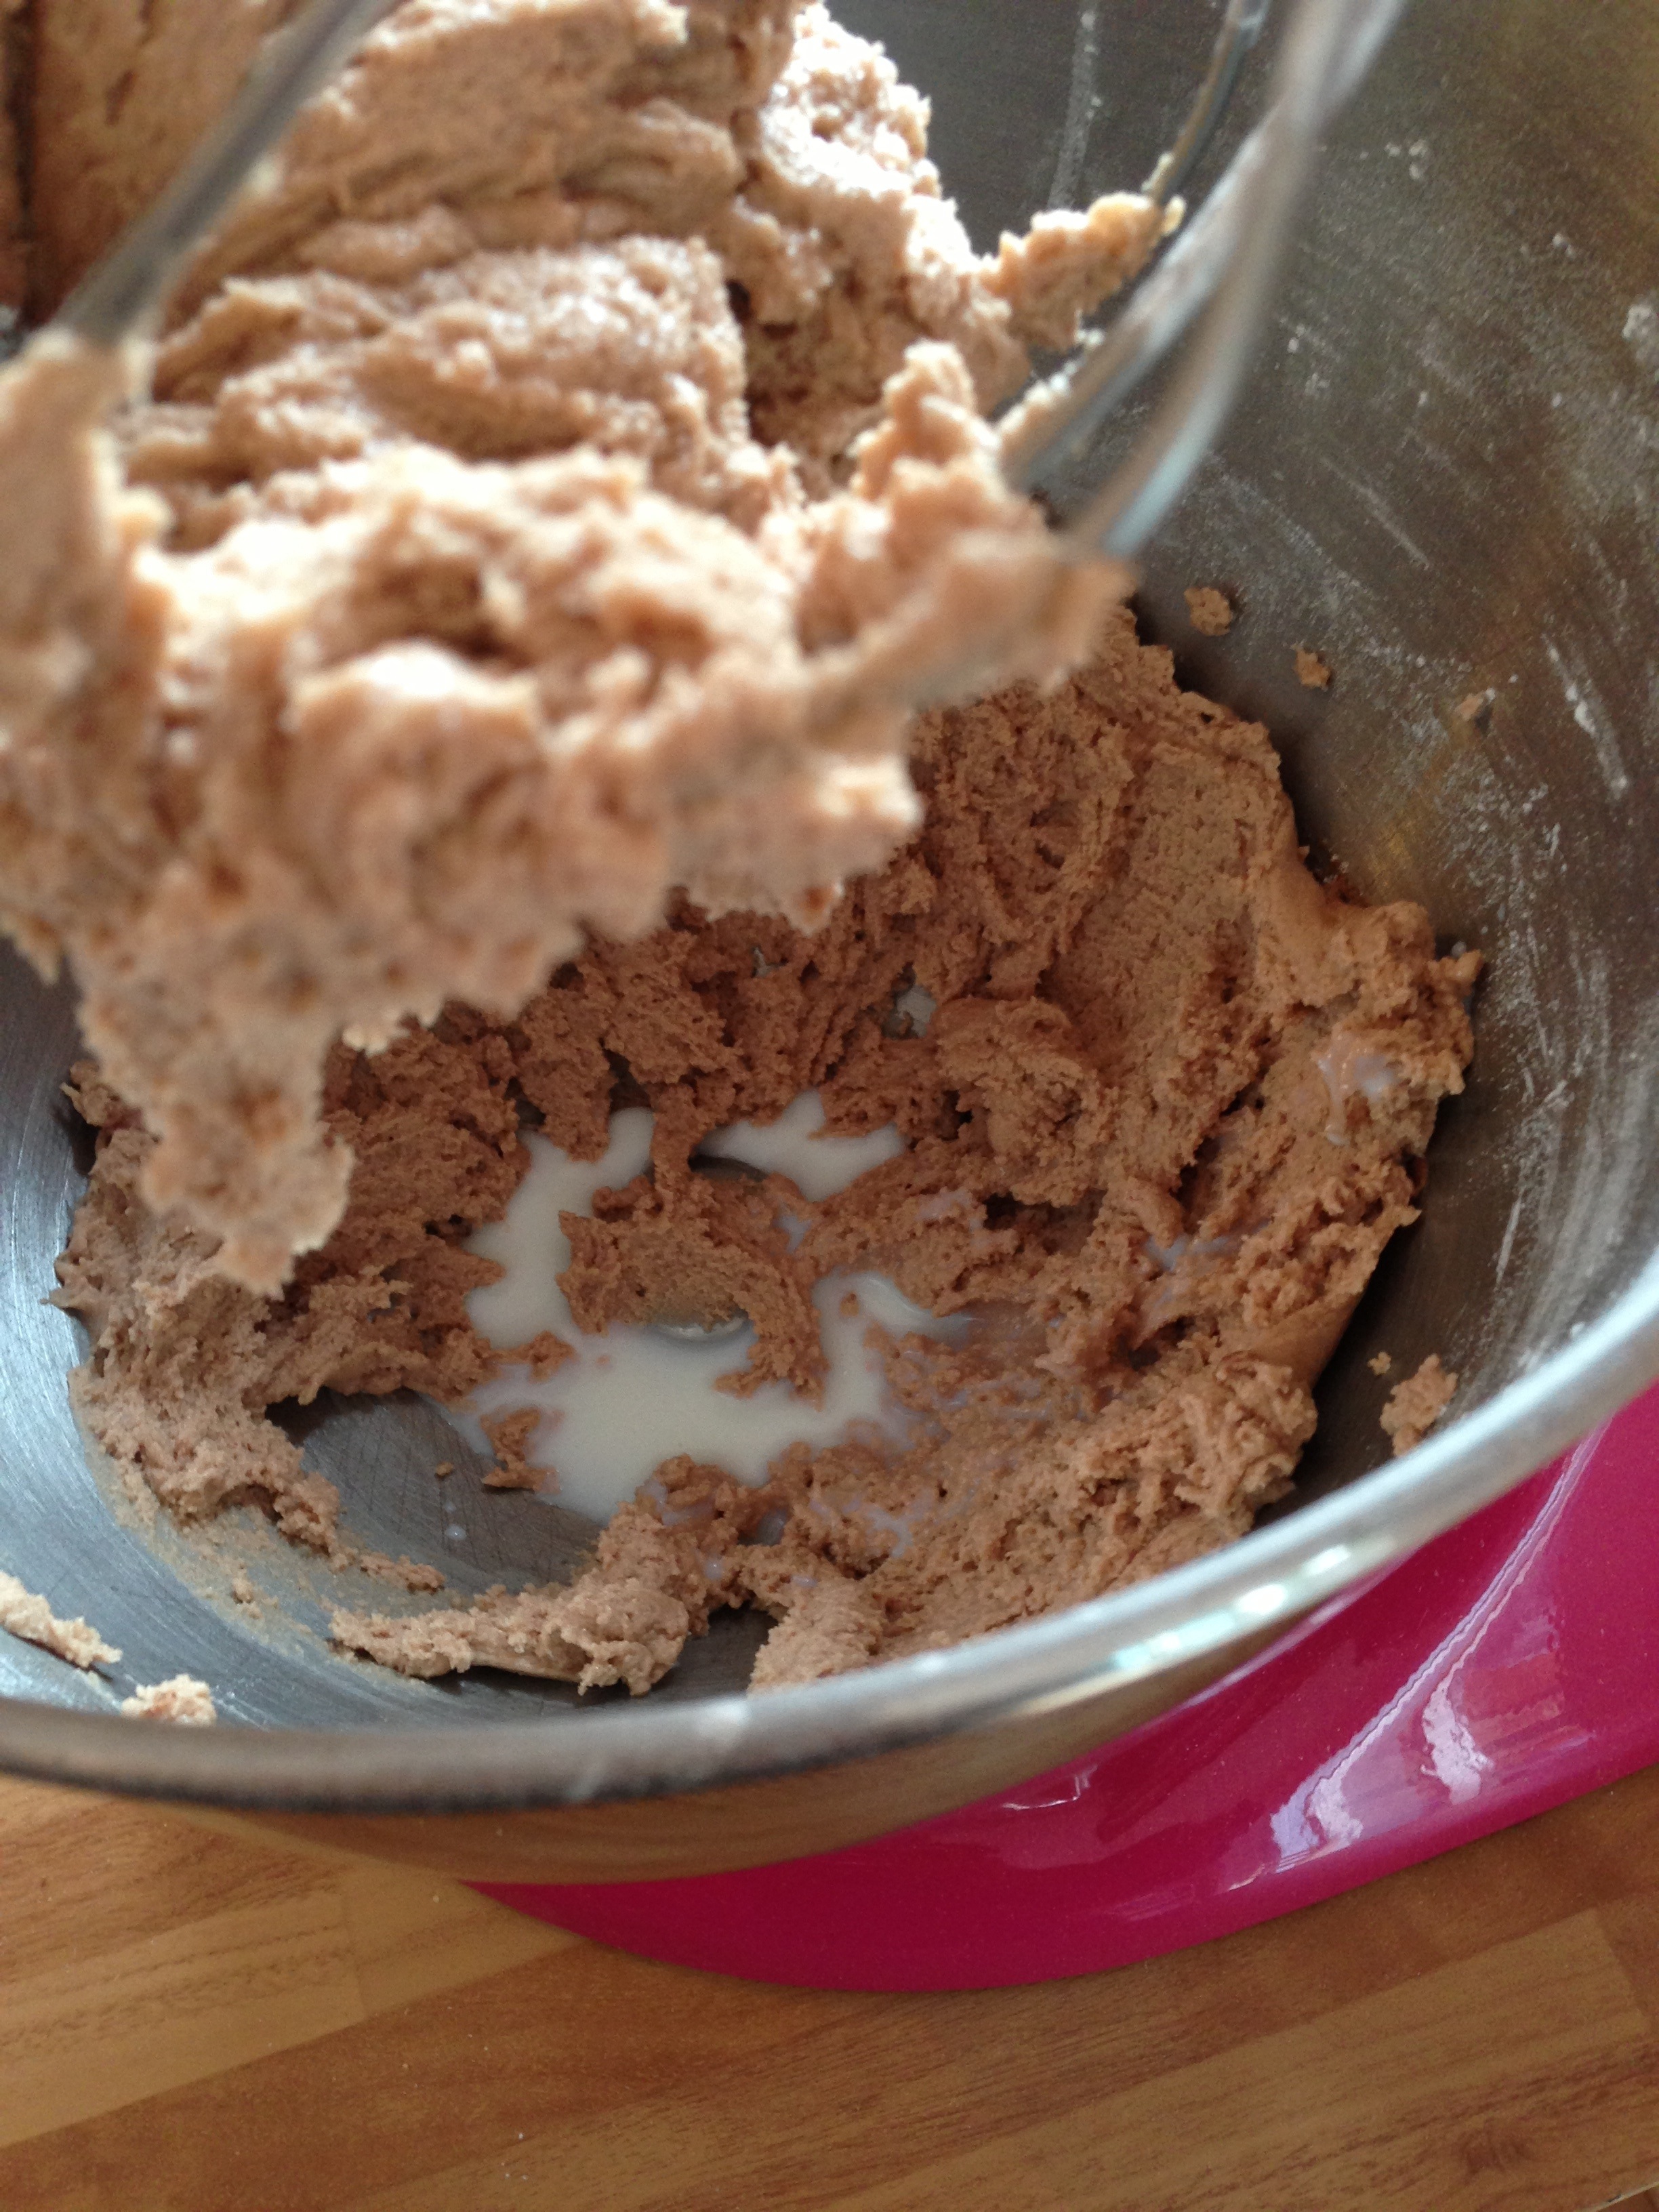
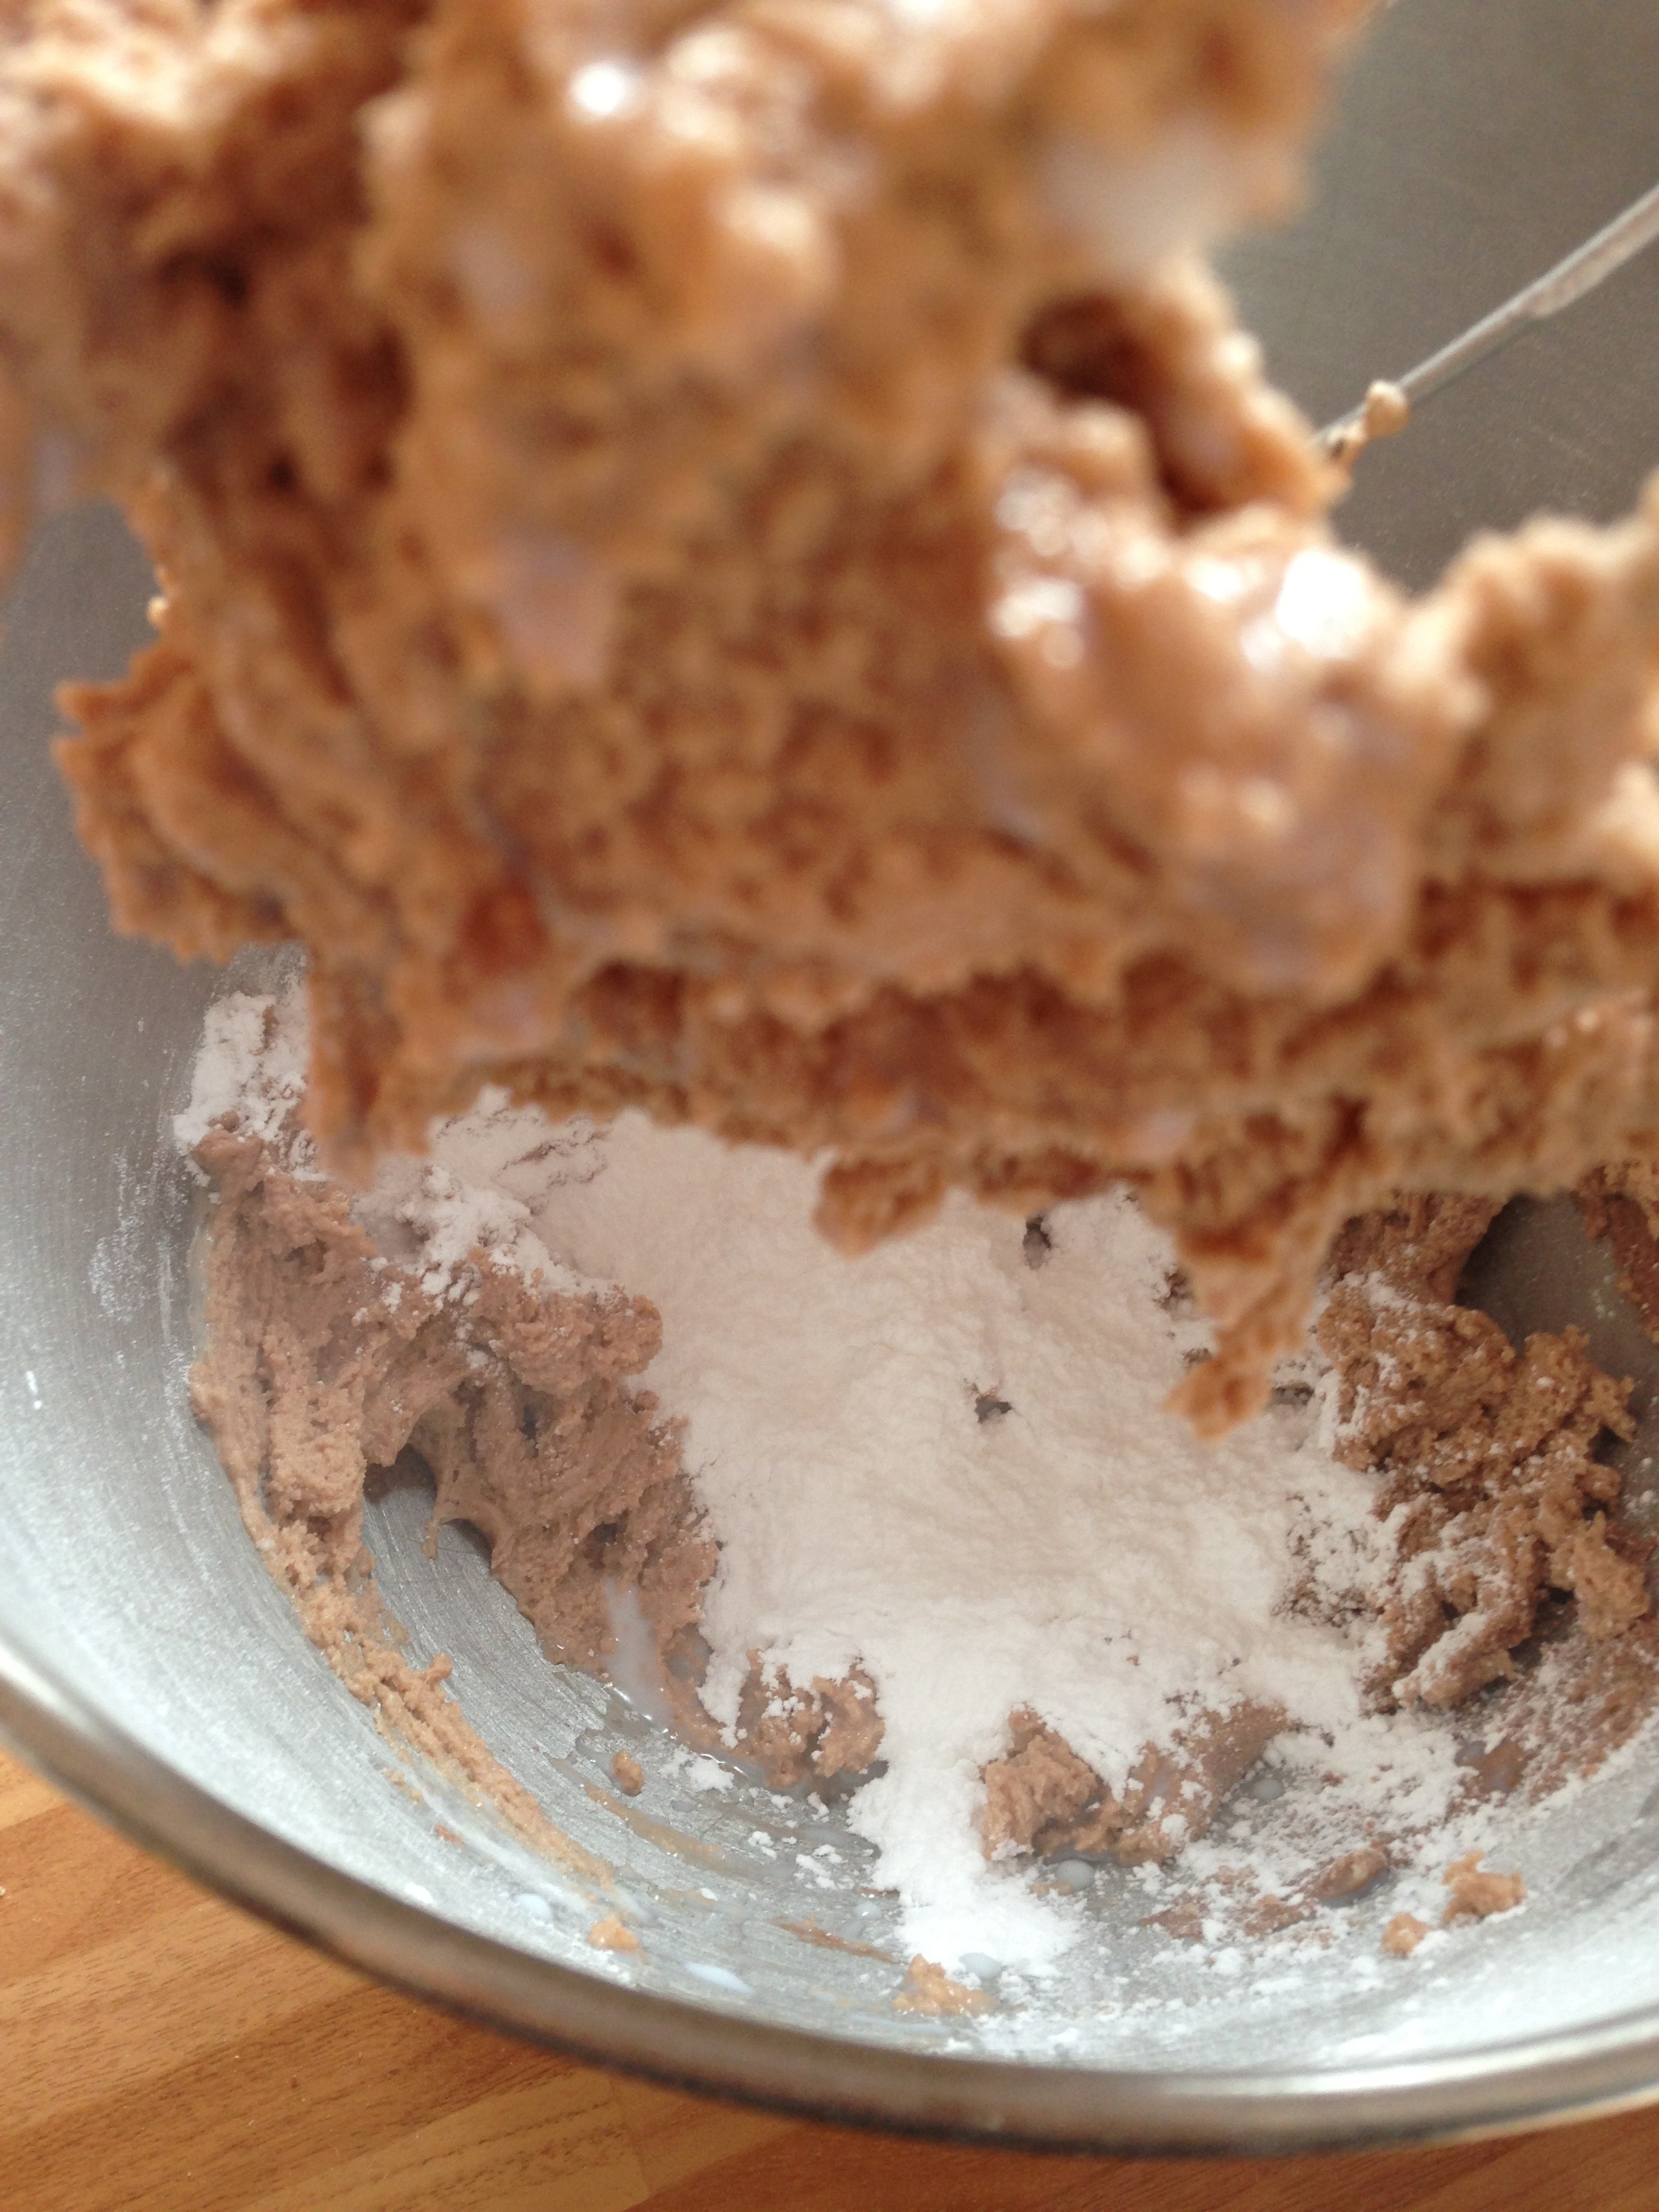
Method:
1) Preheat your oven to 180 degrees.
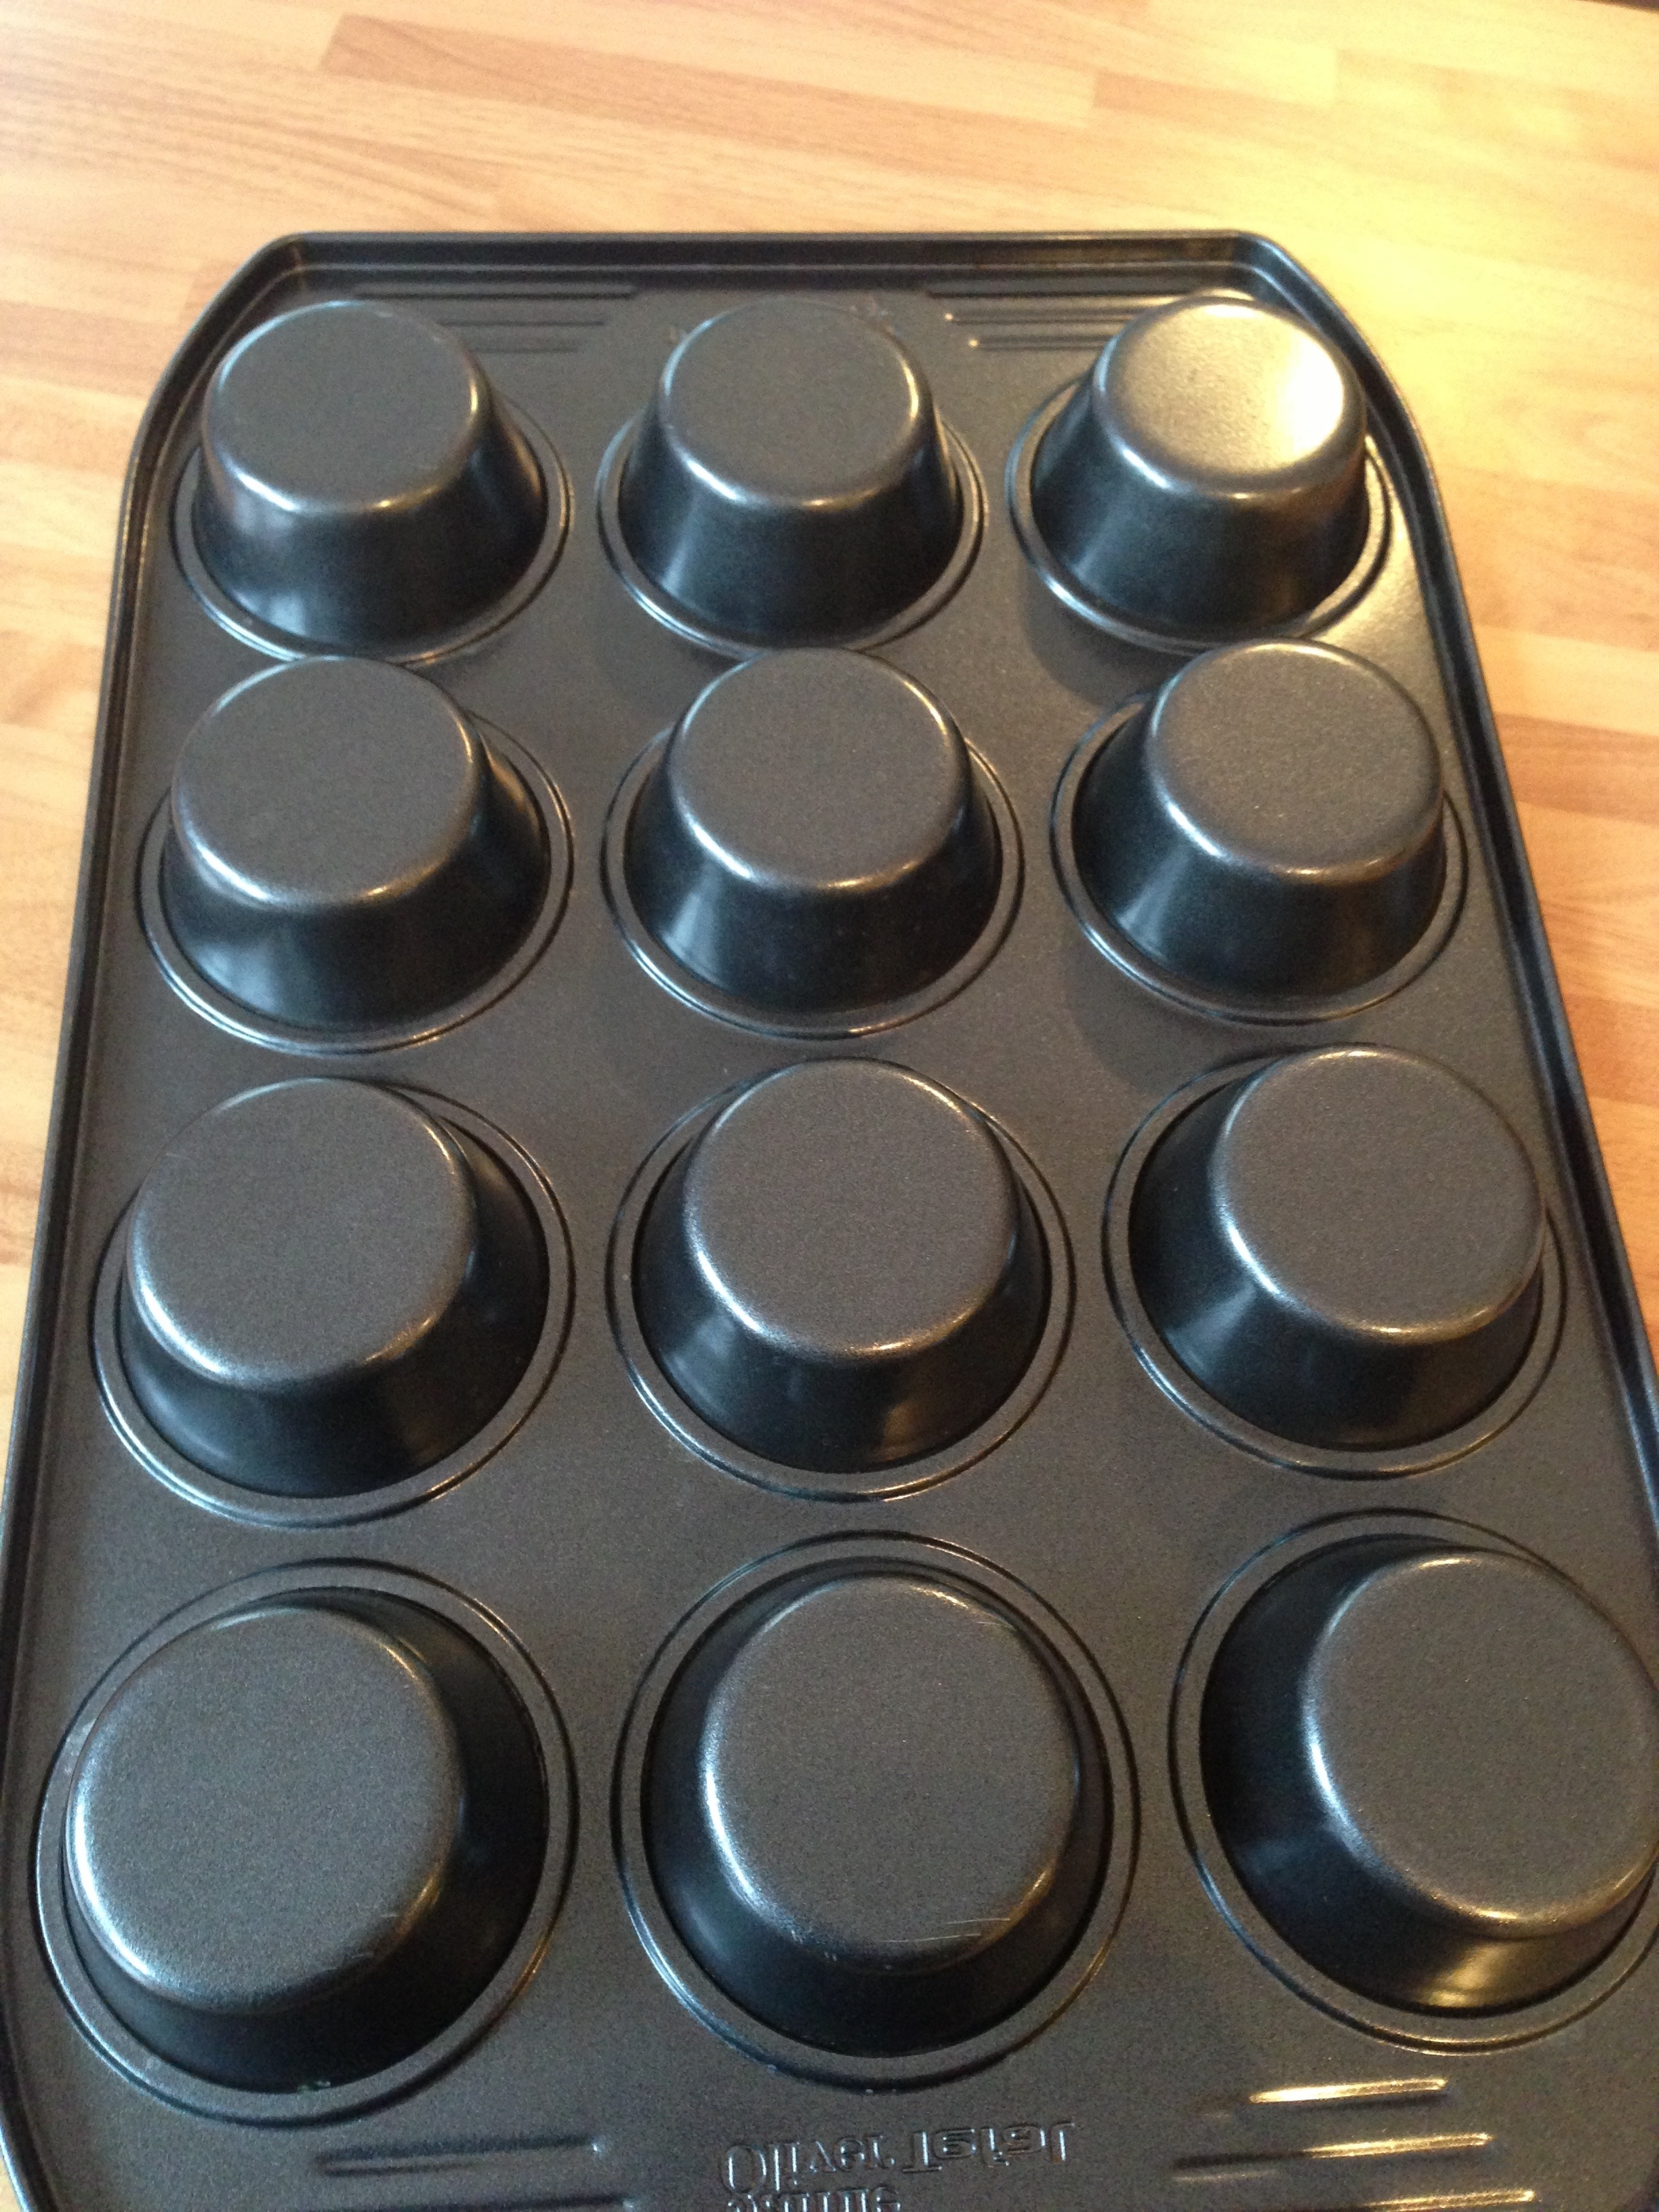
2) Set aside an upside down deep muffin/fairy bun tray.
3) Measure your butter and brown sugar into a microwaveable bowl and blitz in the microwave for 30-40 seconds until the butter has started to melt. (Melting the brown sugar with the butter will mean that you won’t have any lumpy sugar!)
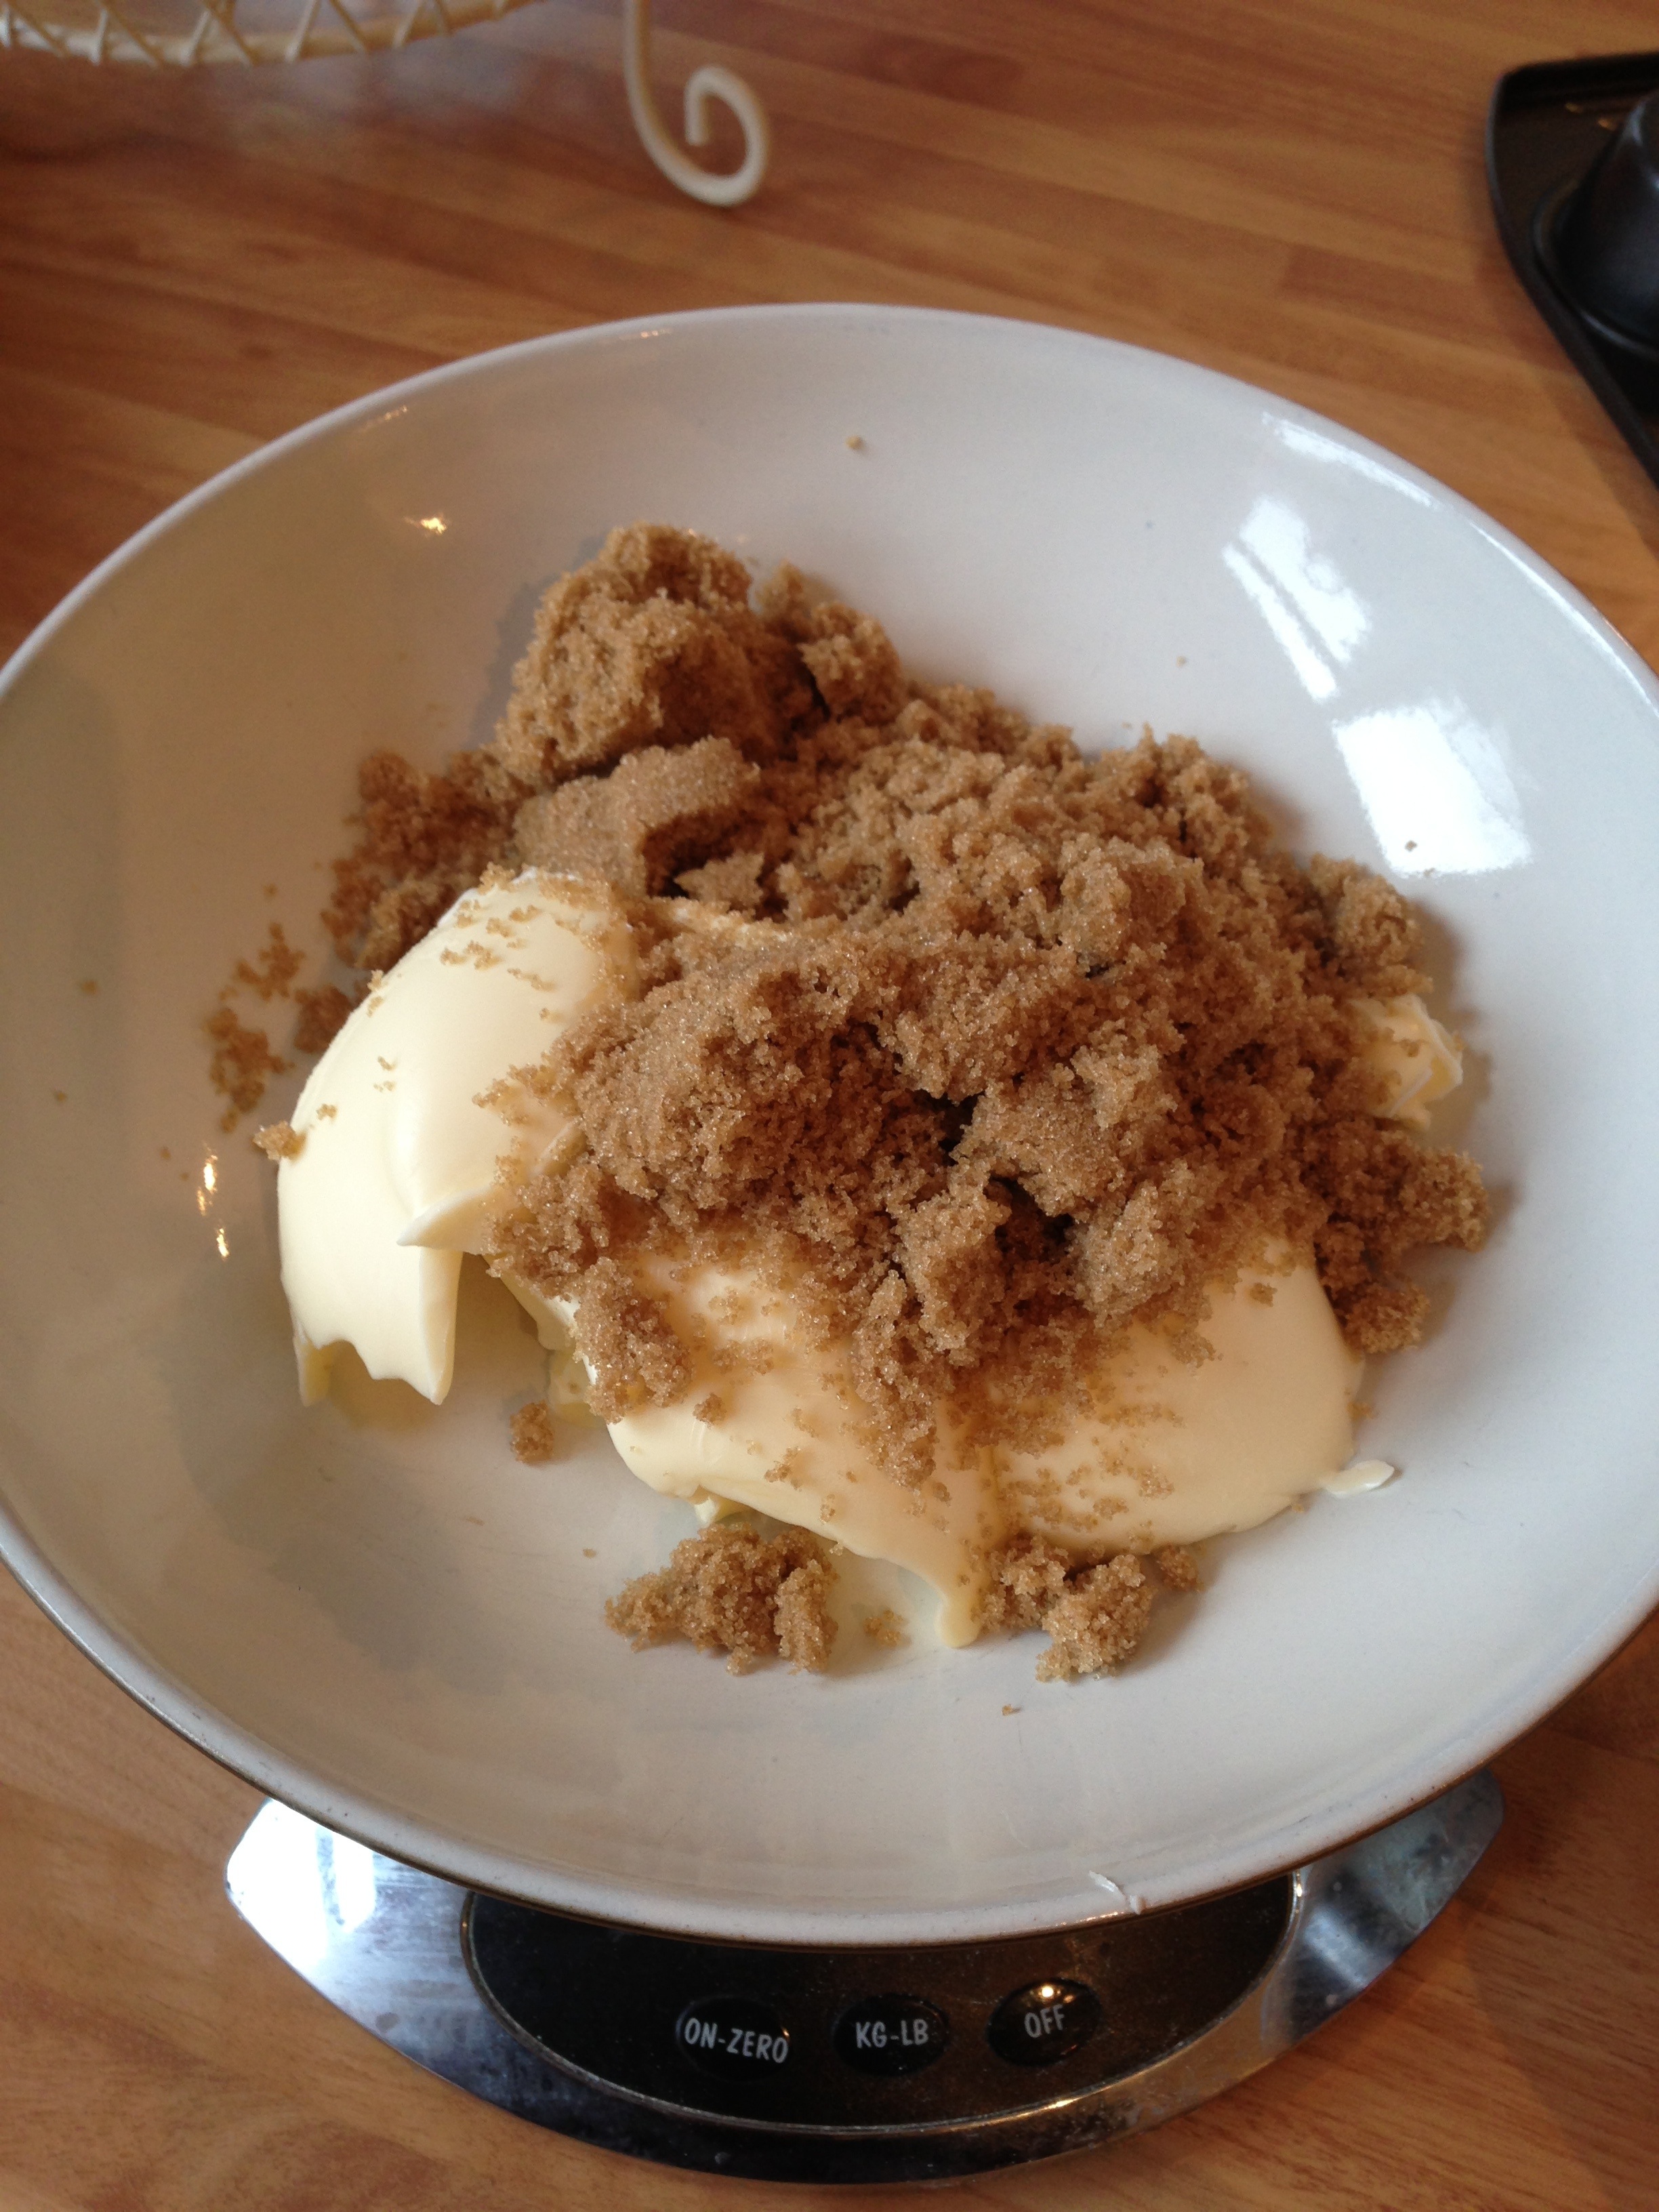
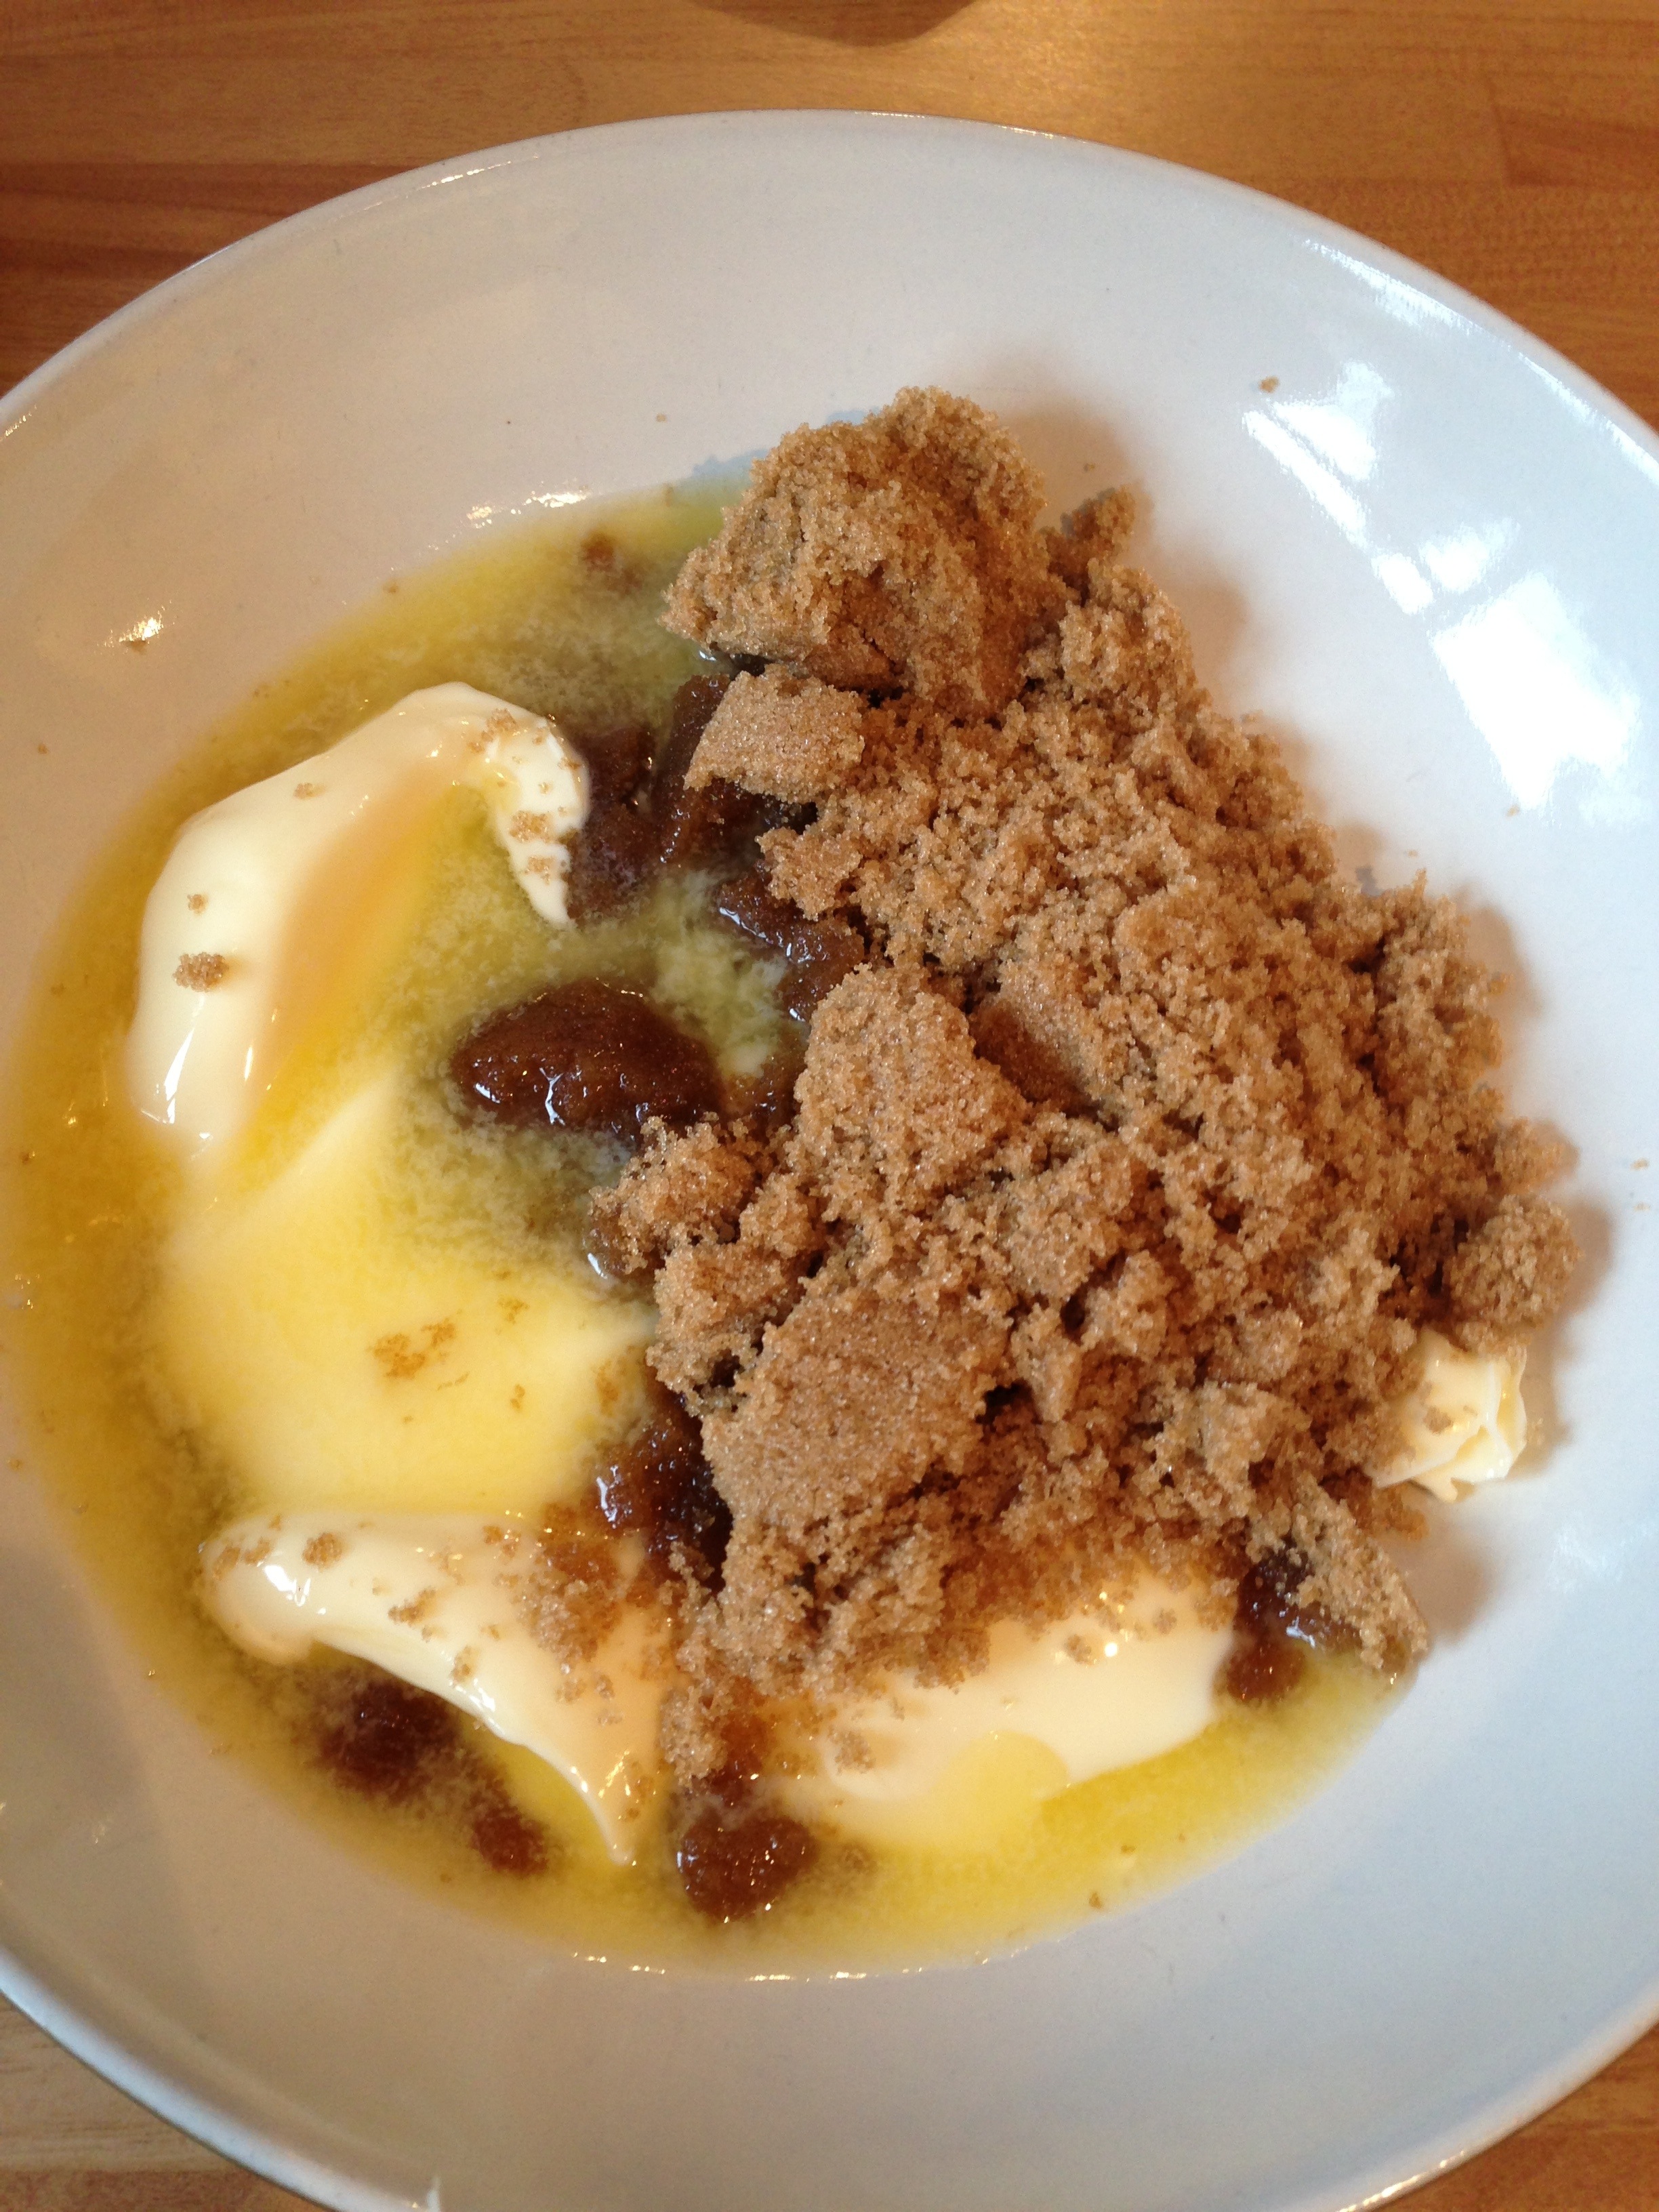
4) Once out of the microwave, add in the caster sugar and mix.
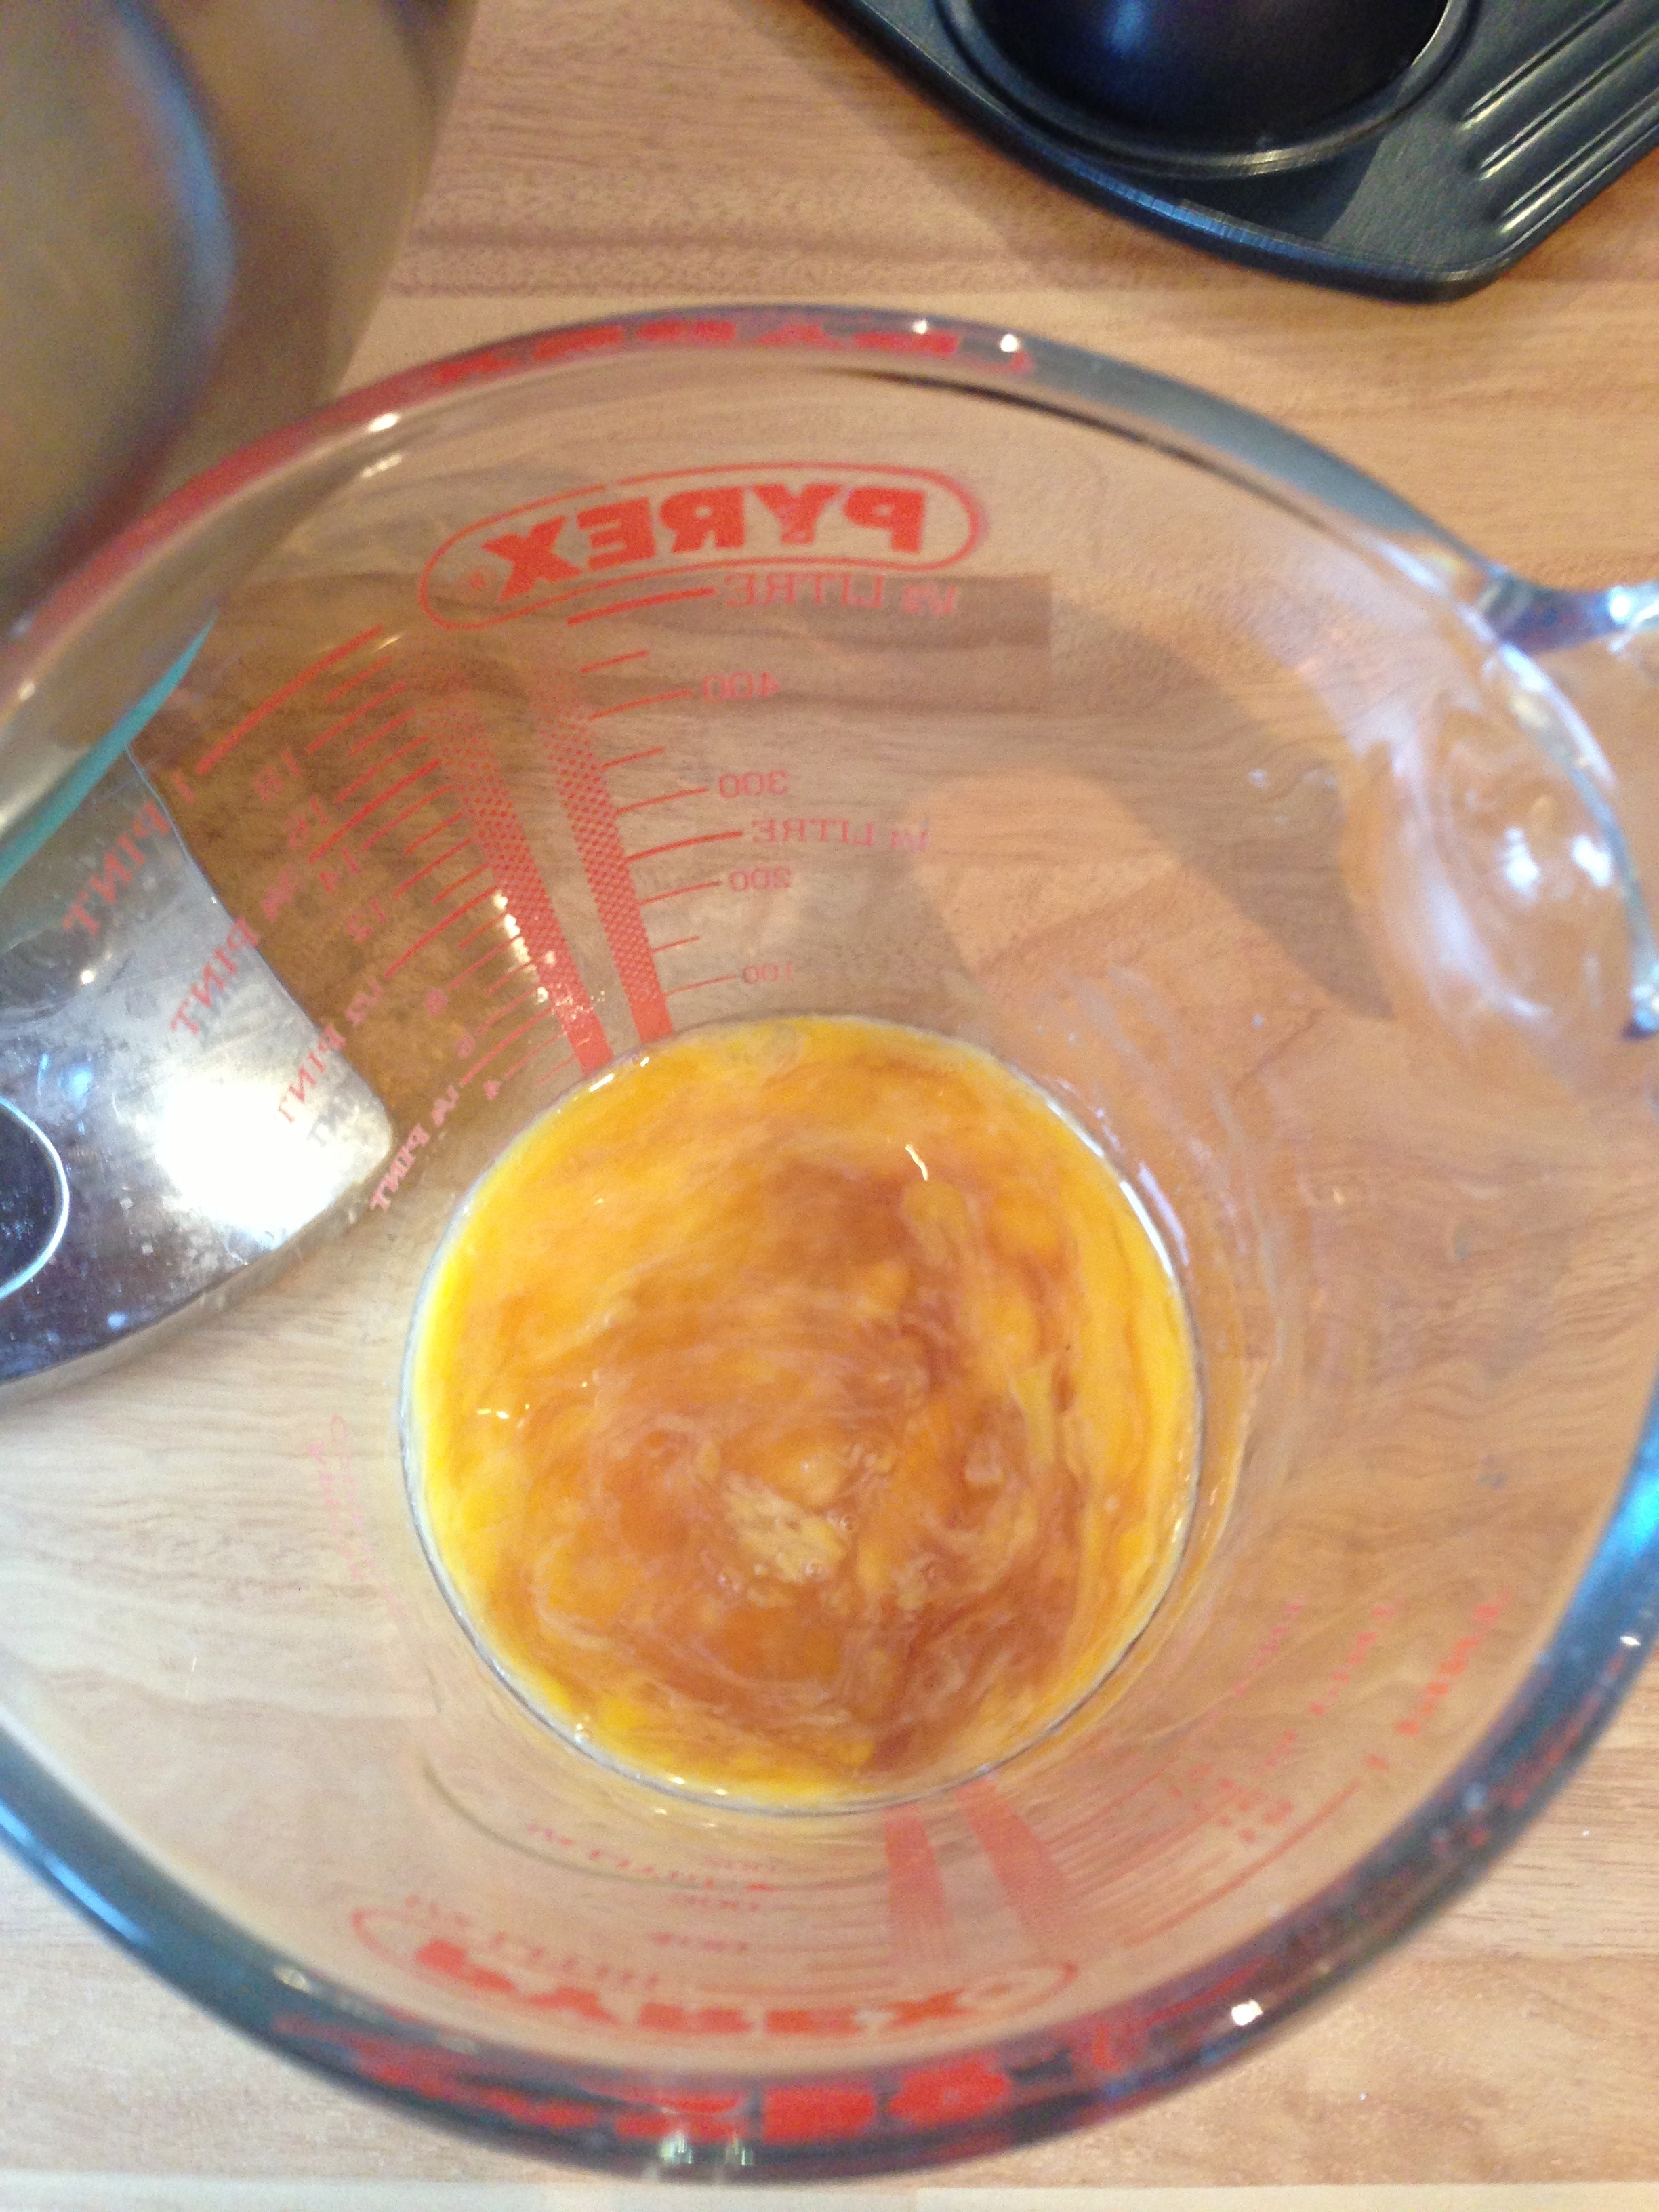
5) In a jug or separate bowl, lightly whisk together the egg, egg yolk, vanilla and milk.
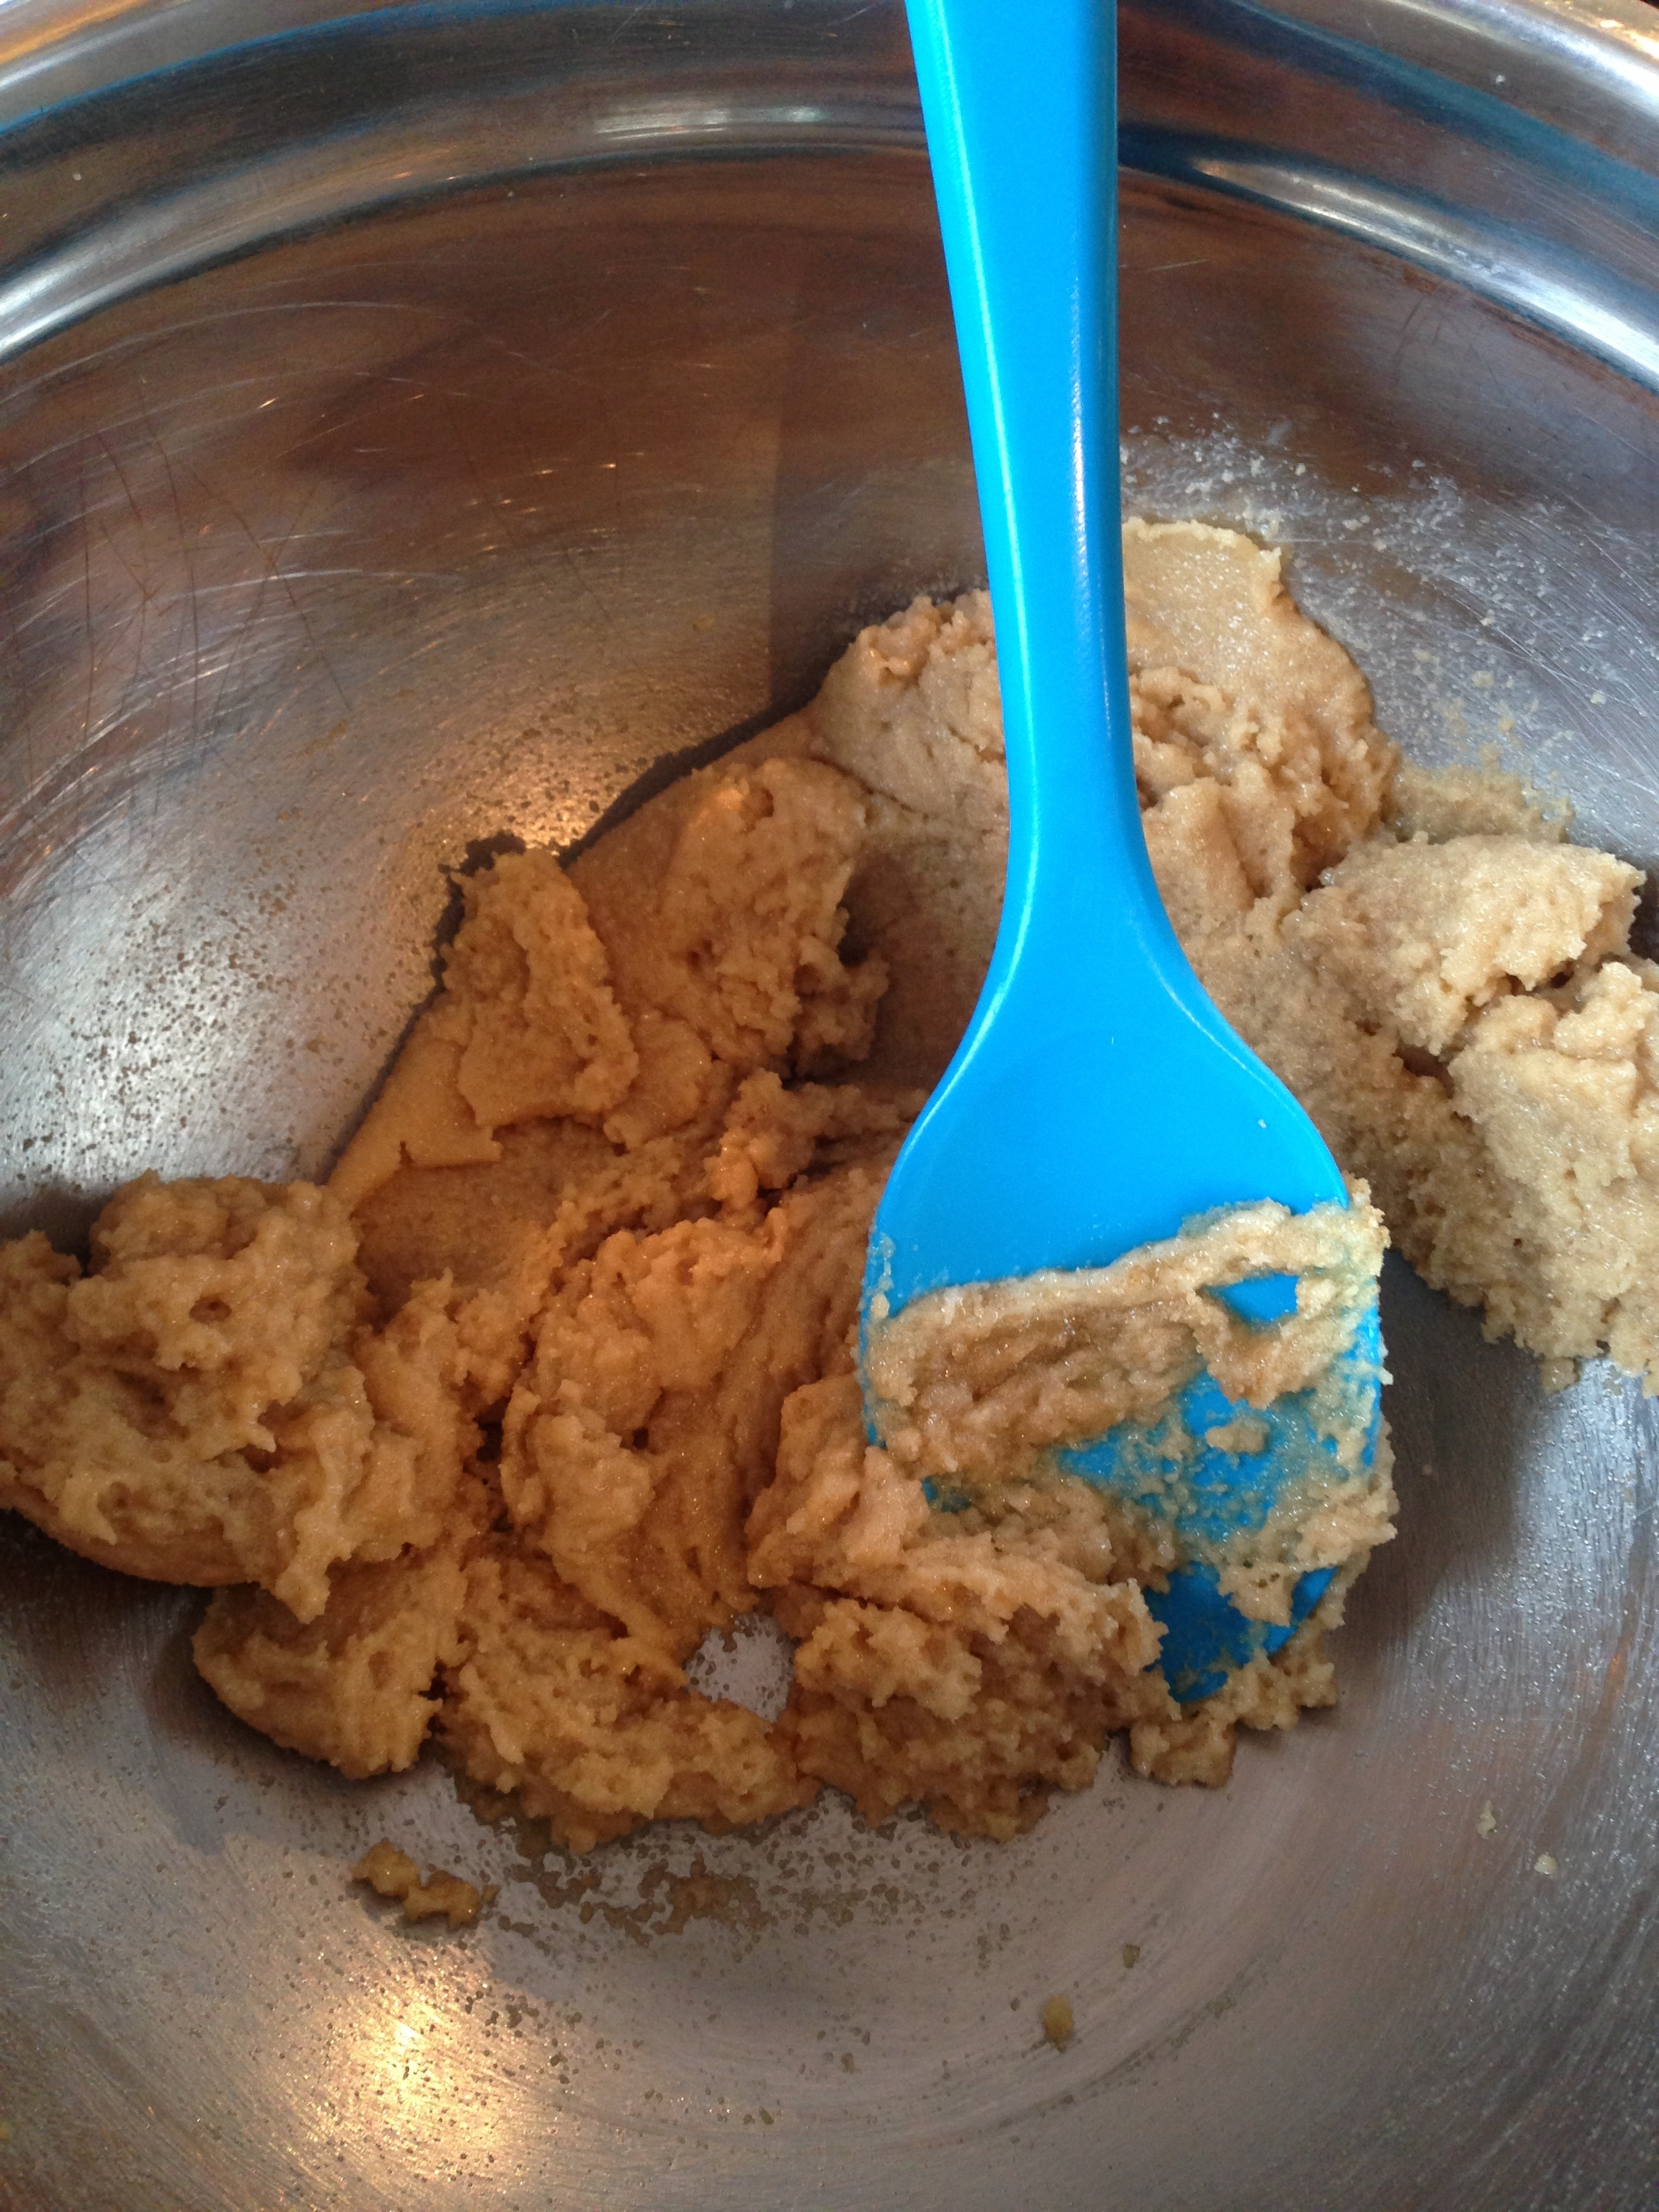
6) Pour the contents of your jug/separate bowl into the sugary buttery mixture and mix together.


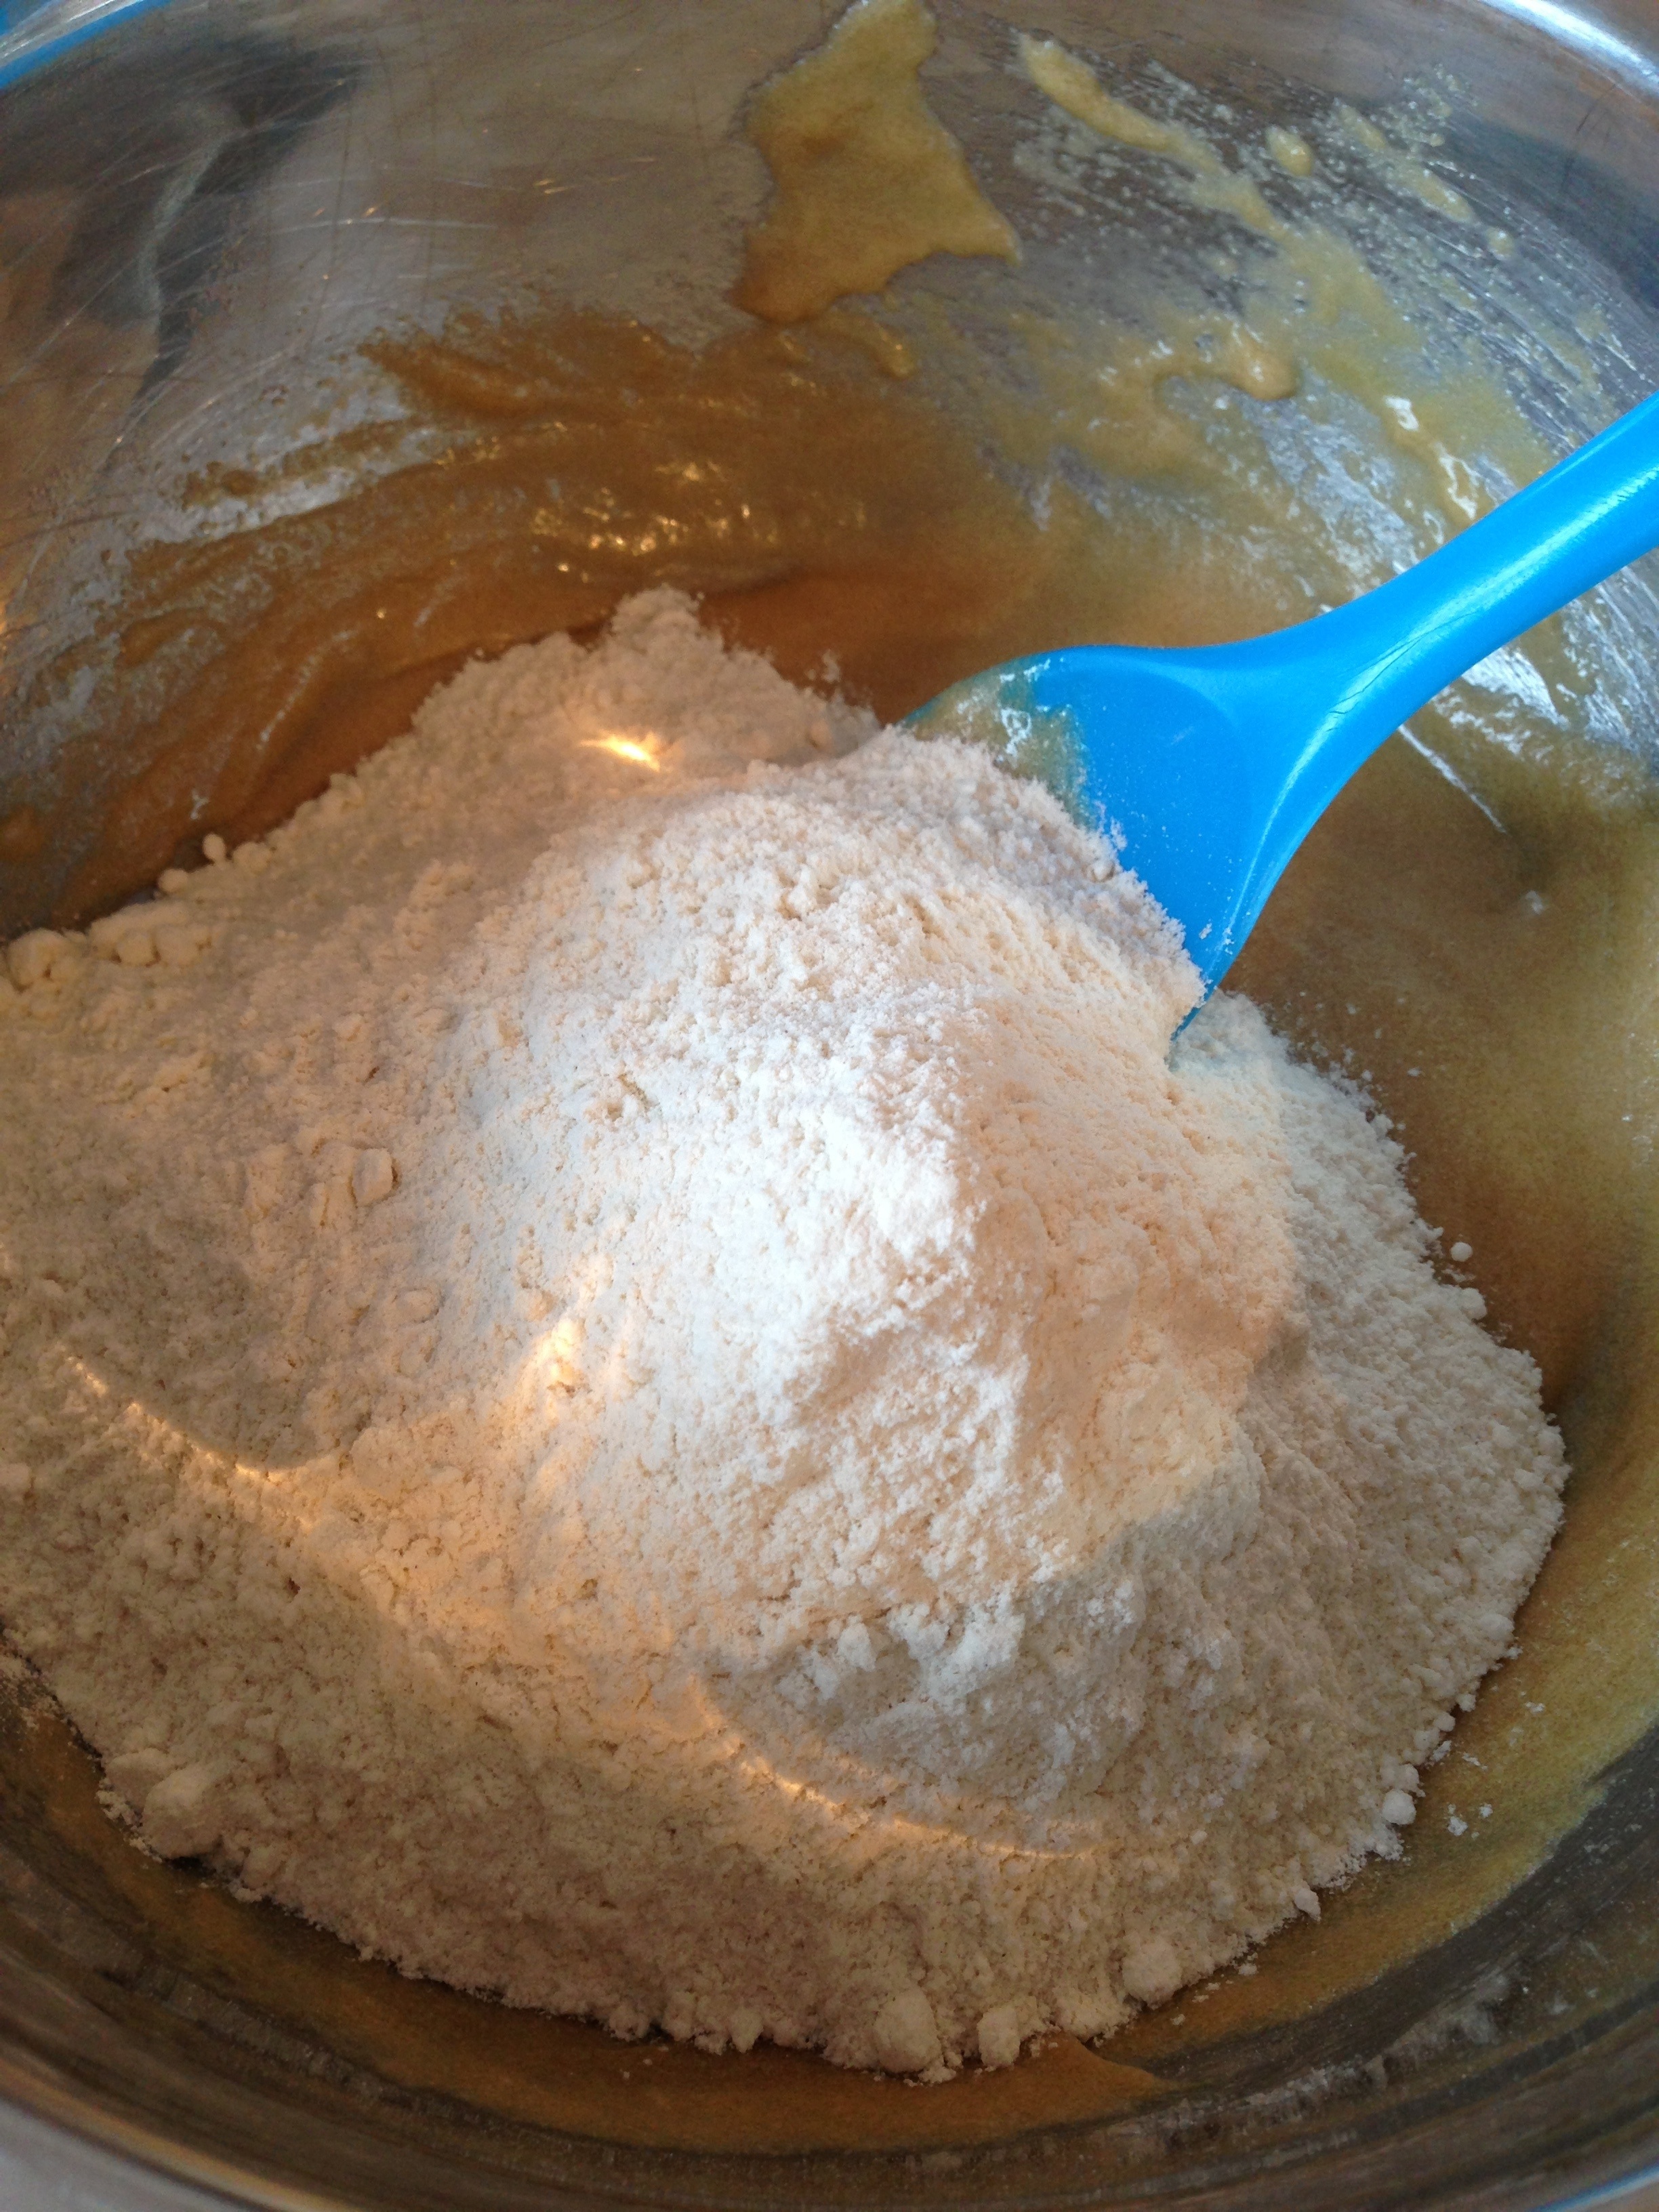
7) Add in the flour and using your hands (if you like), allow the mixture to come together as a dough.
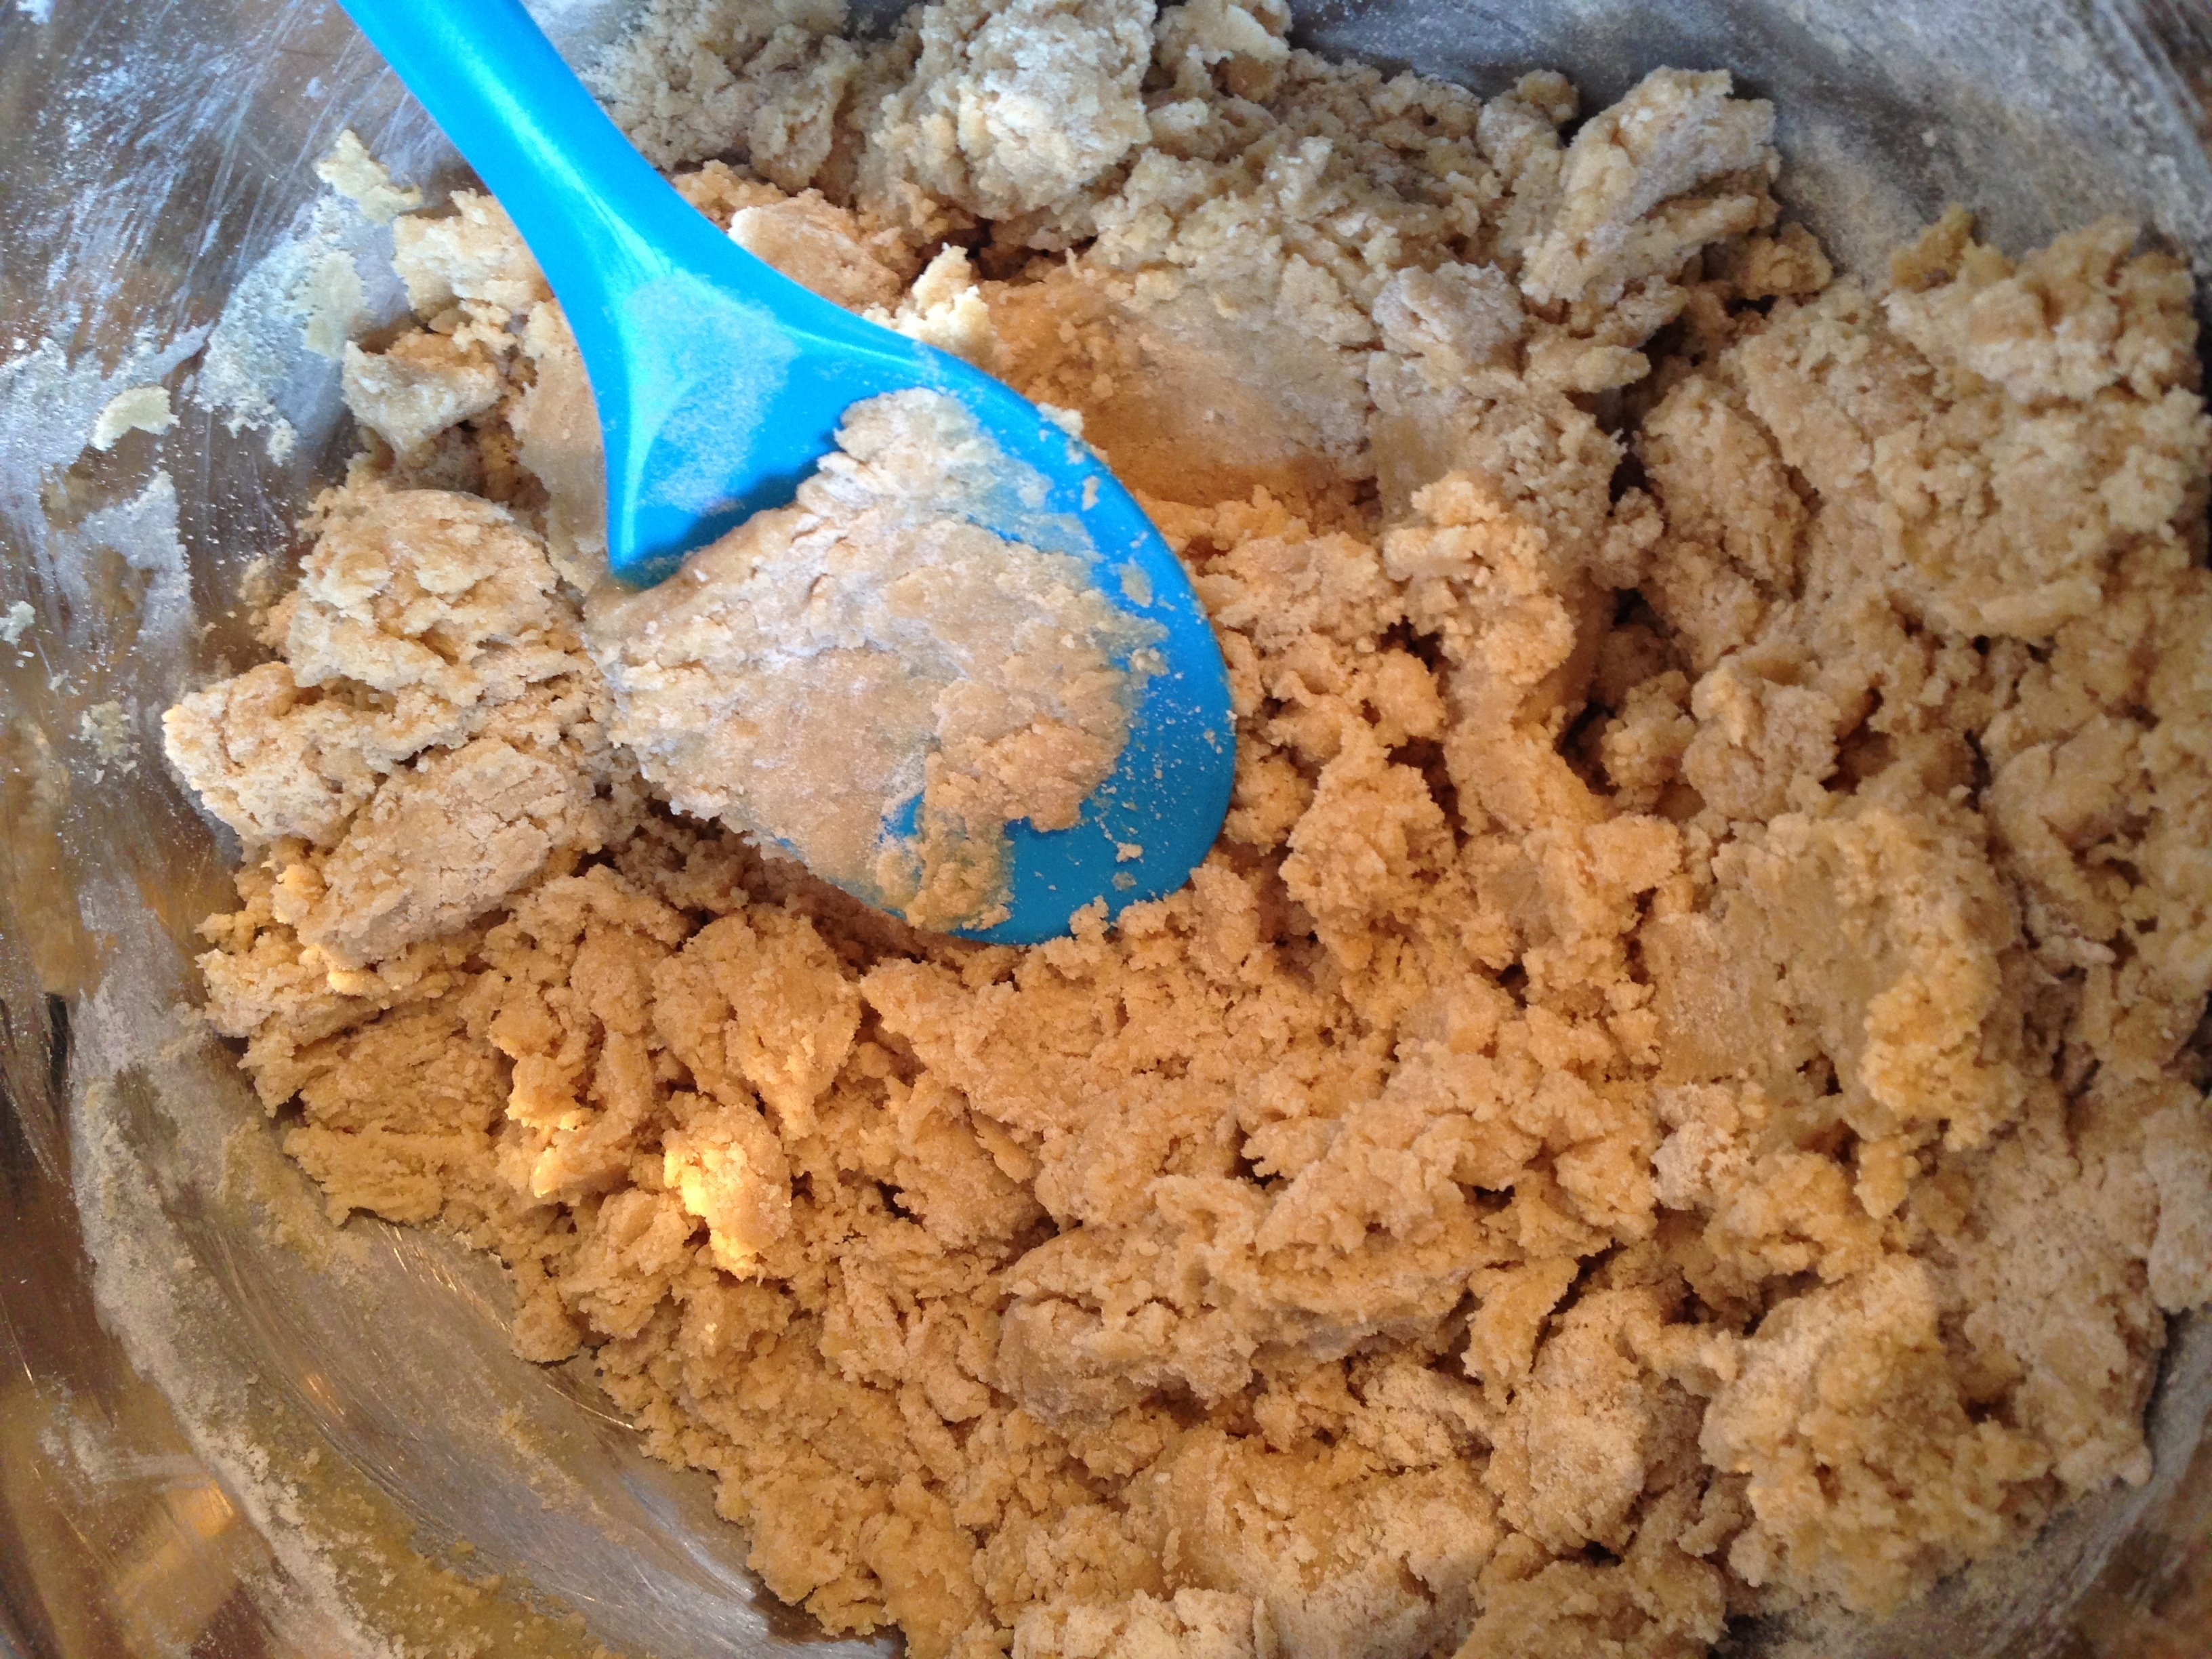
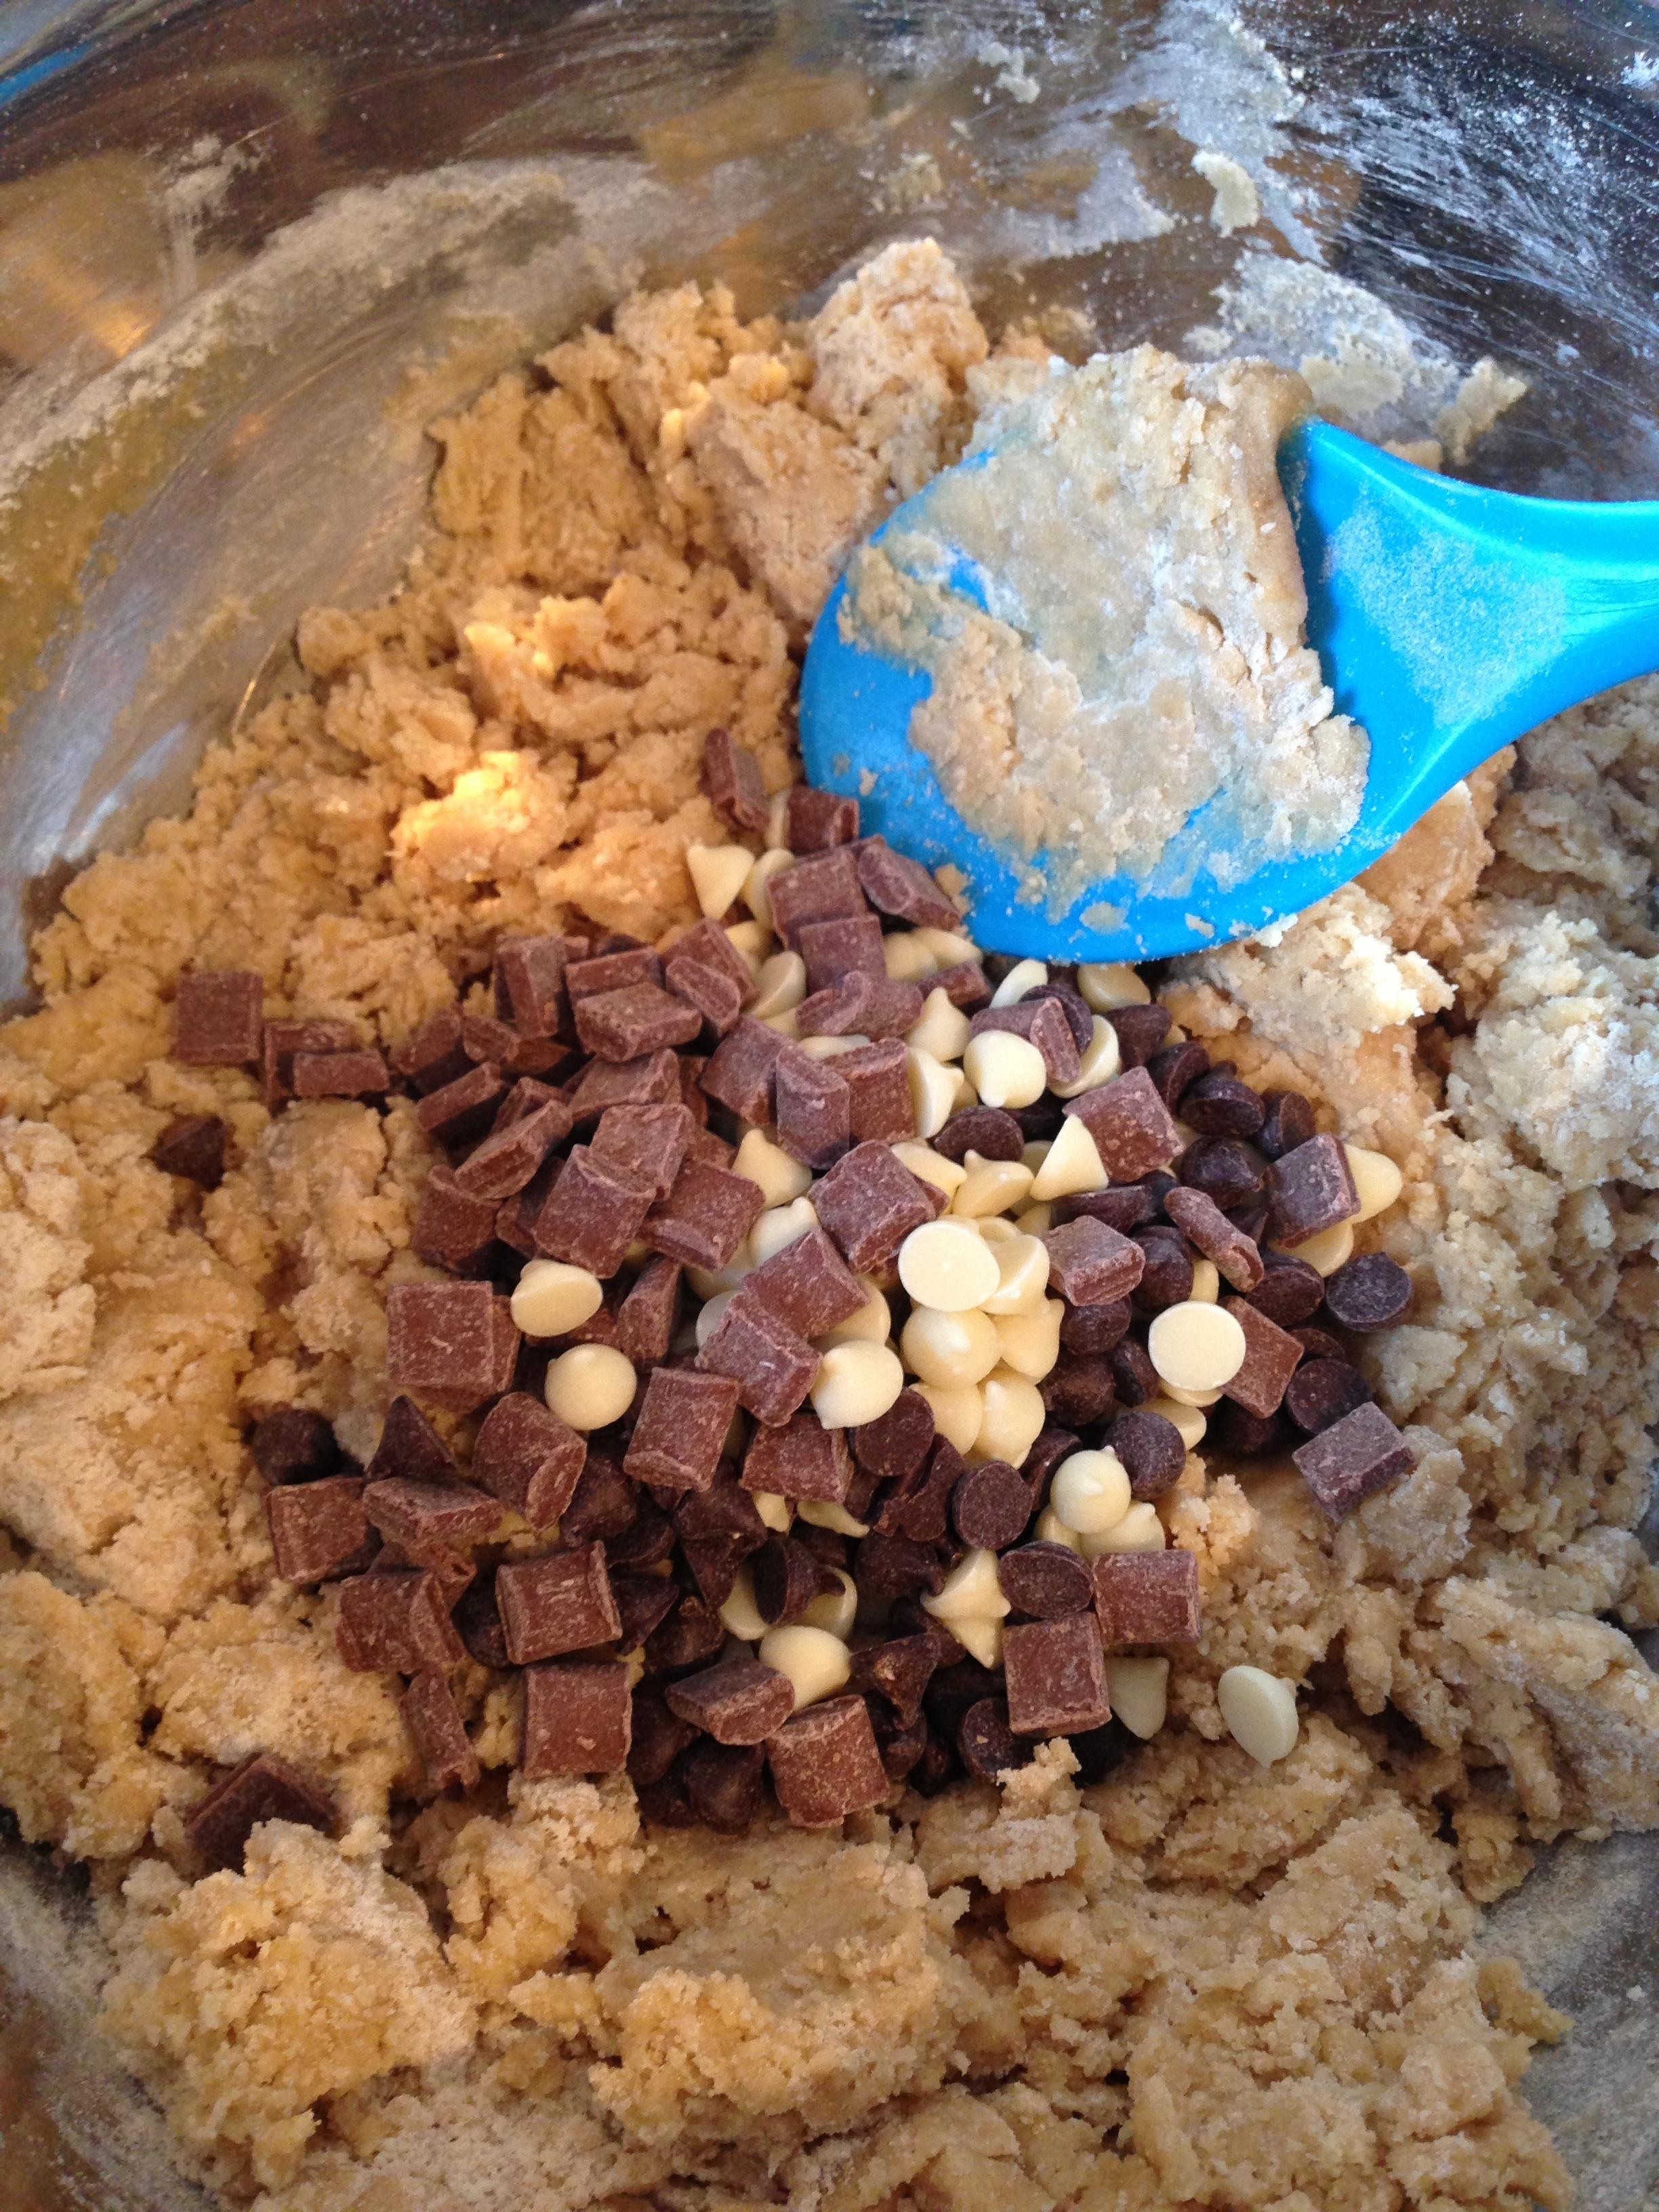
8) Finally pour in the chocolate chips and make sure they are evenly distributed through the cookie dough.
Now for the fun bit!!!
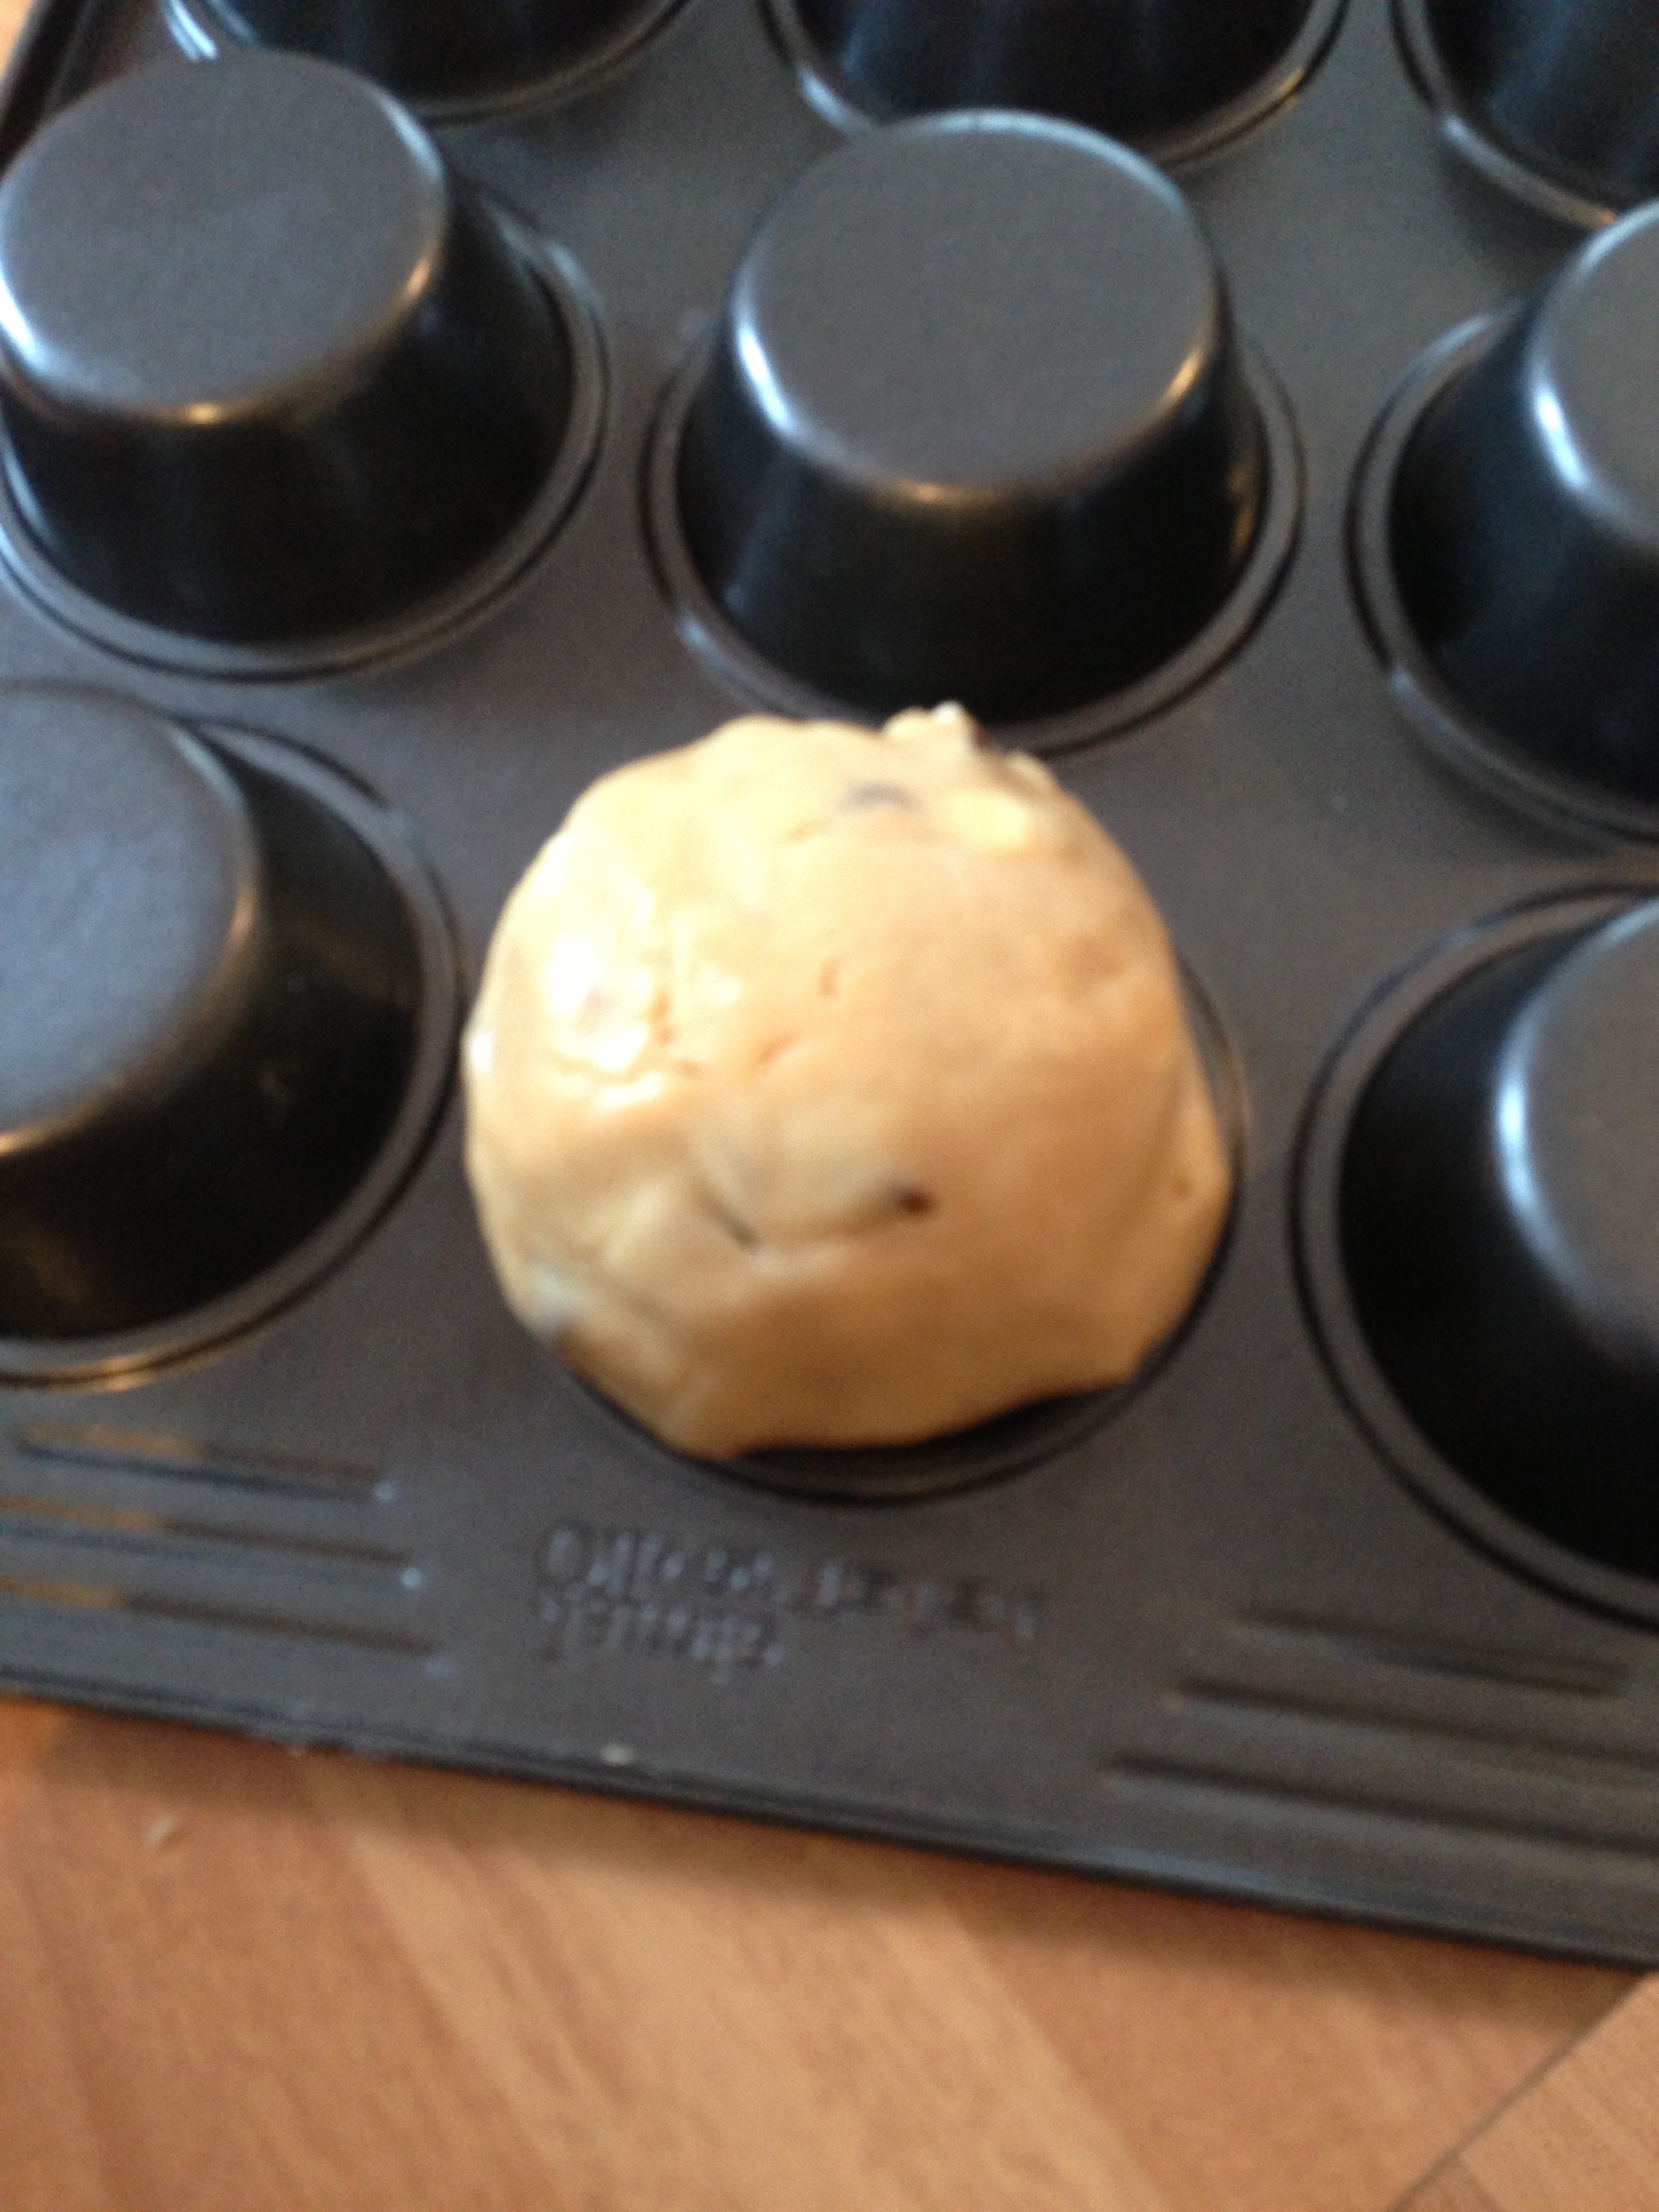
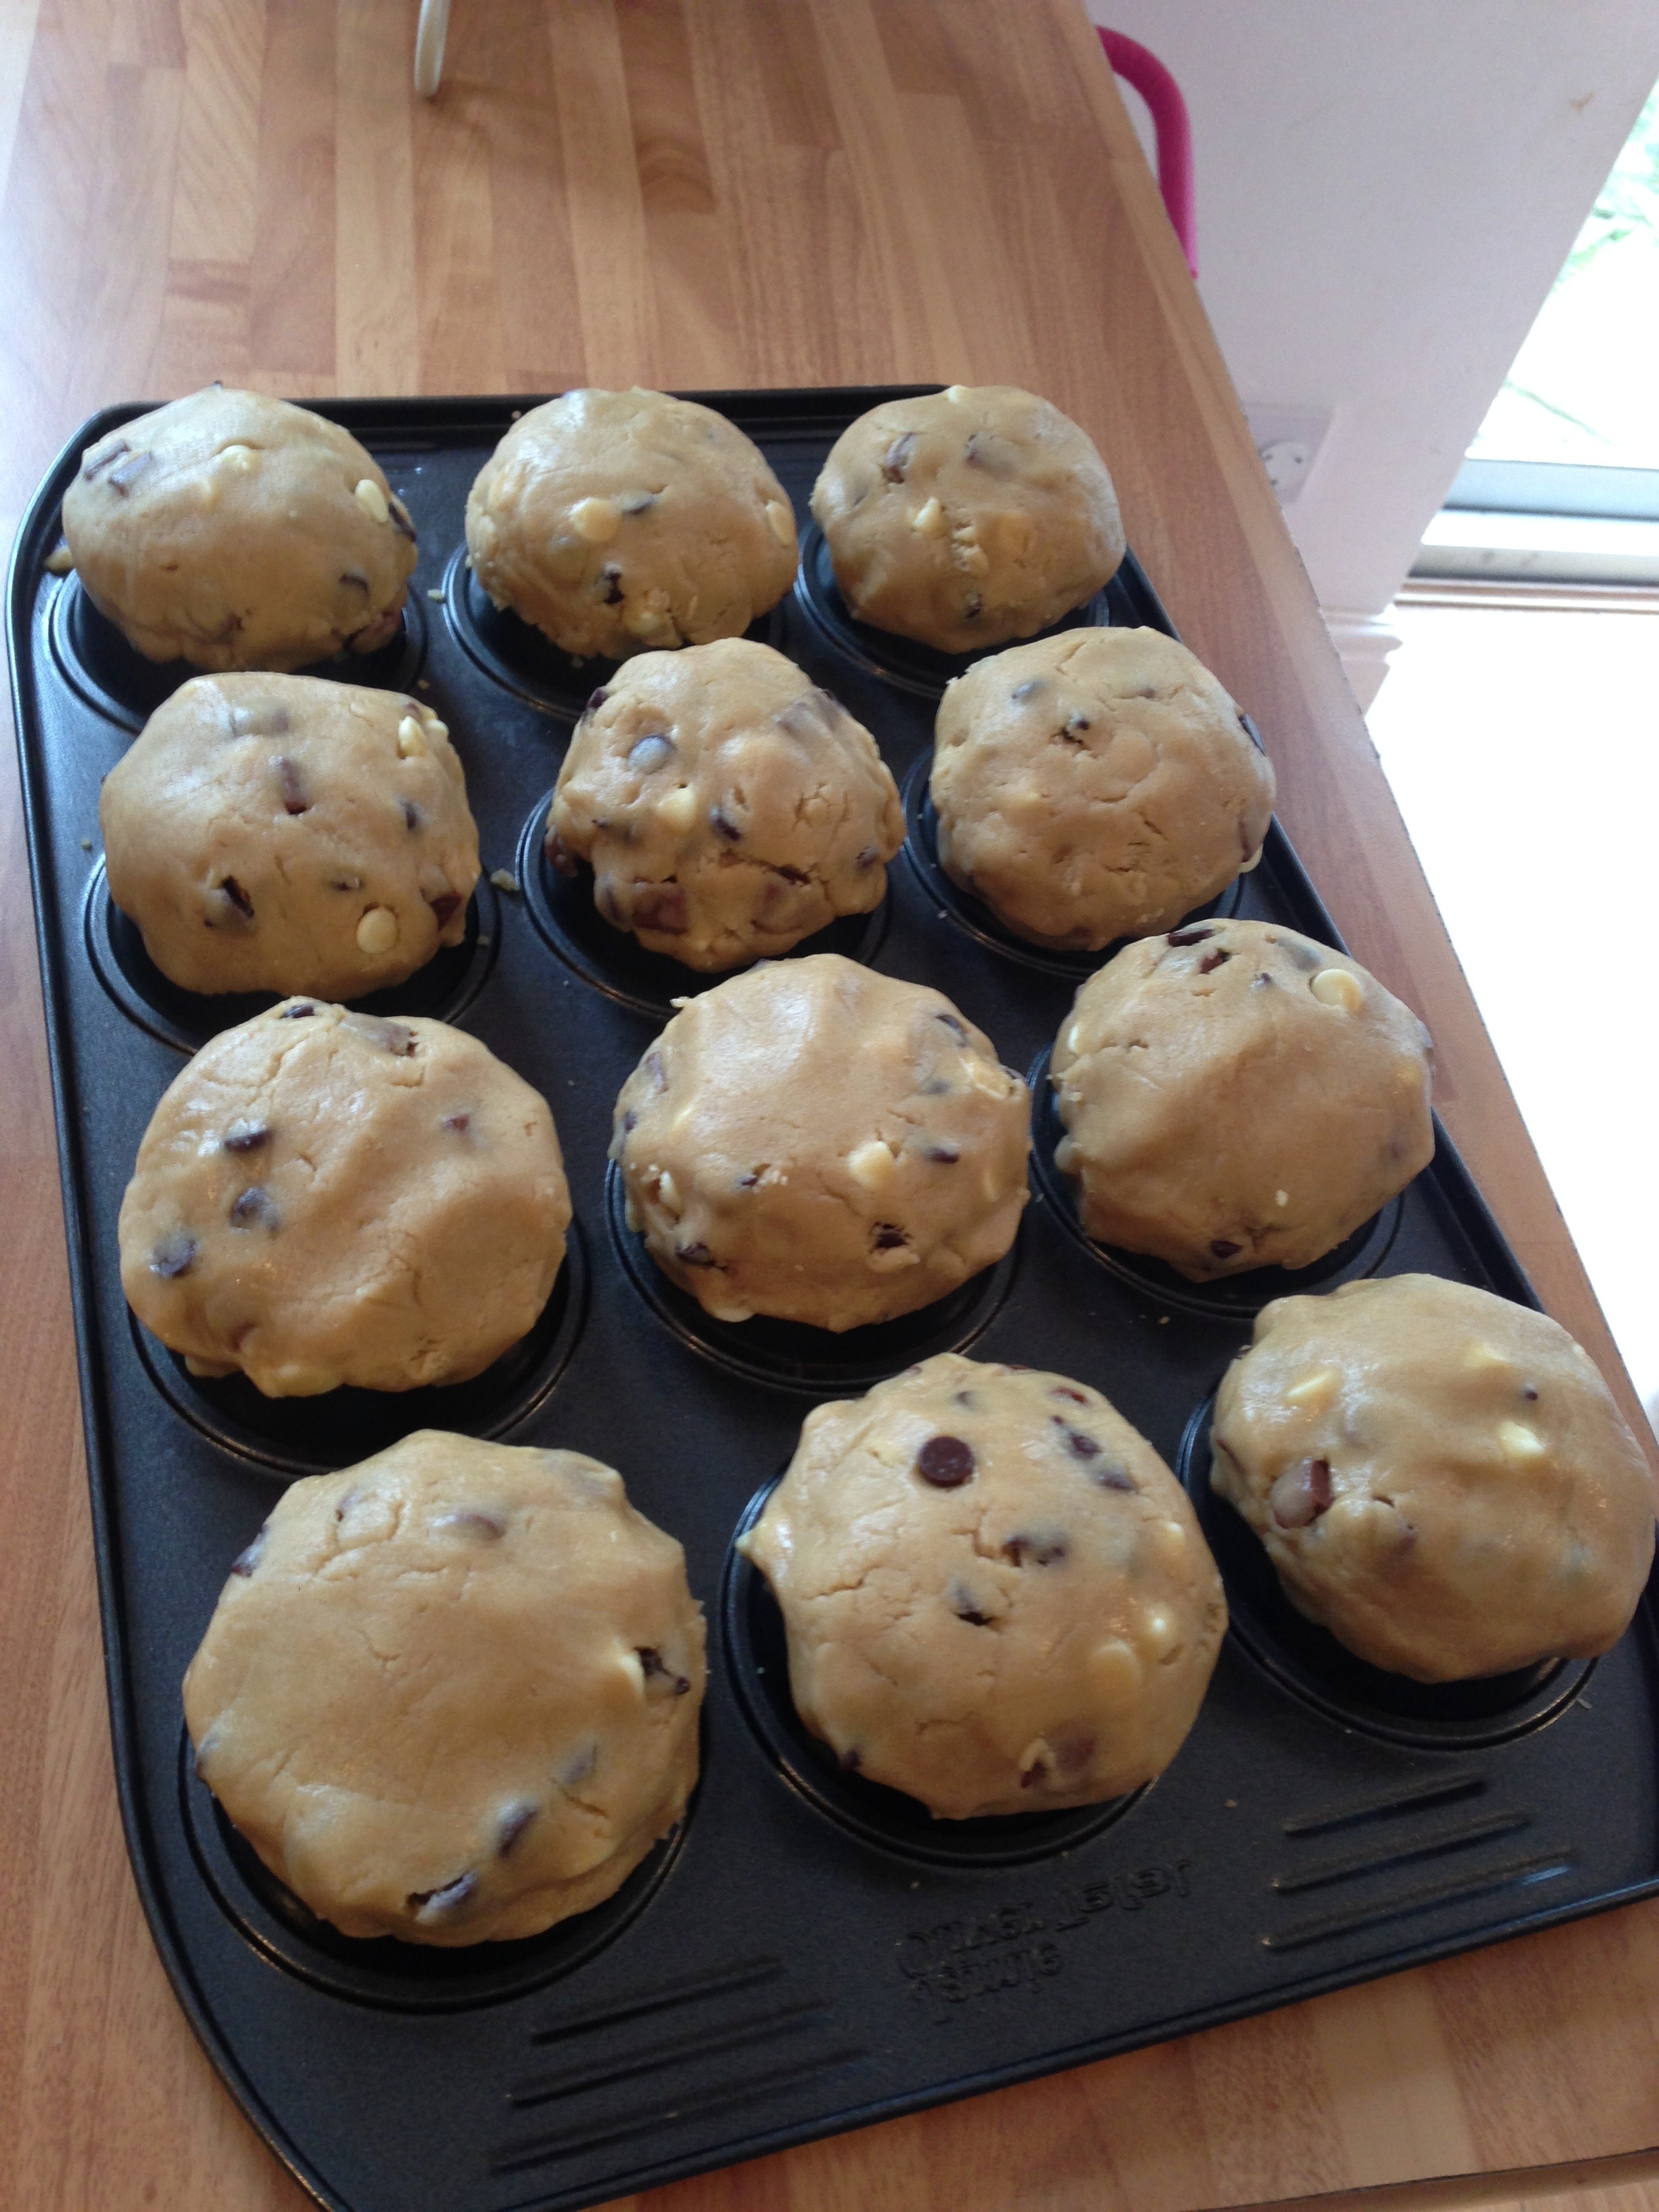
9) Make sure your muffin/fairy bun tin is upside down.
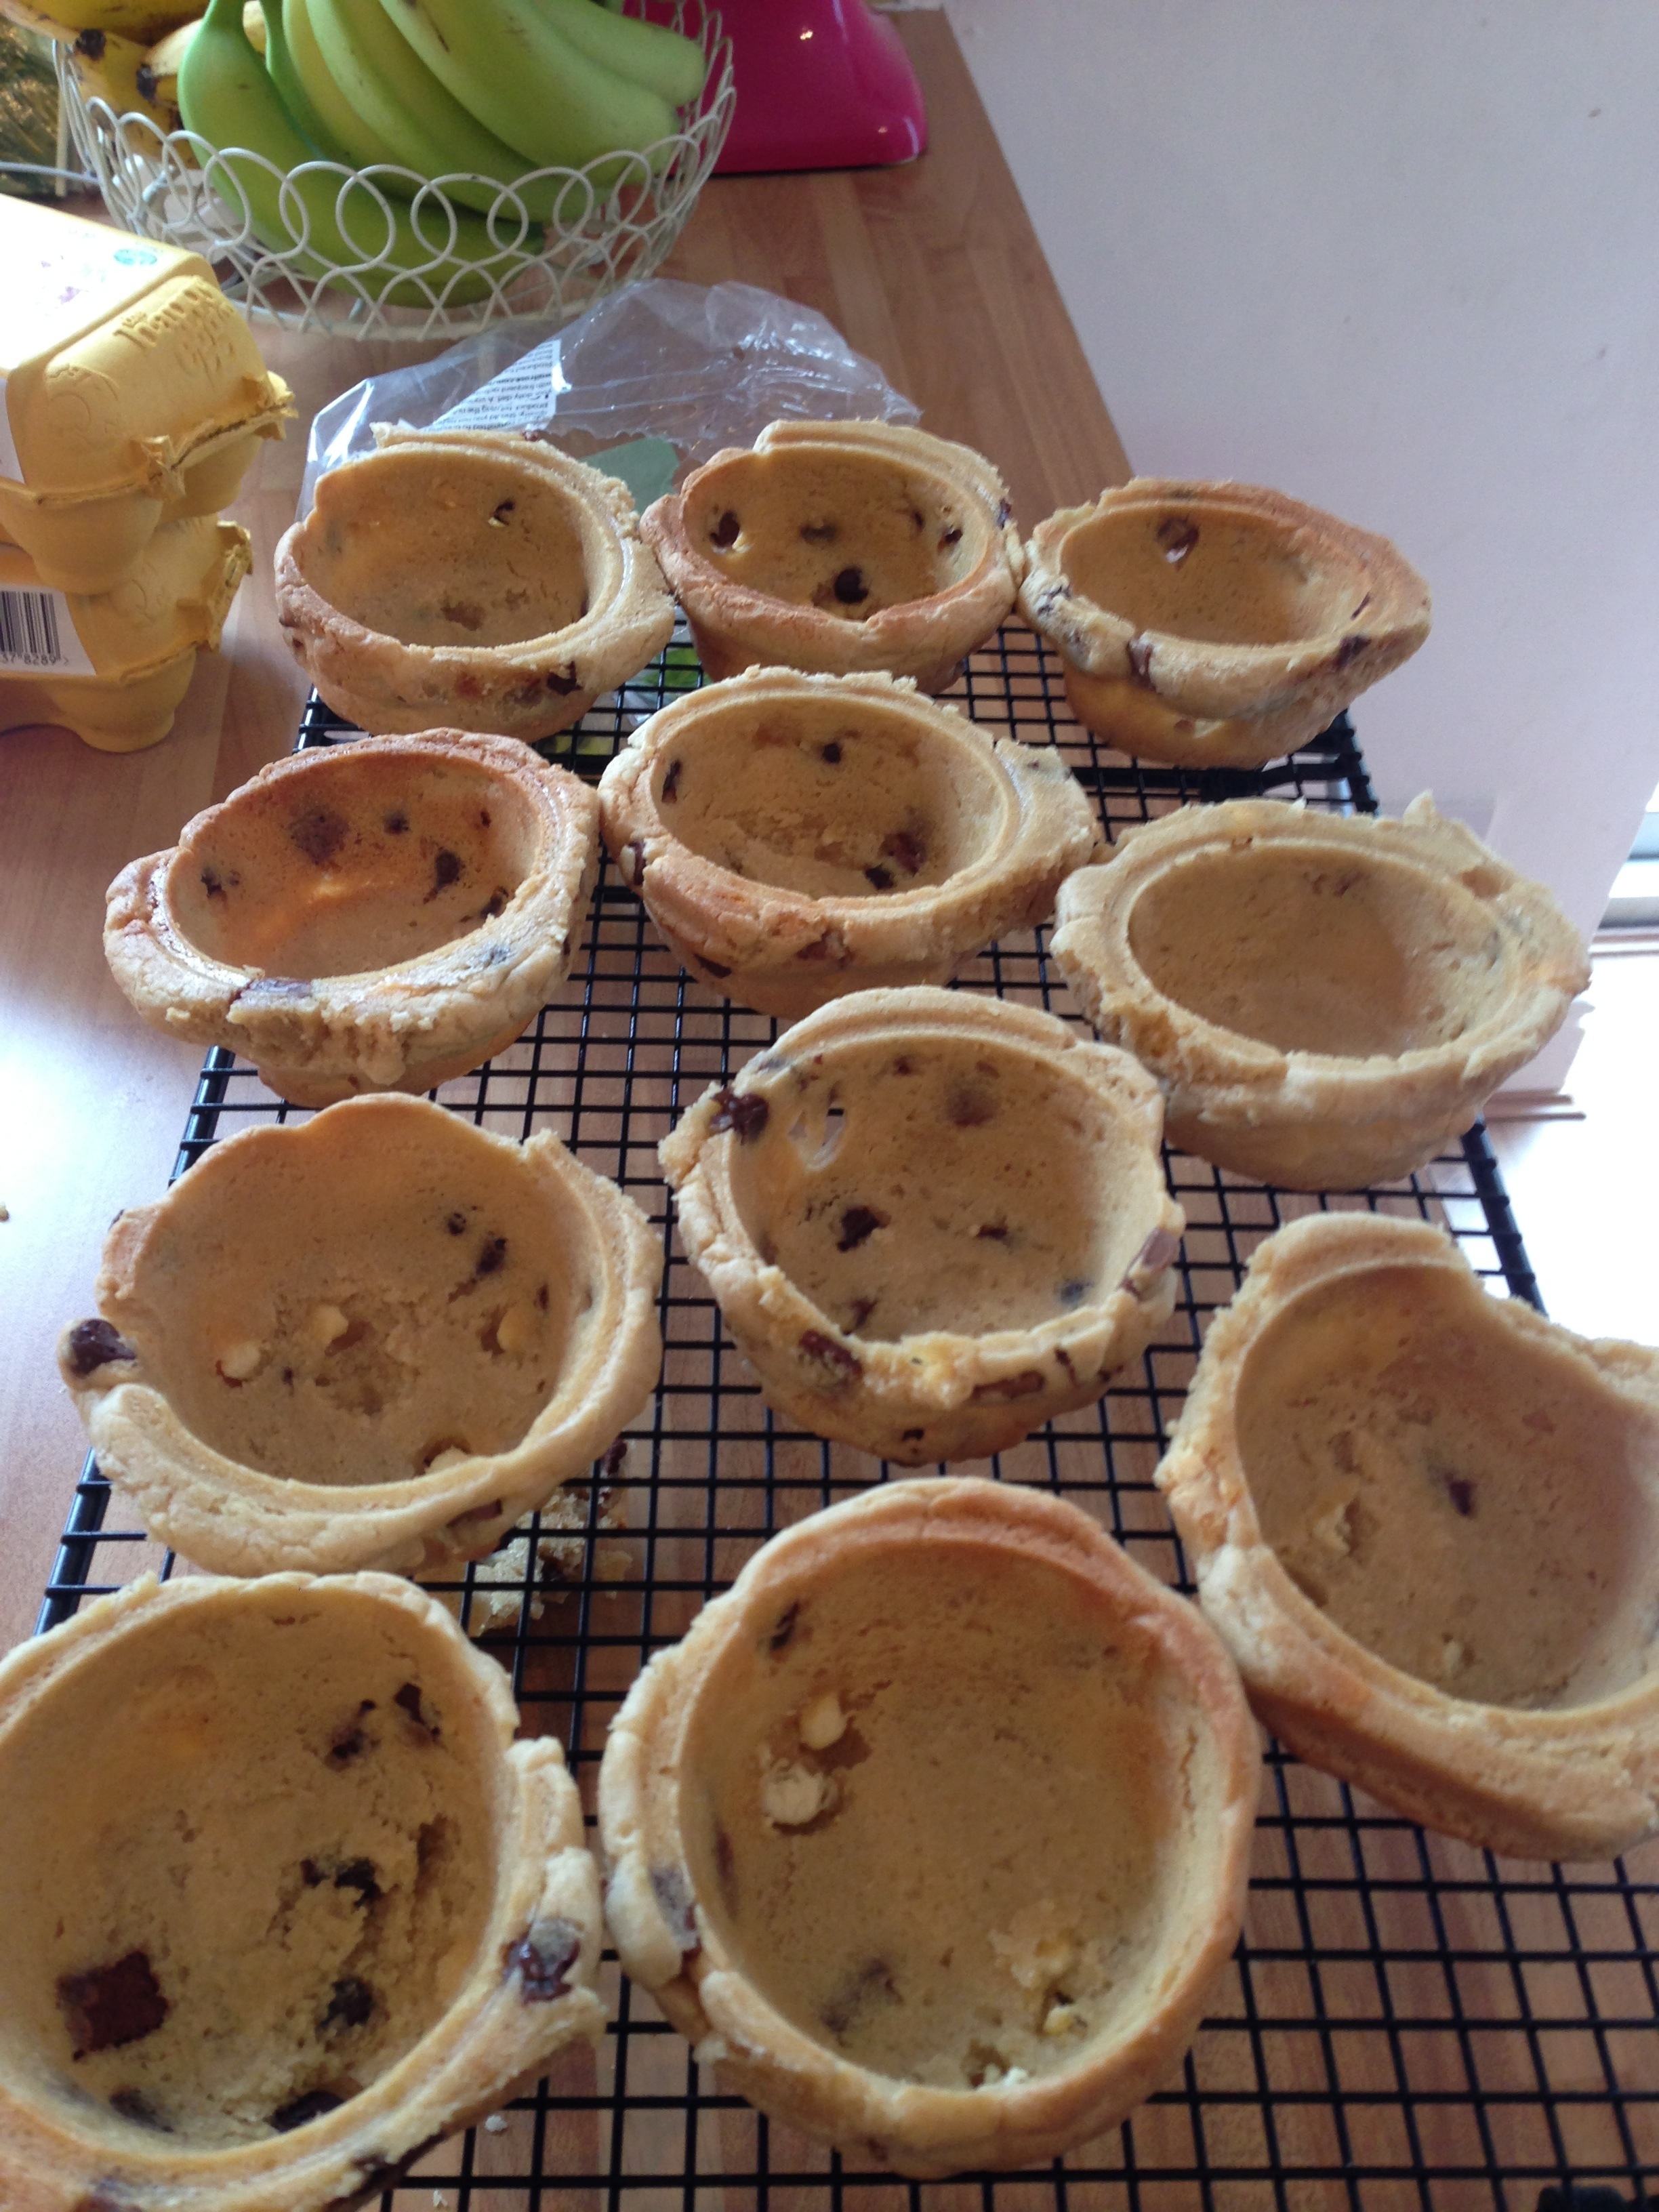
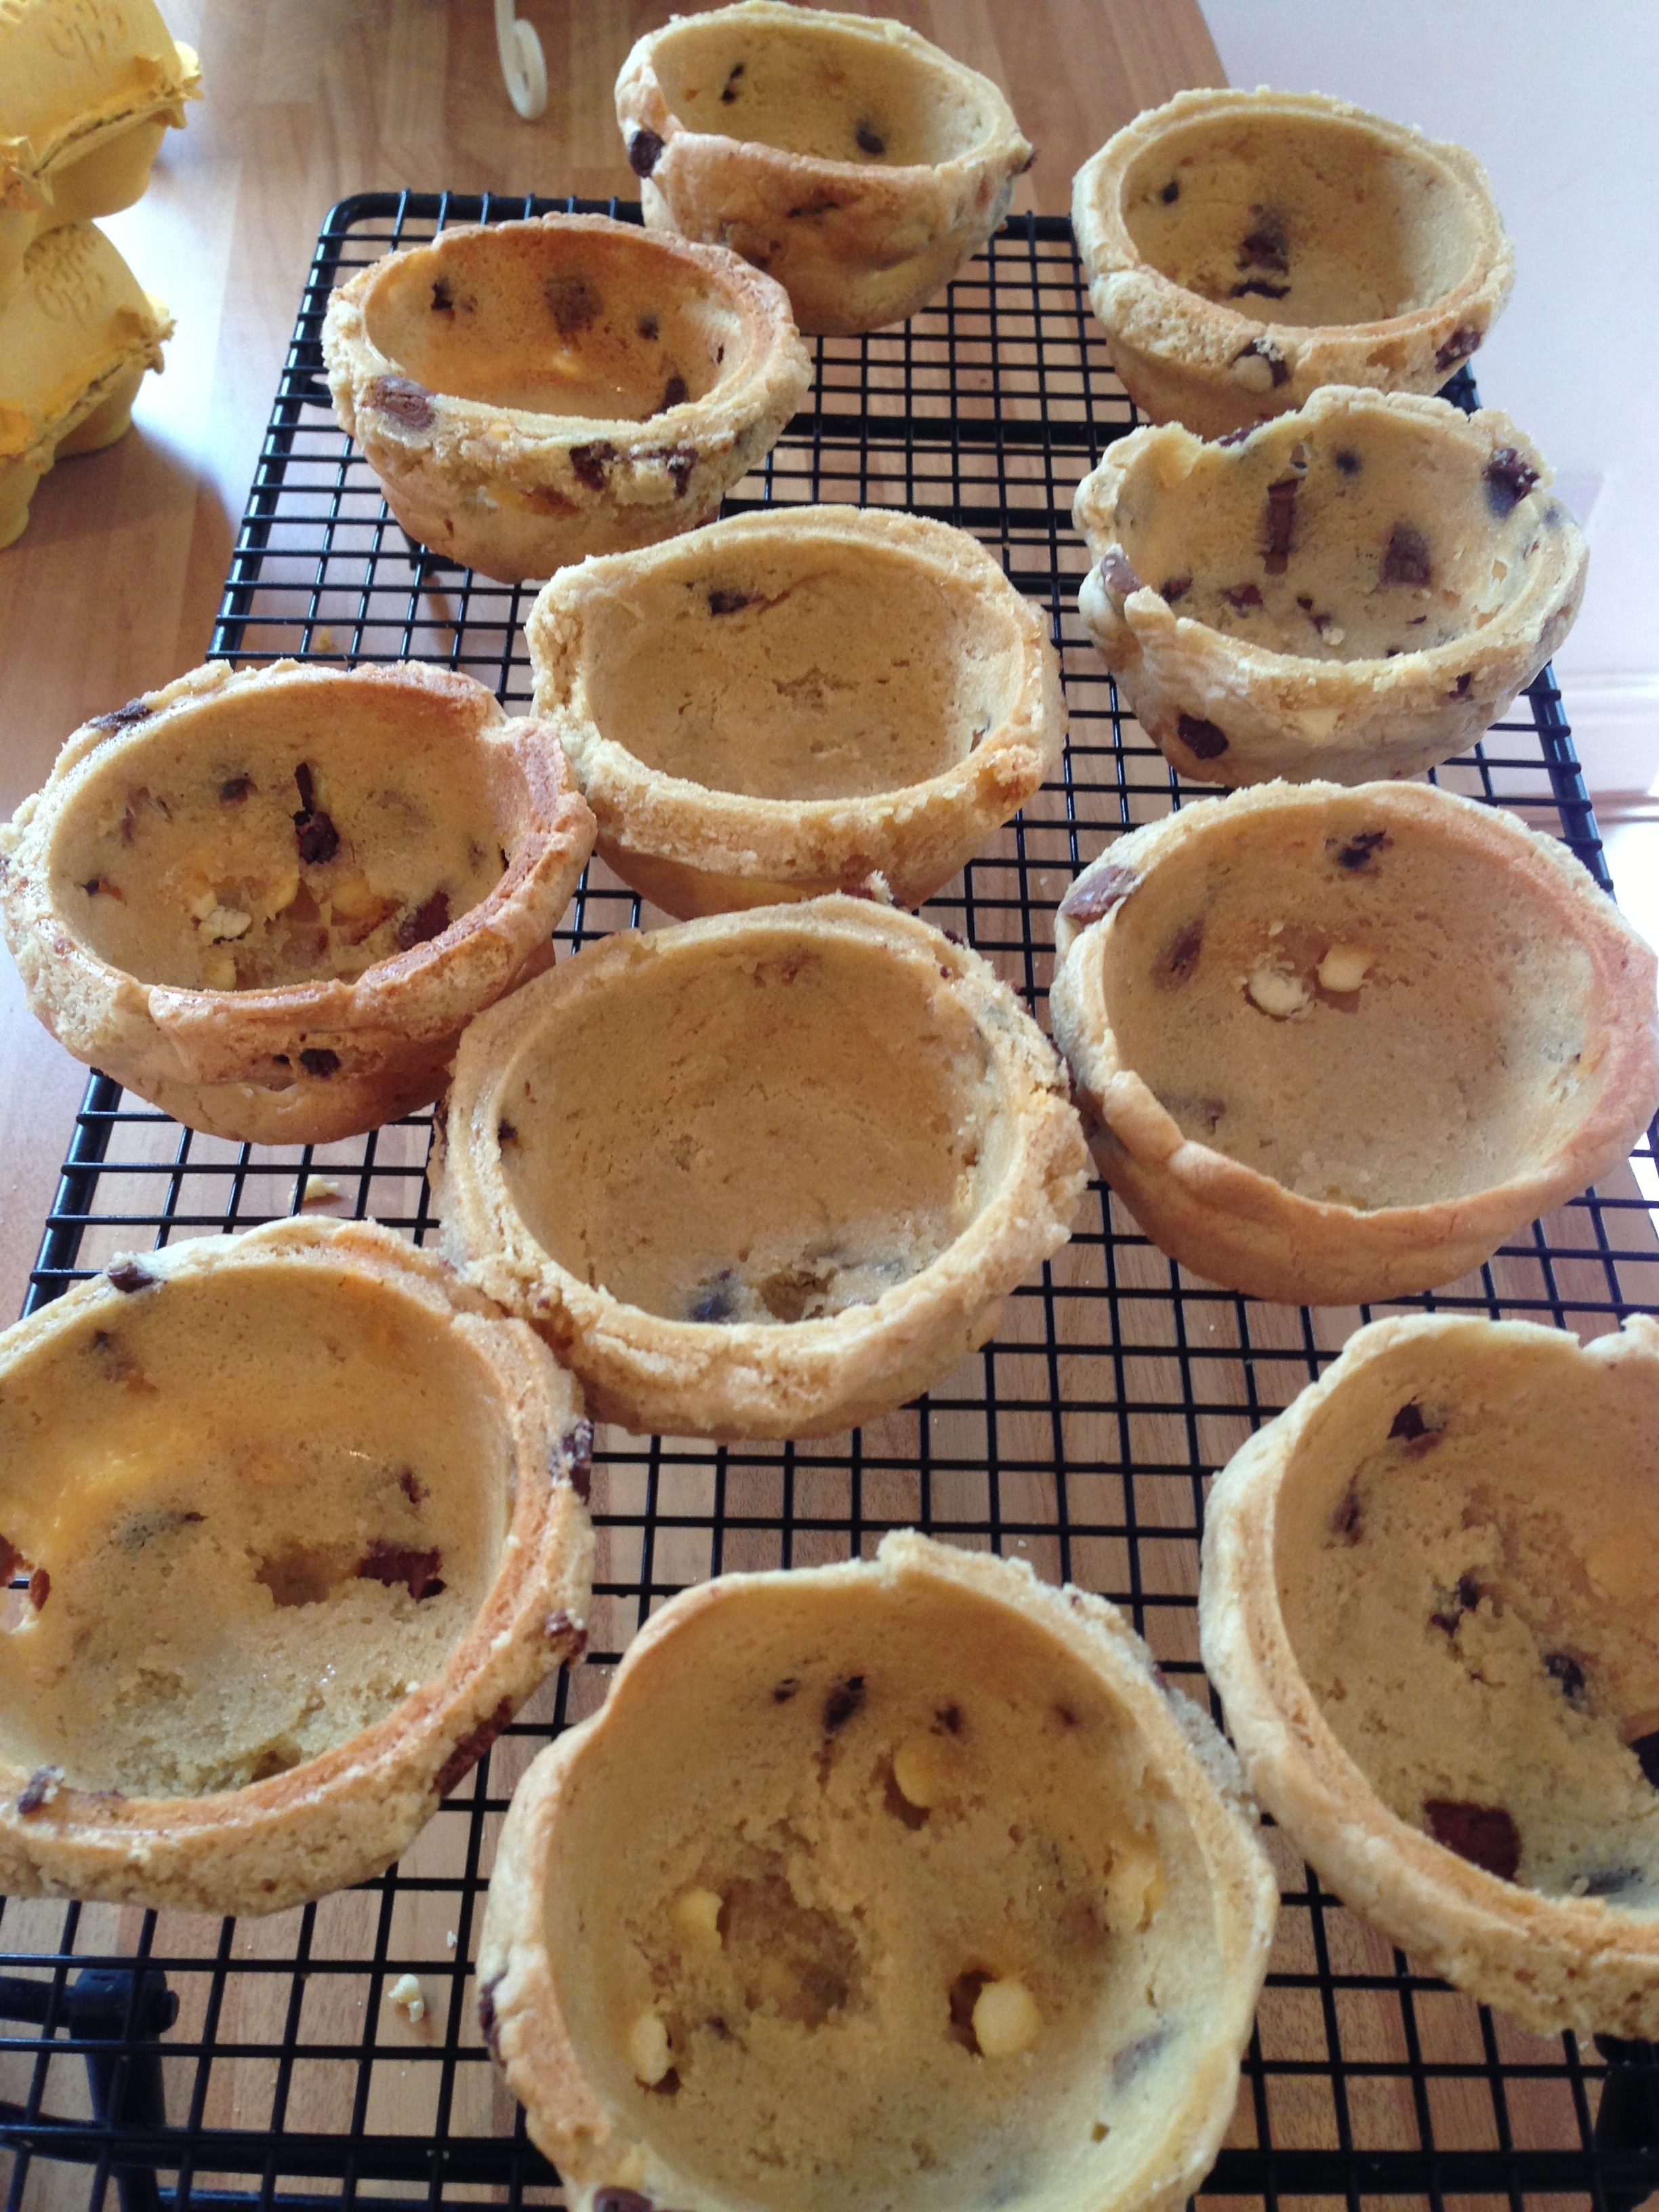
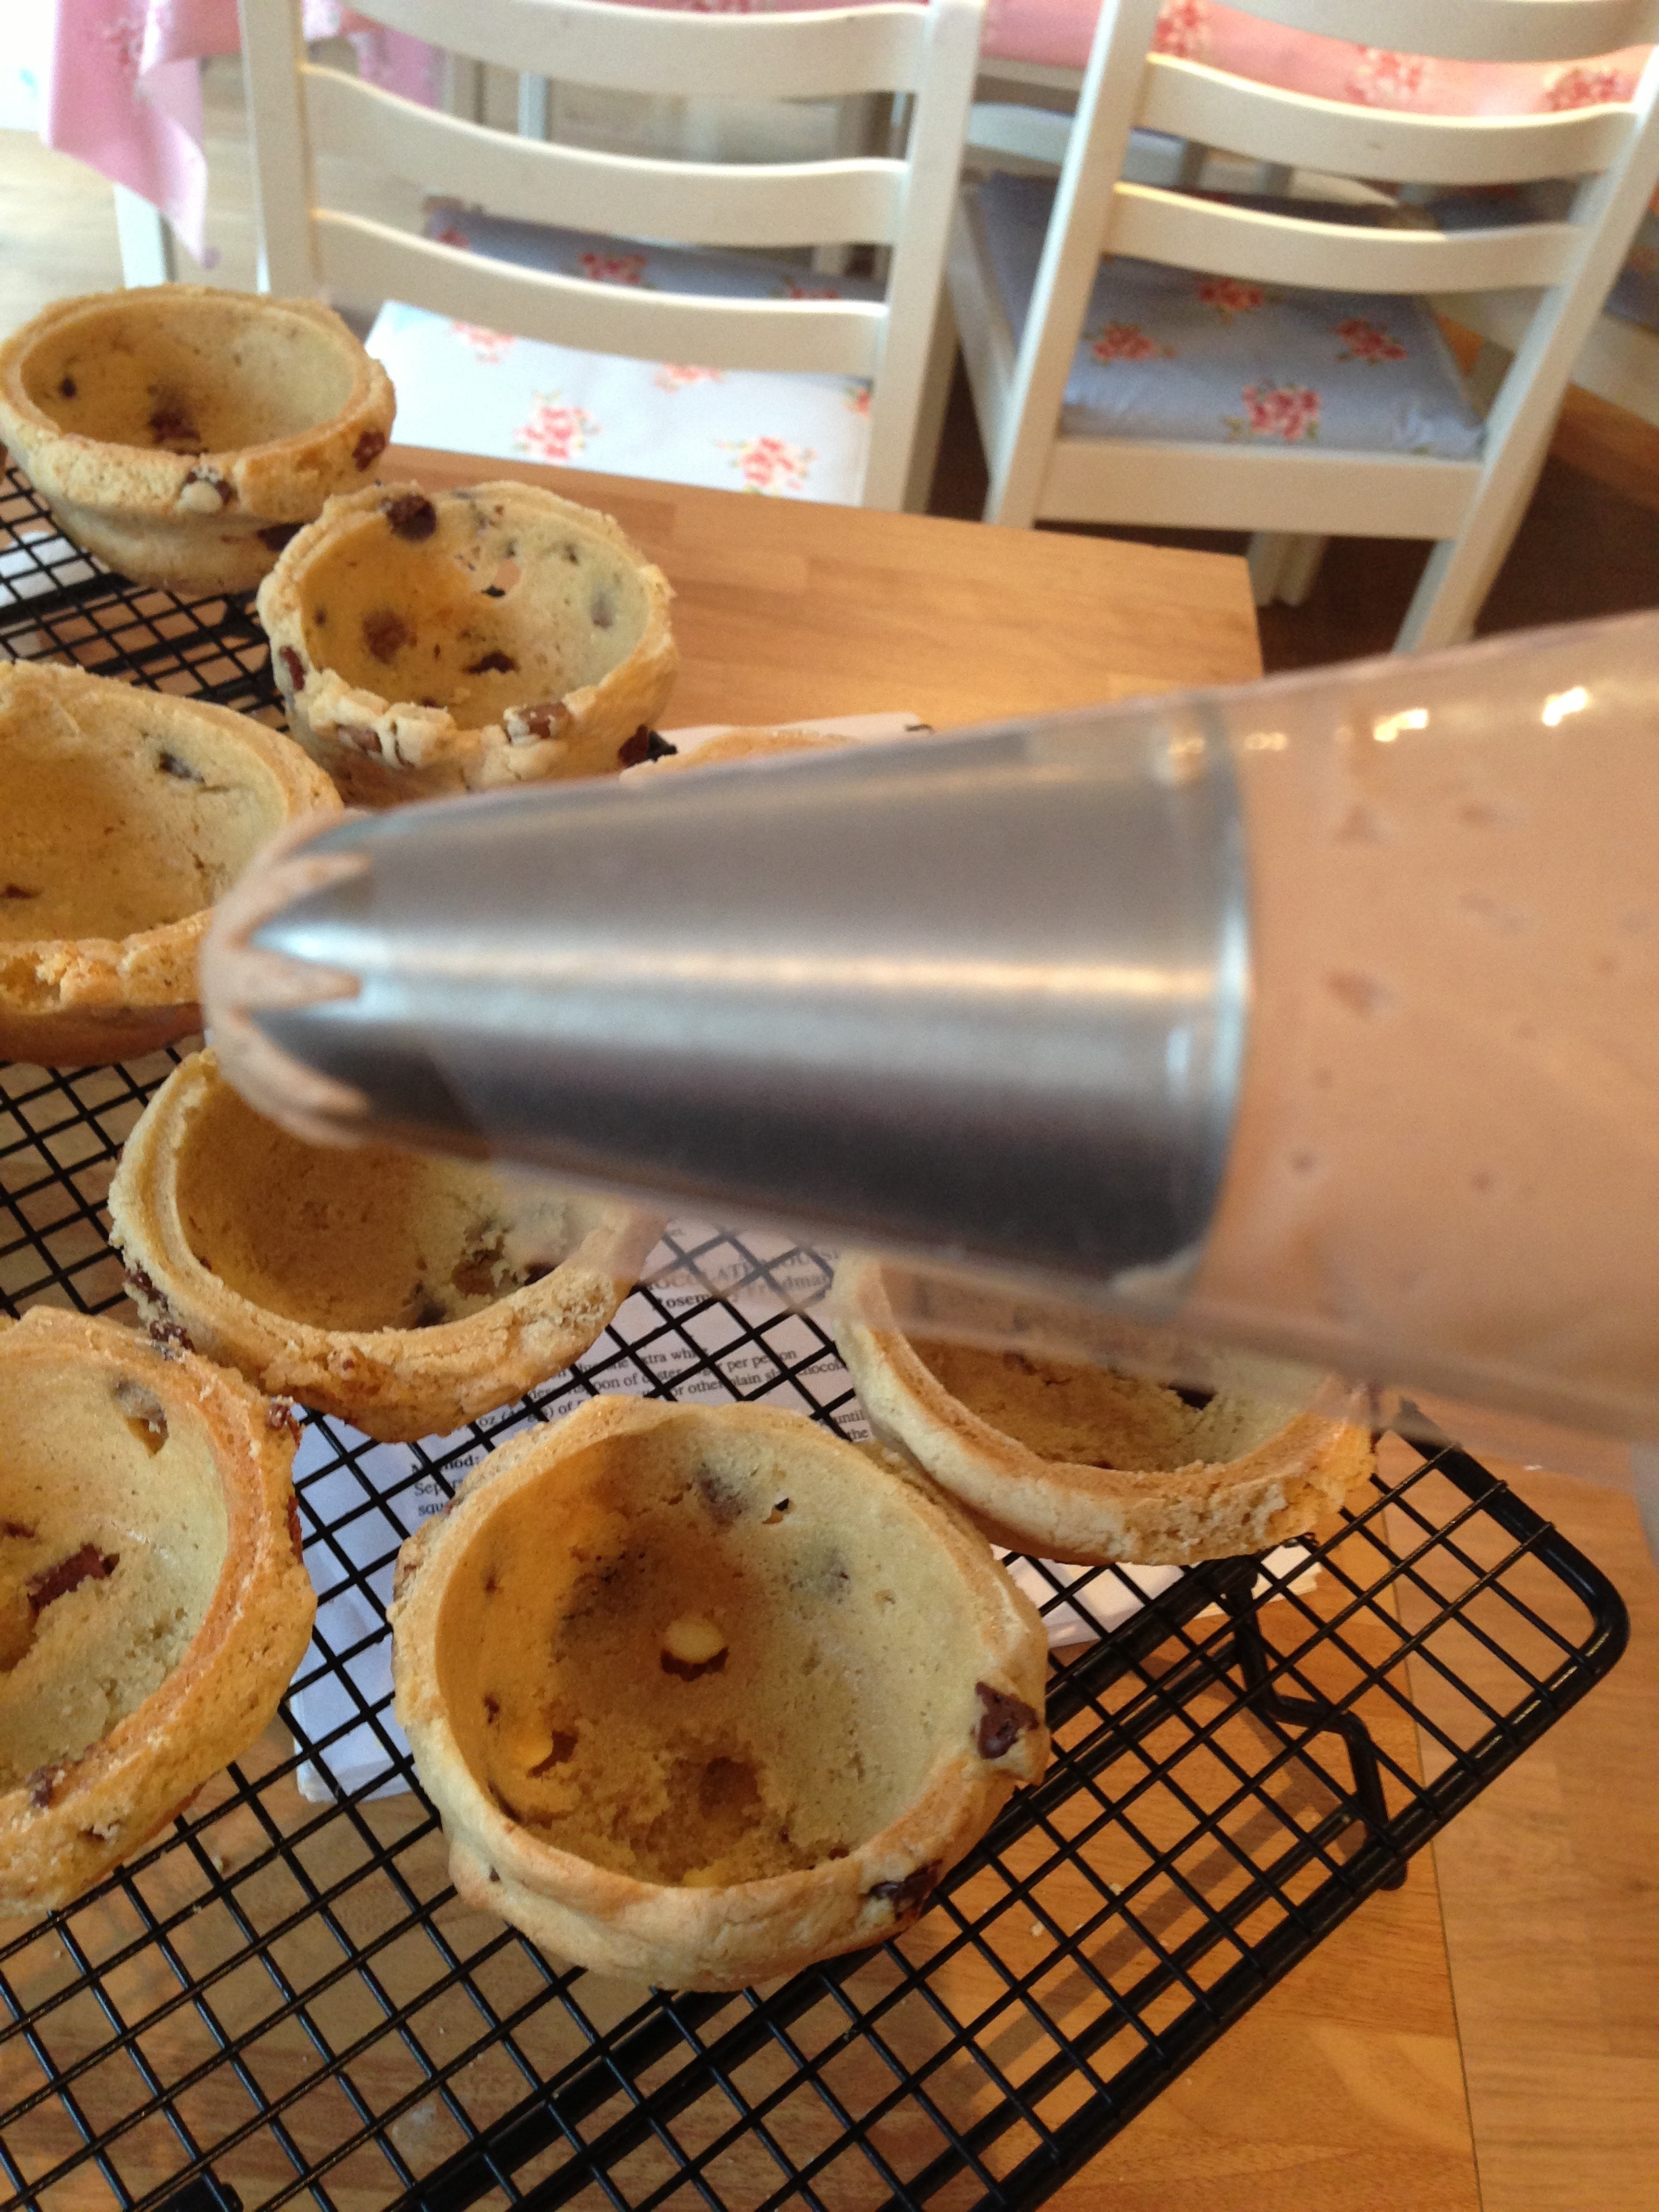
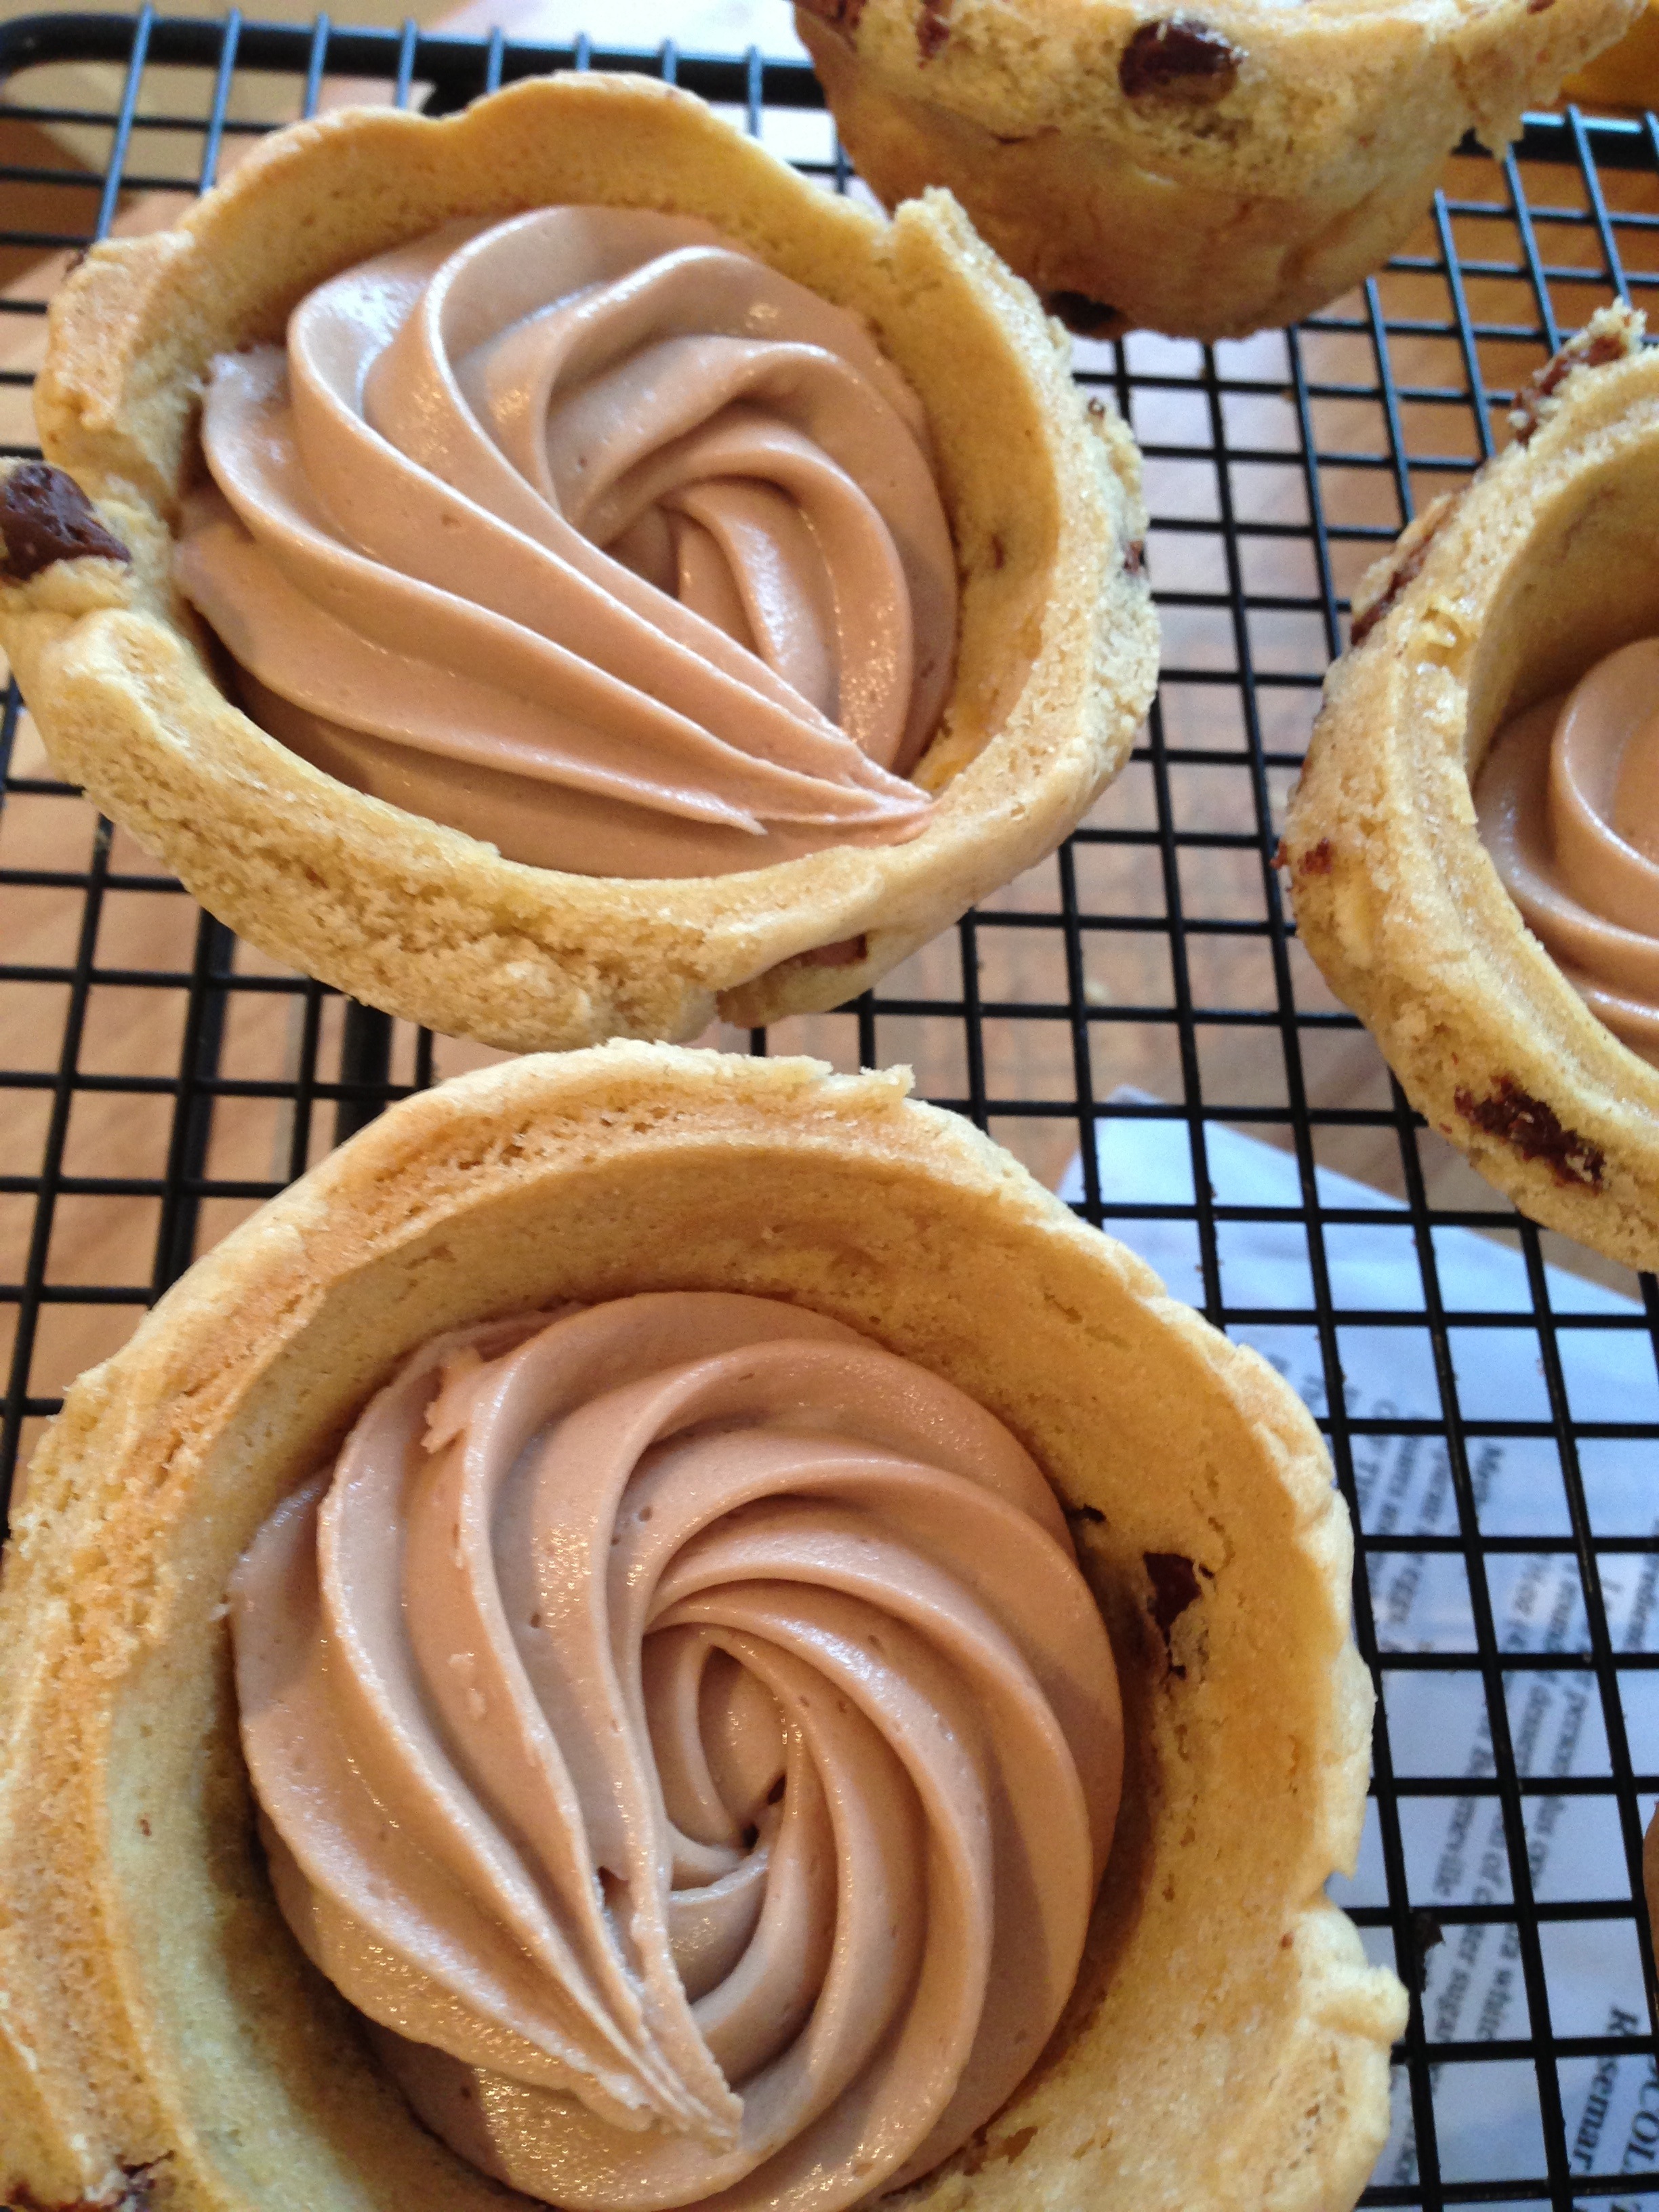
10) Roll your cookie dough into balls and flatten them slightly before pressing them onto the base of the tin, so that you end up with 12 cookie mounds. Please refer to the pictures below if you haven’t got a clue what I’m on about!! By the way, make sure that there is some space between the flat part of the muffin/fairy bun tin, and the edge of your mounds. Your mounds will expand and ‘grow’, so they need a little room!
11) Bake your cookie mounds in the oven for 13-15 minutes. Approximately 2 minutes before the end of the baking time, turn your tray around to ensure even baking.
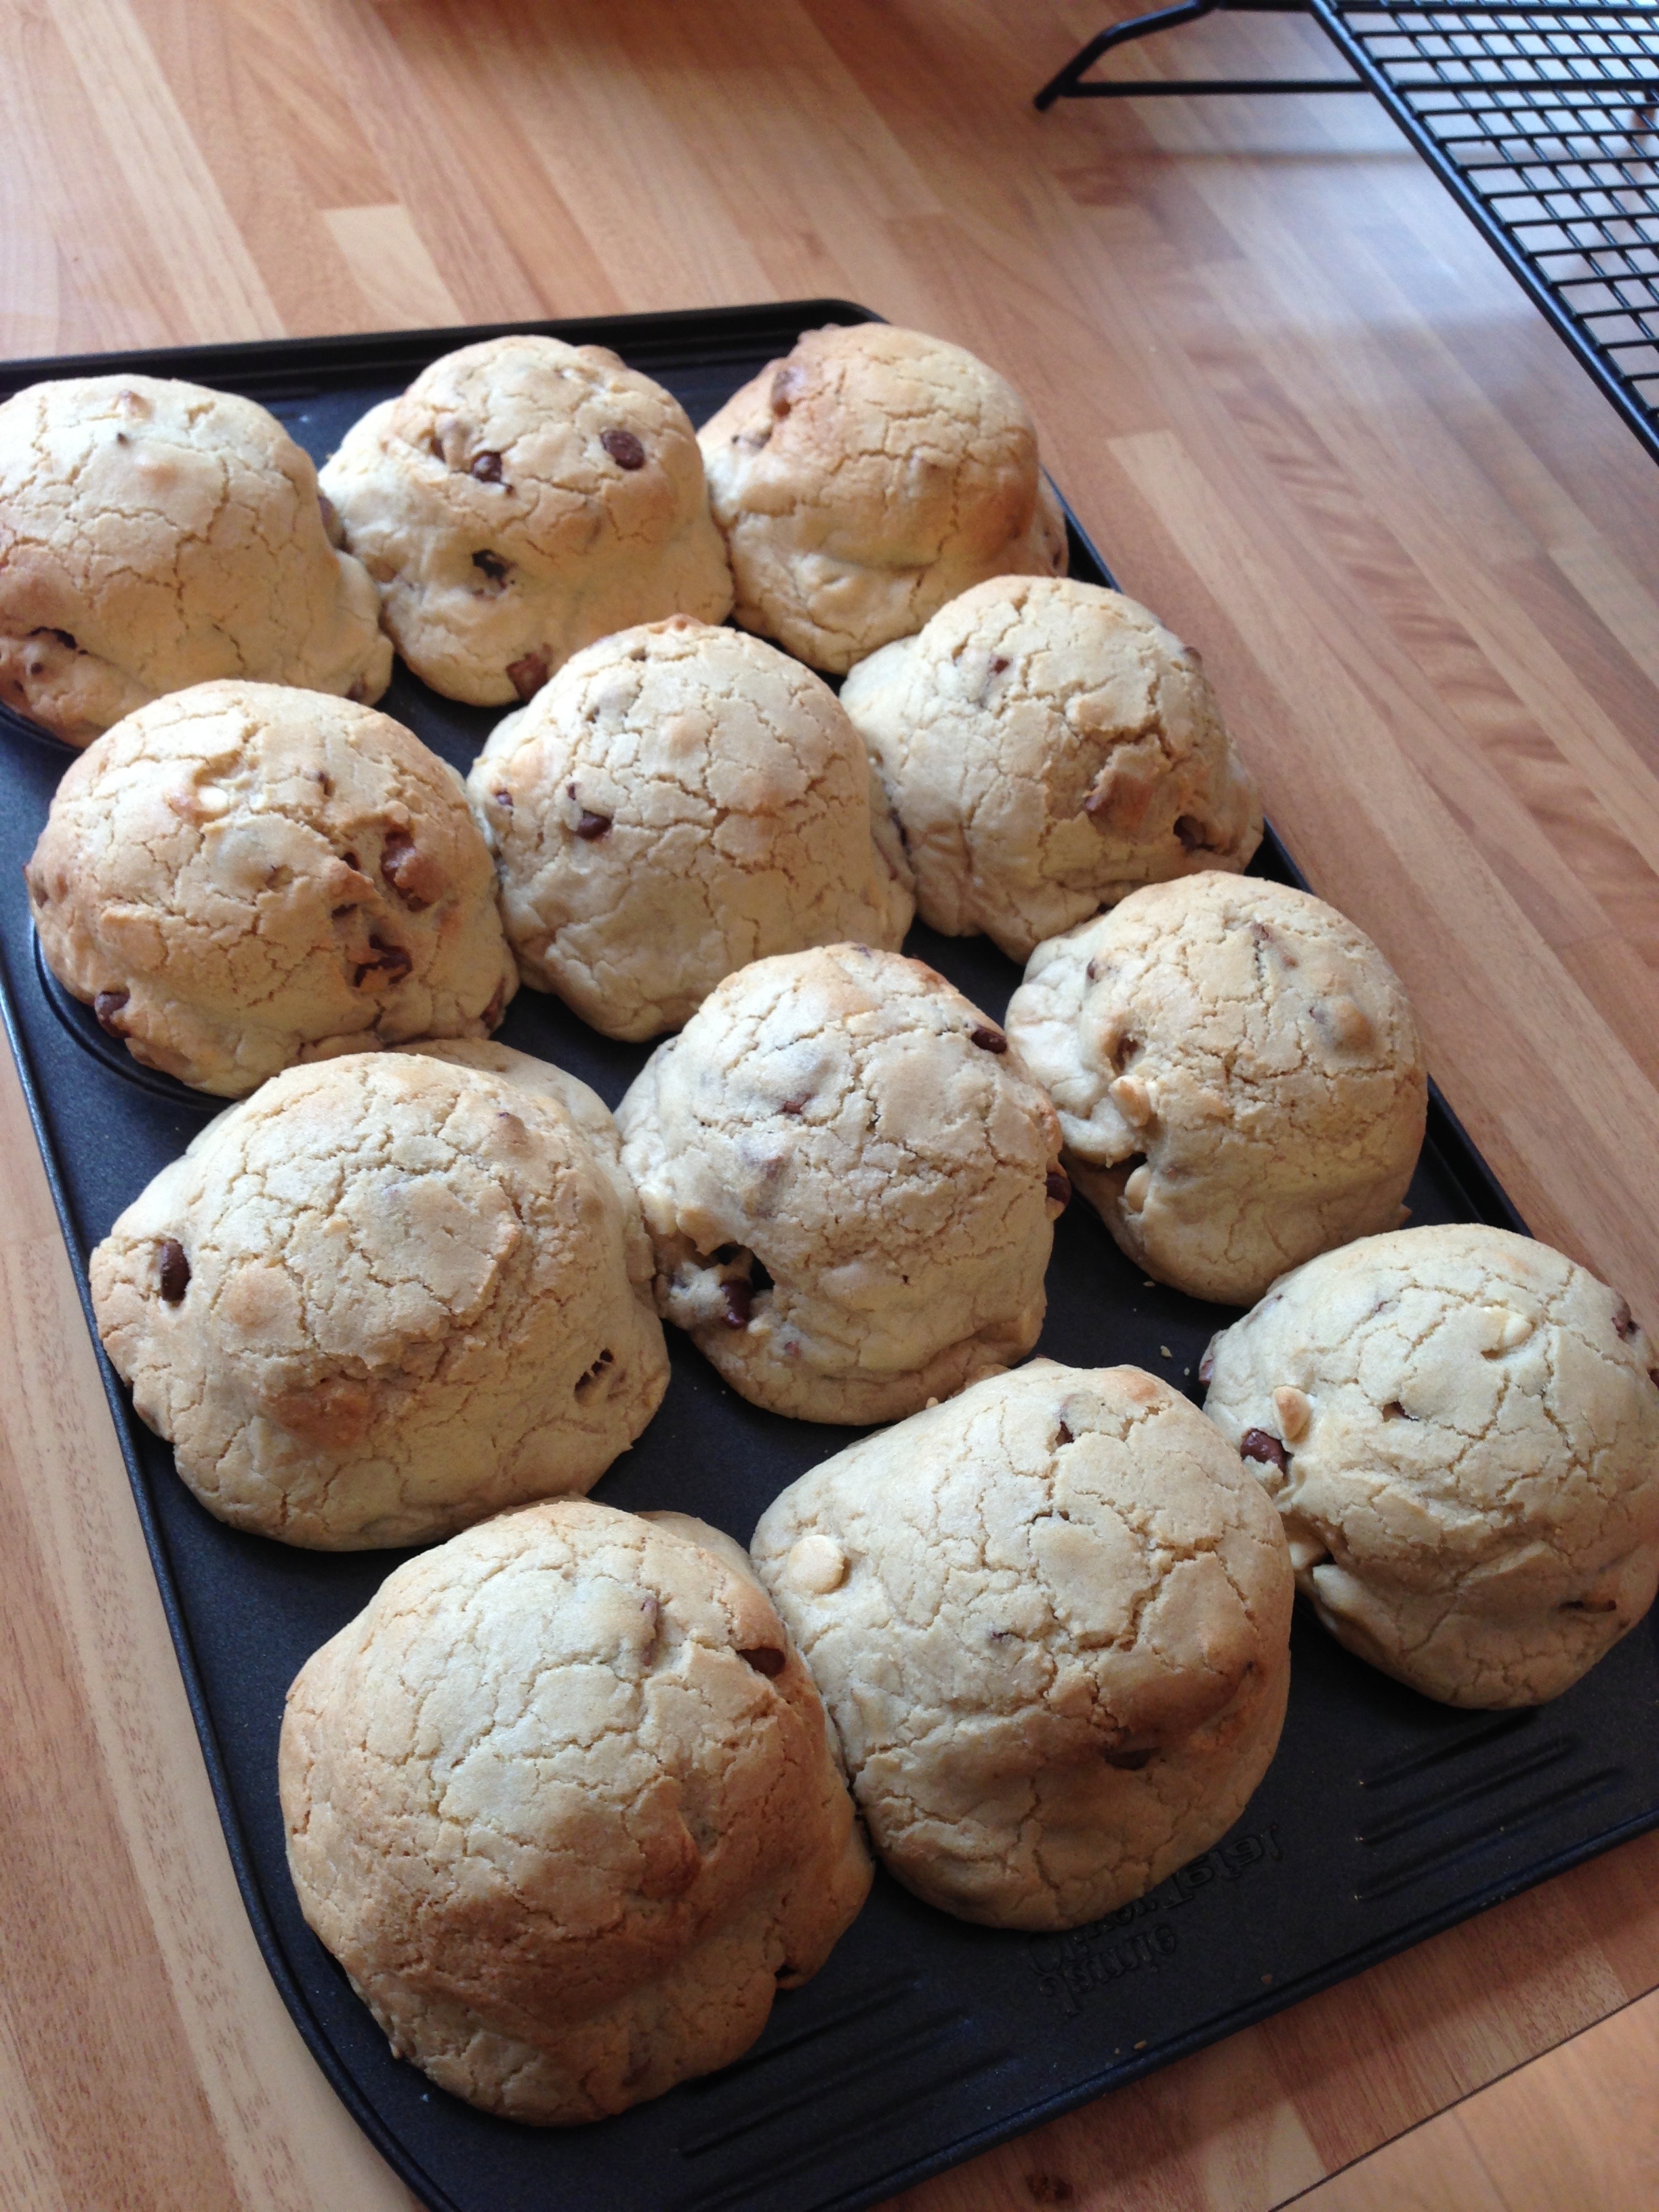
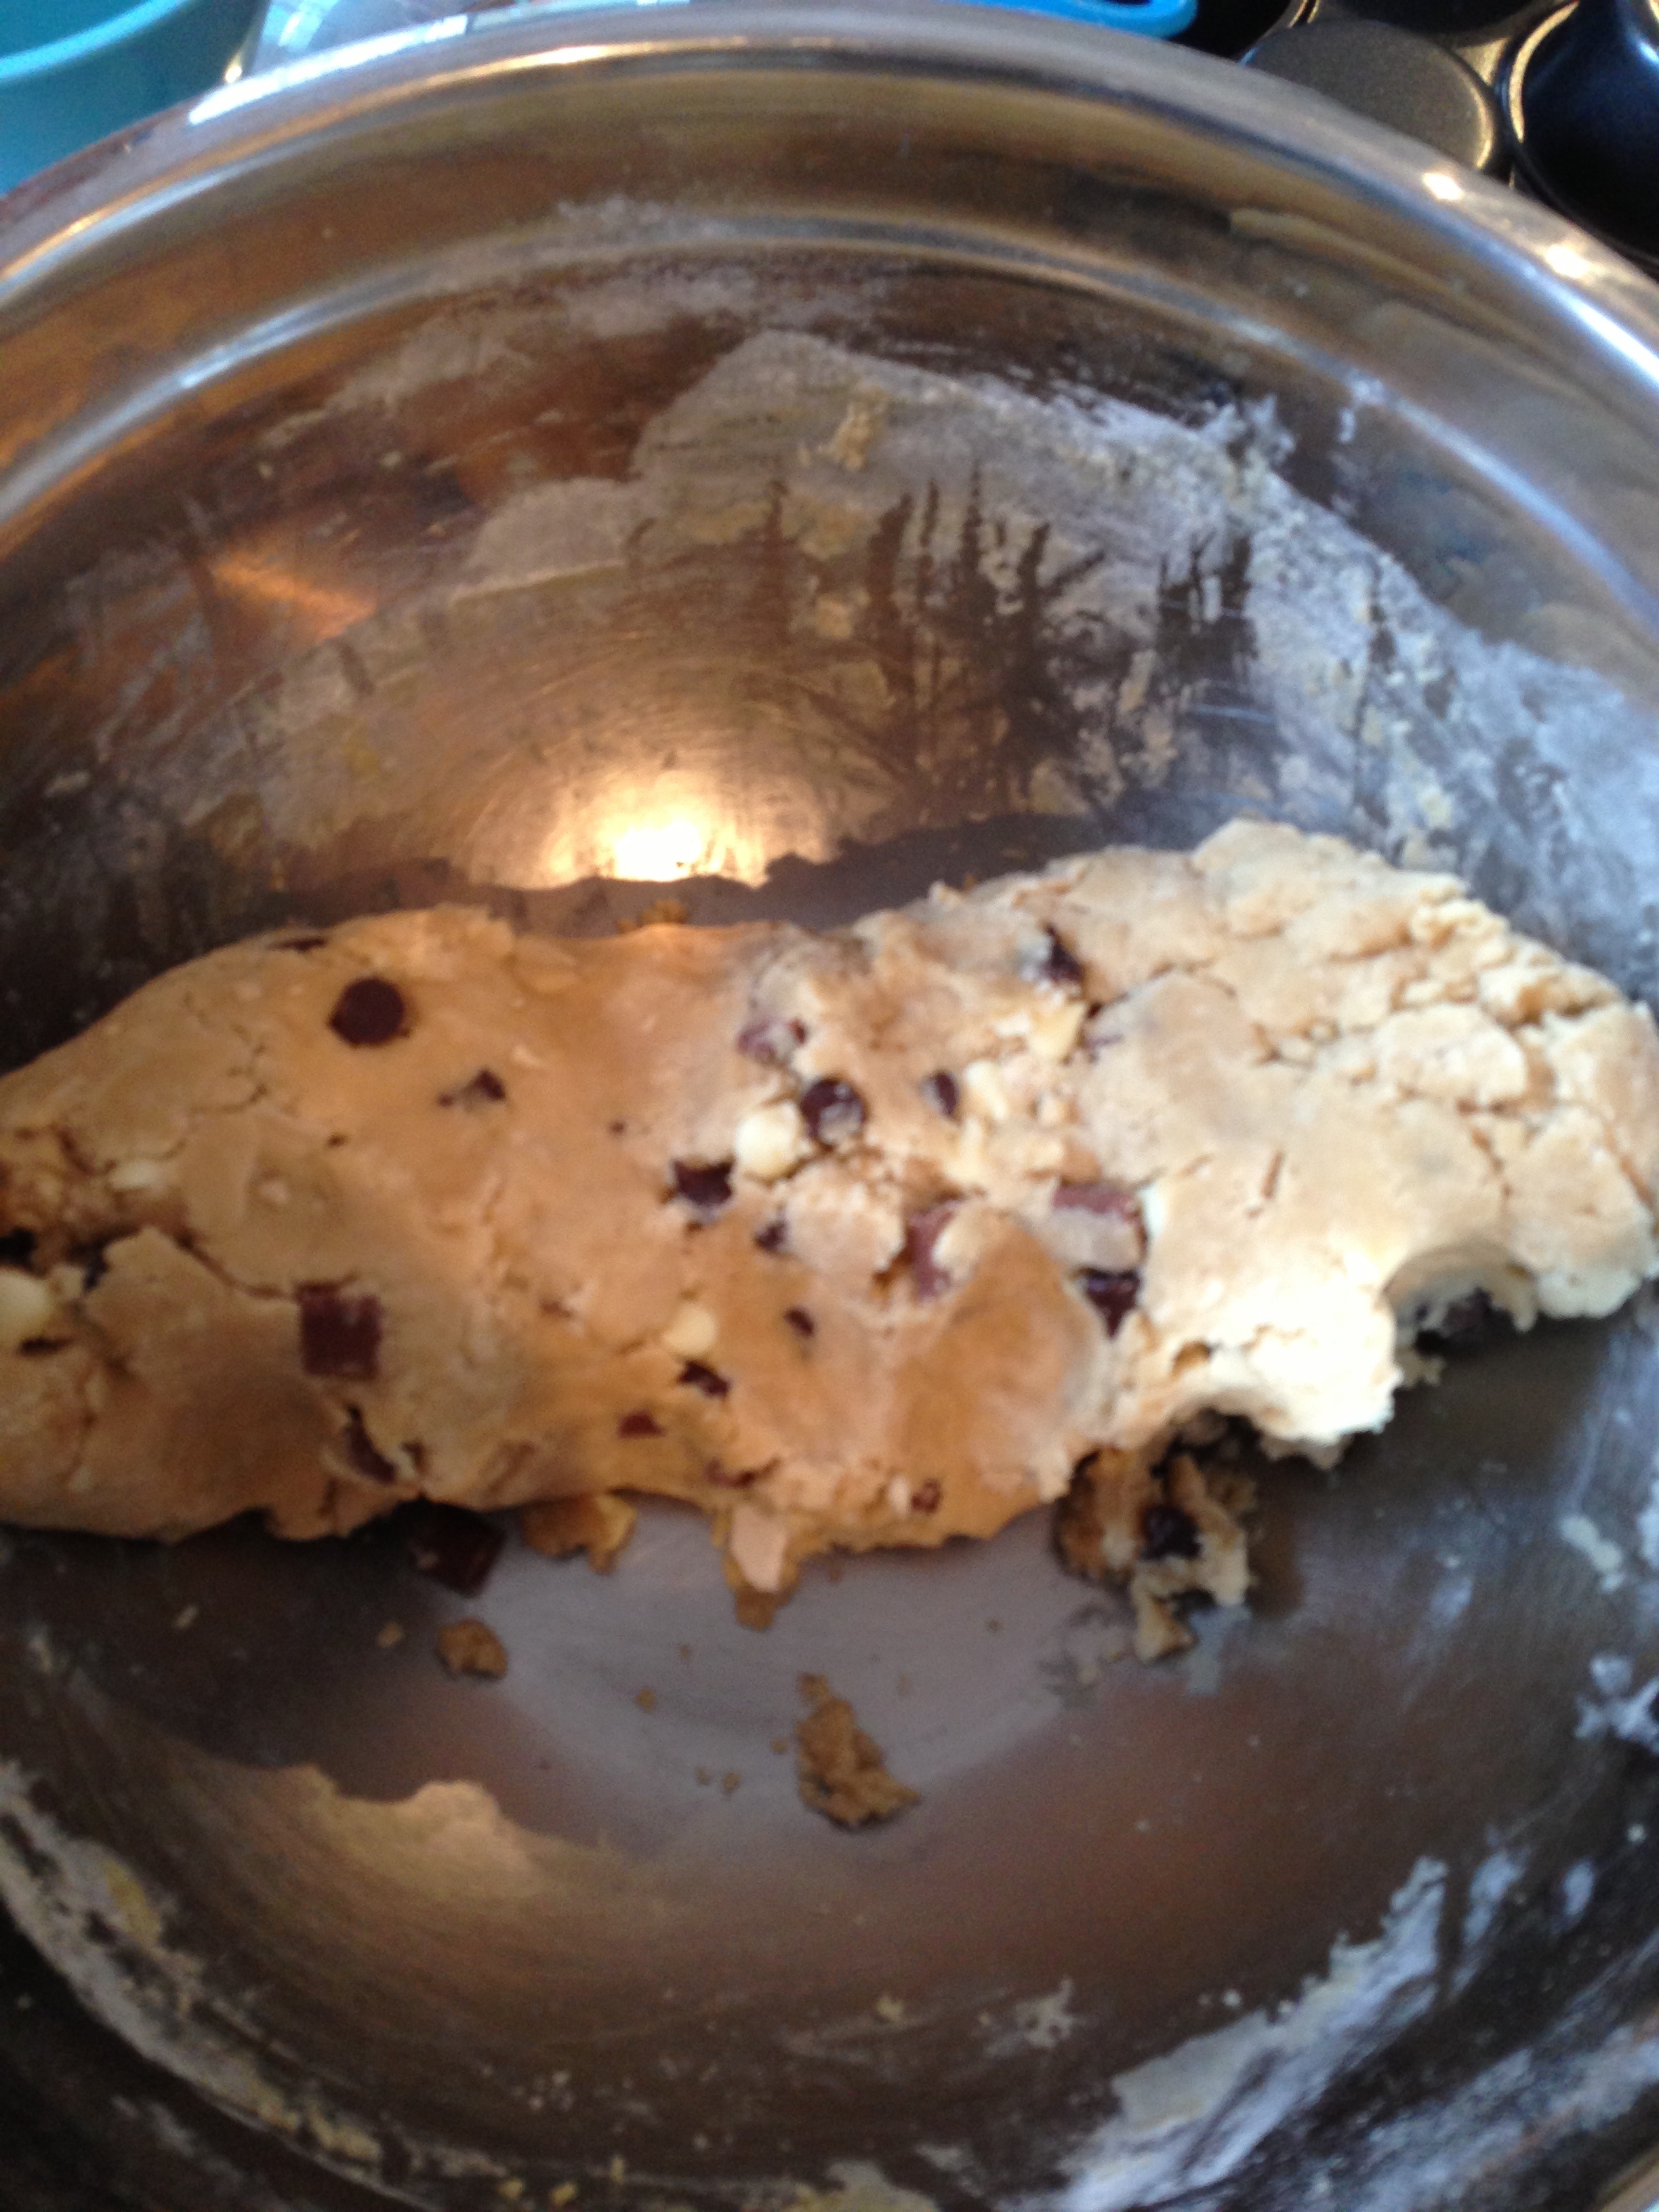
12) Once out of the oven, set your tray aside for 20 minutes. Do not attempt to remove the mounds too early, otherwise this will happen:
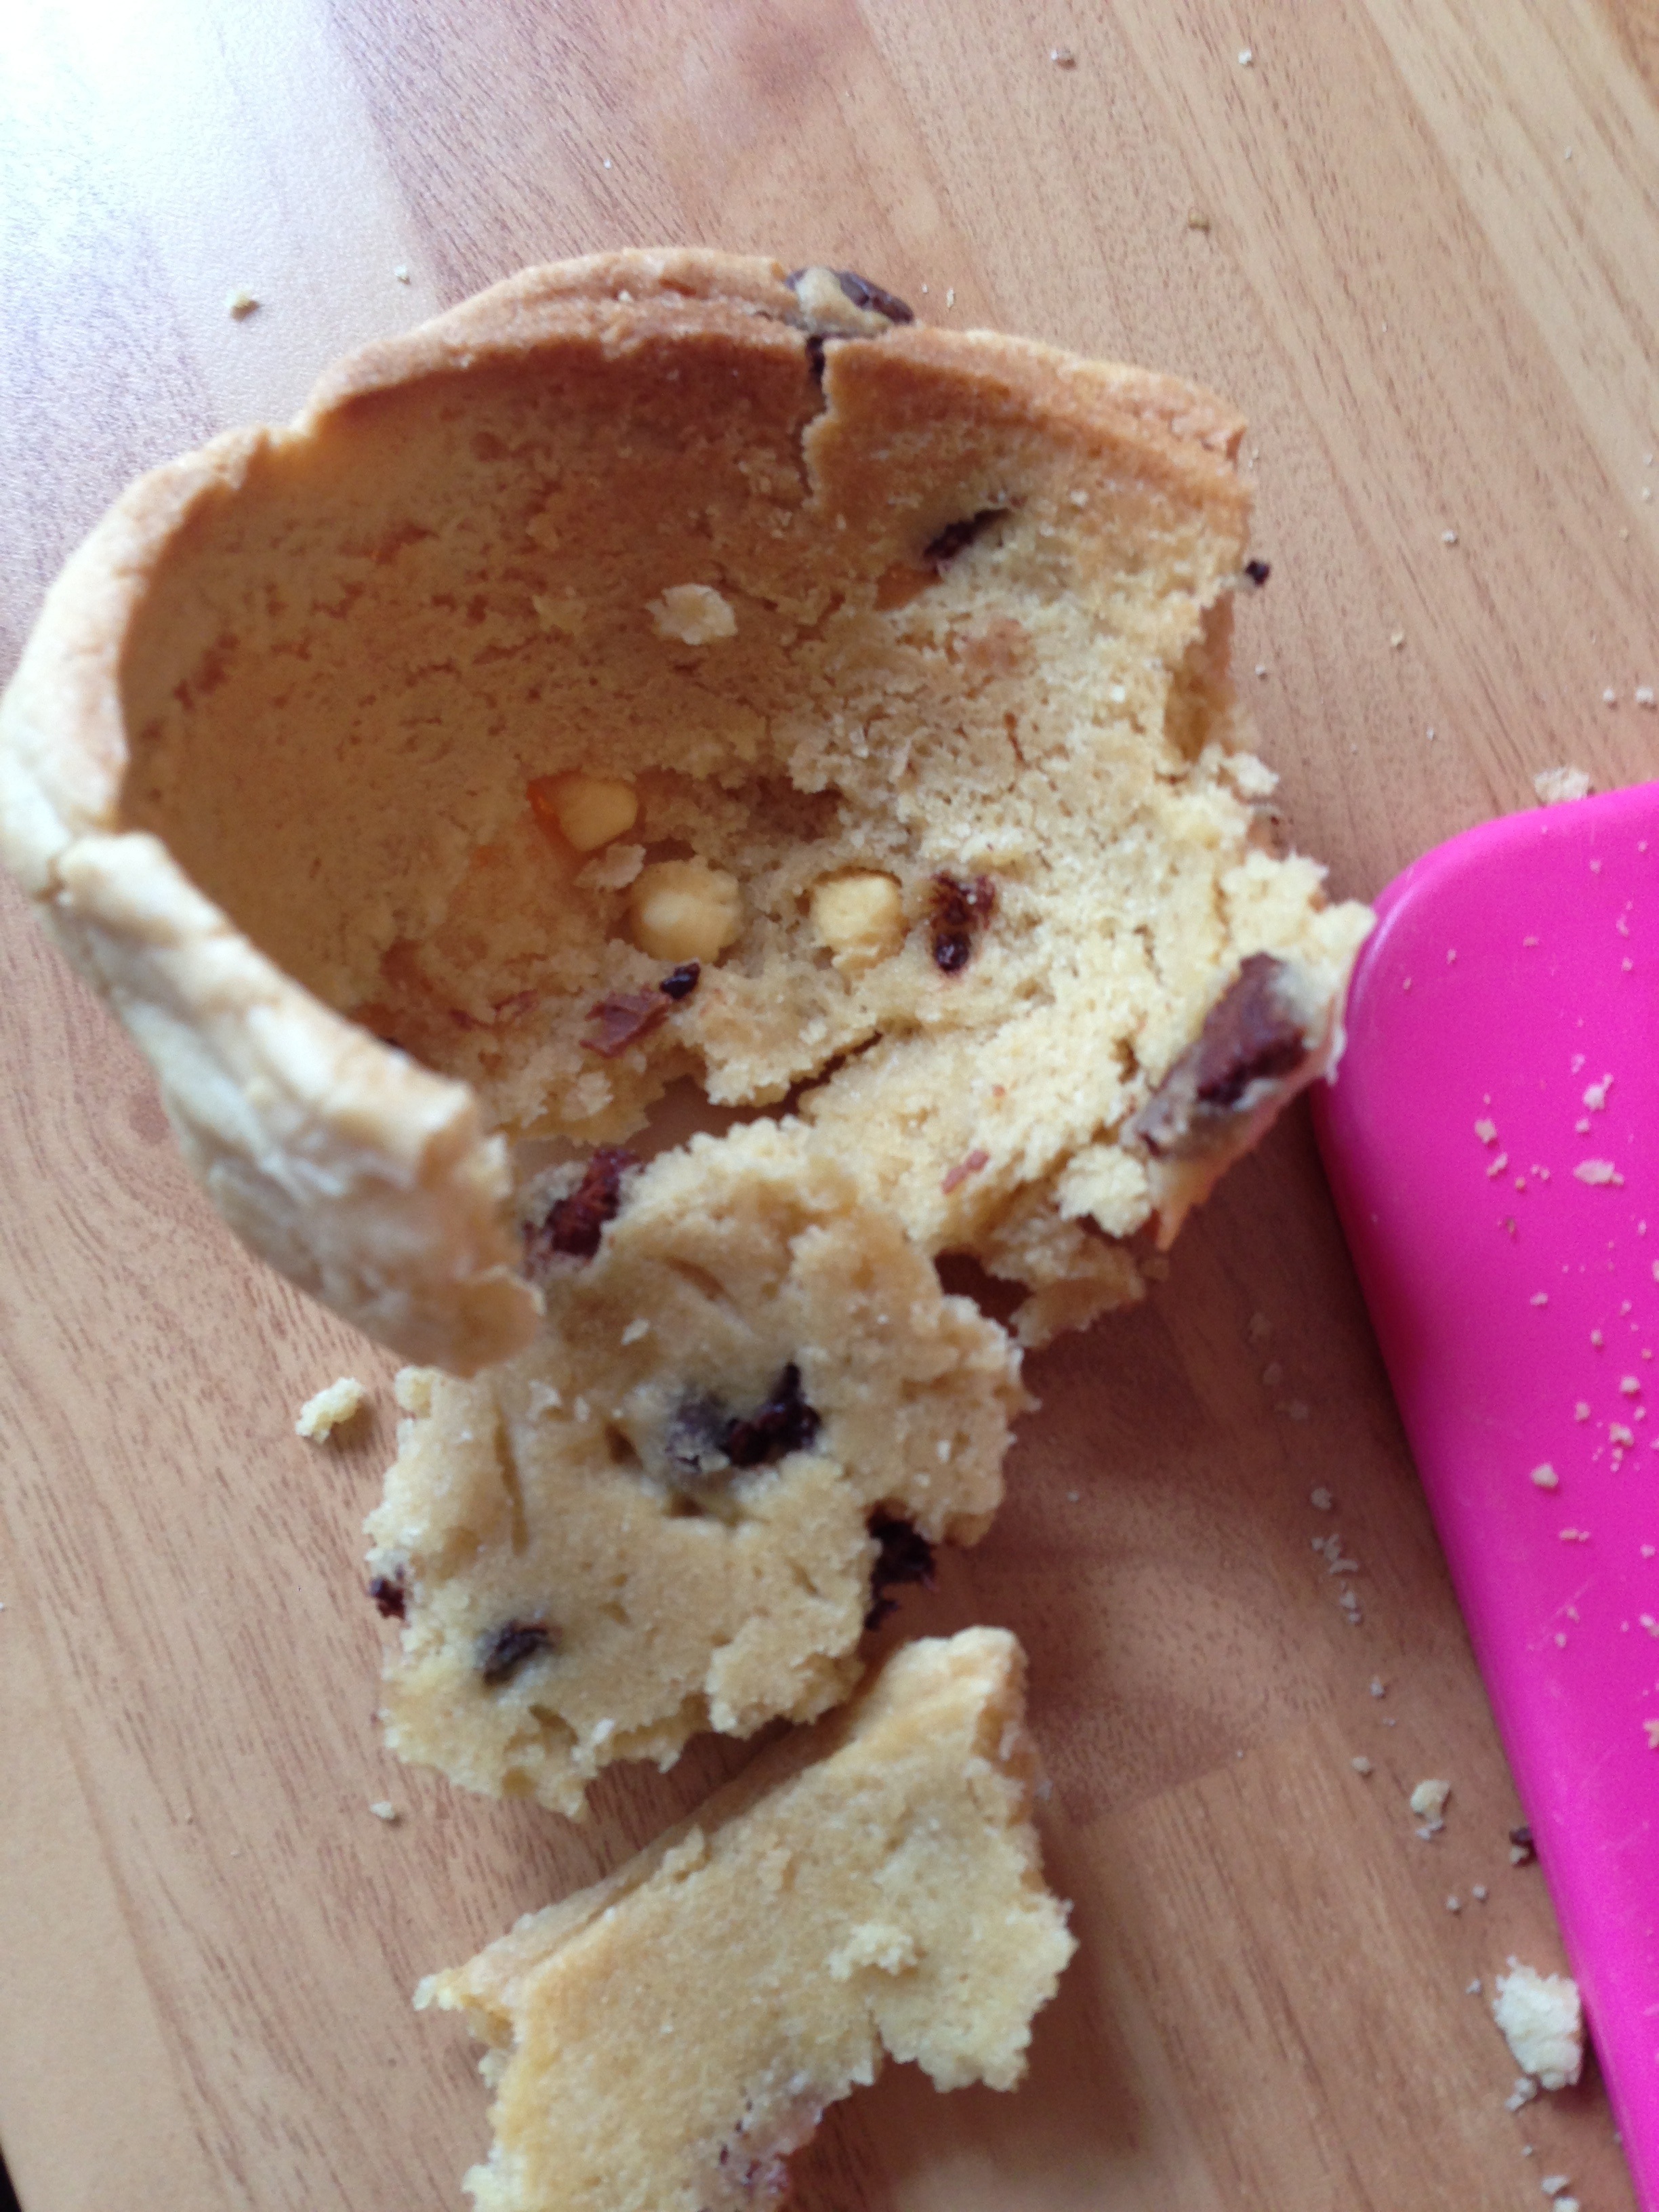
13) After 20 minutes, and using a palette knife/regular knife) carefully loosen the mounds for the tray. I repeat, be careful!! Do not, however, allow your cookie mounds/cups to cool completely on the tray as they will not come off when they are hard. (Good luck!)
14) Once free from the tray, turn your mounds around (try and say that fast) and leave them to cool on a wire rack or cake plate. They are now officially your cookie cups. You may also trim them slightly to neaten them up!
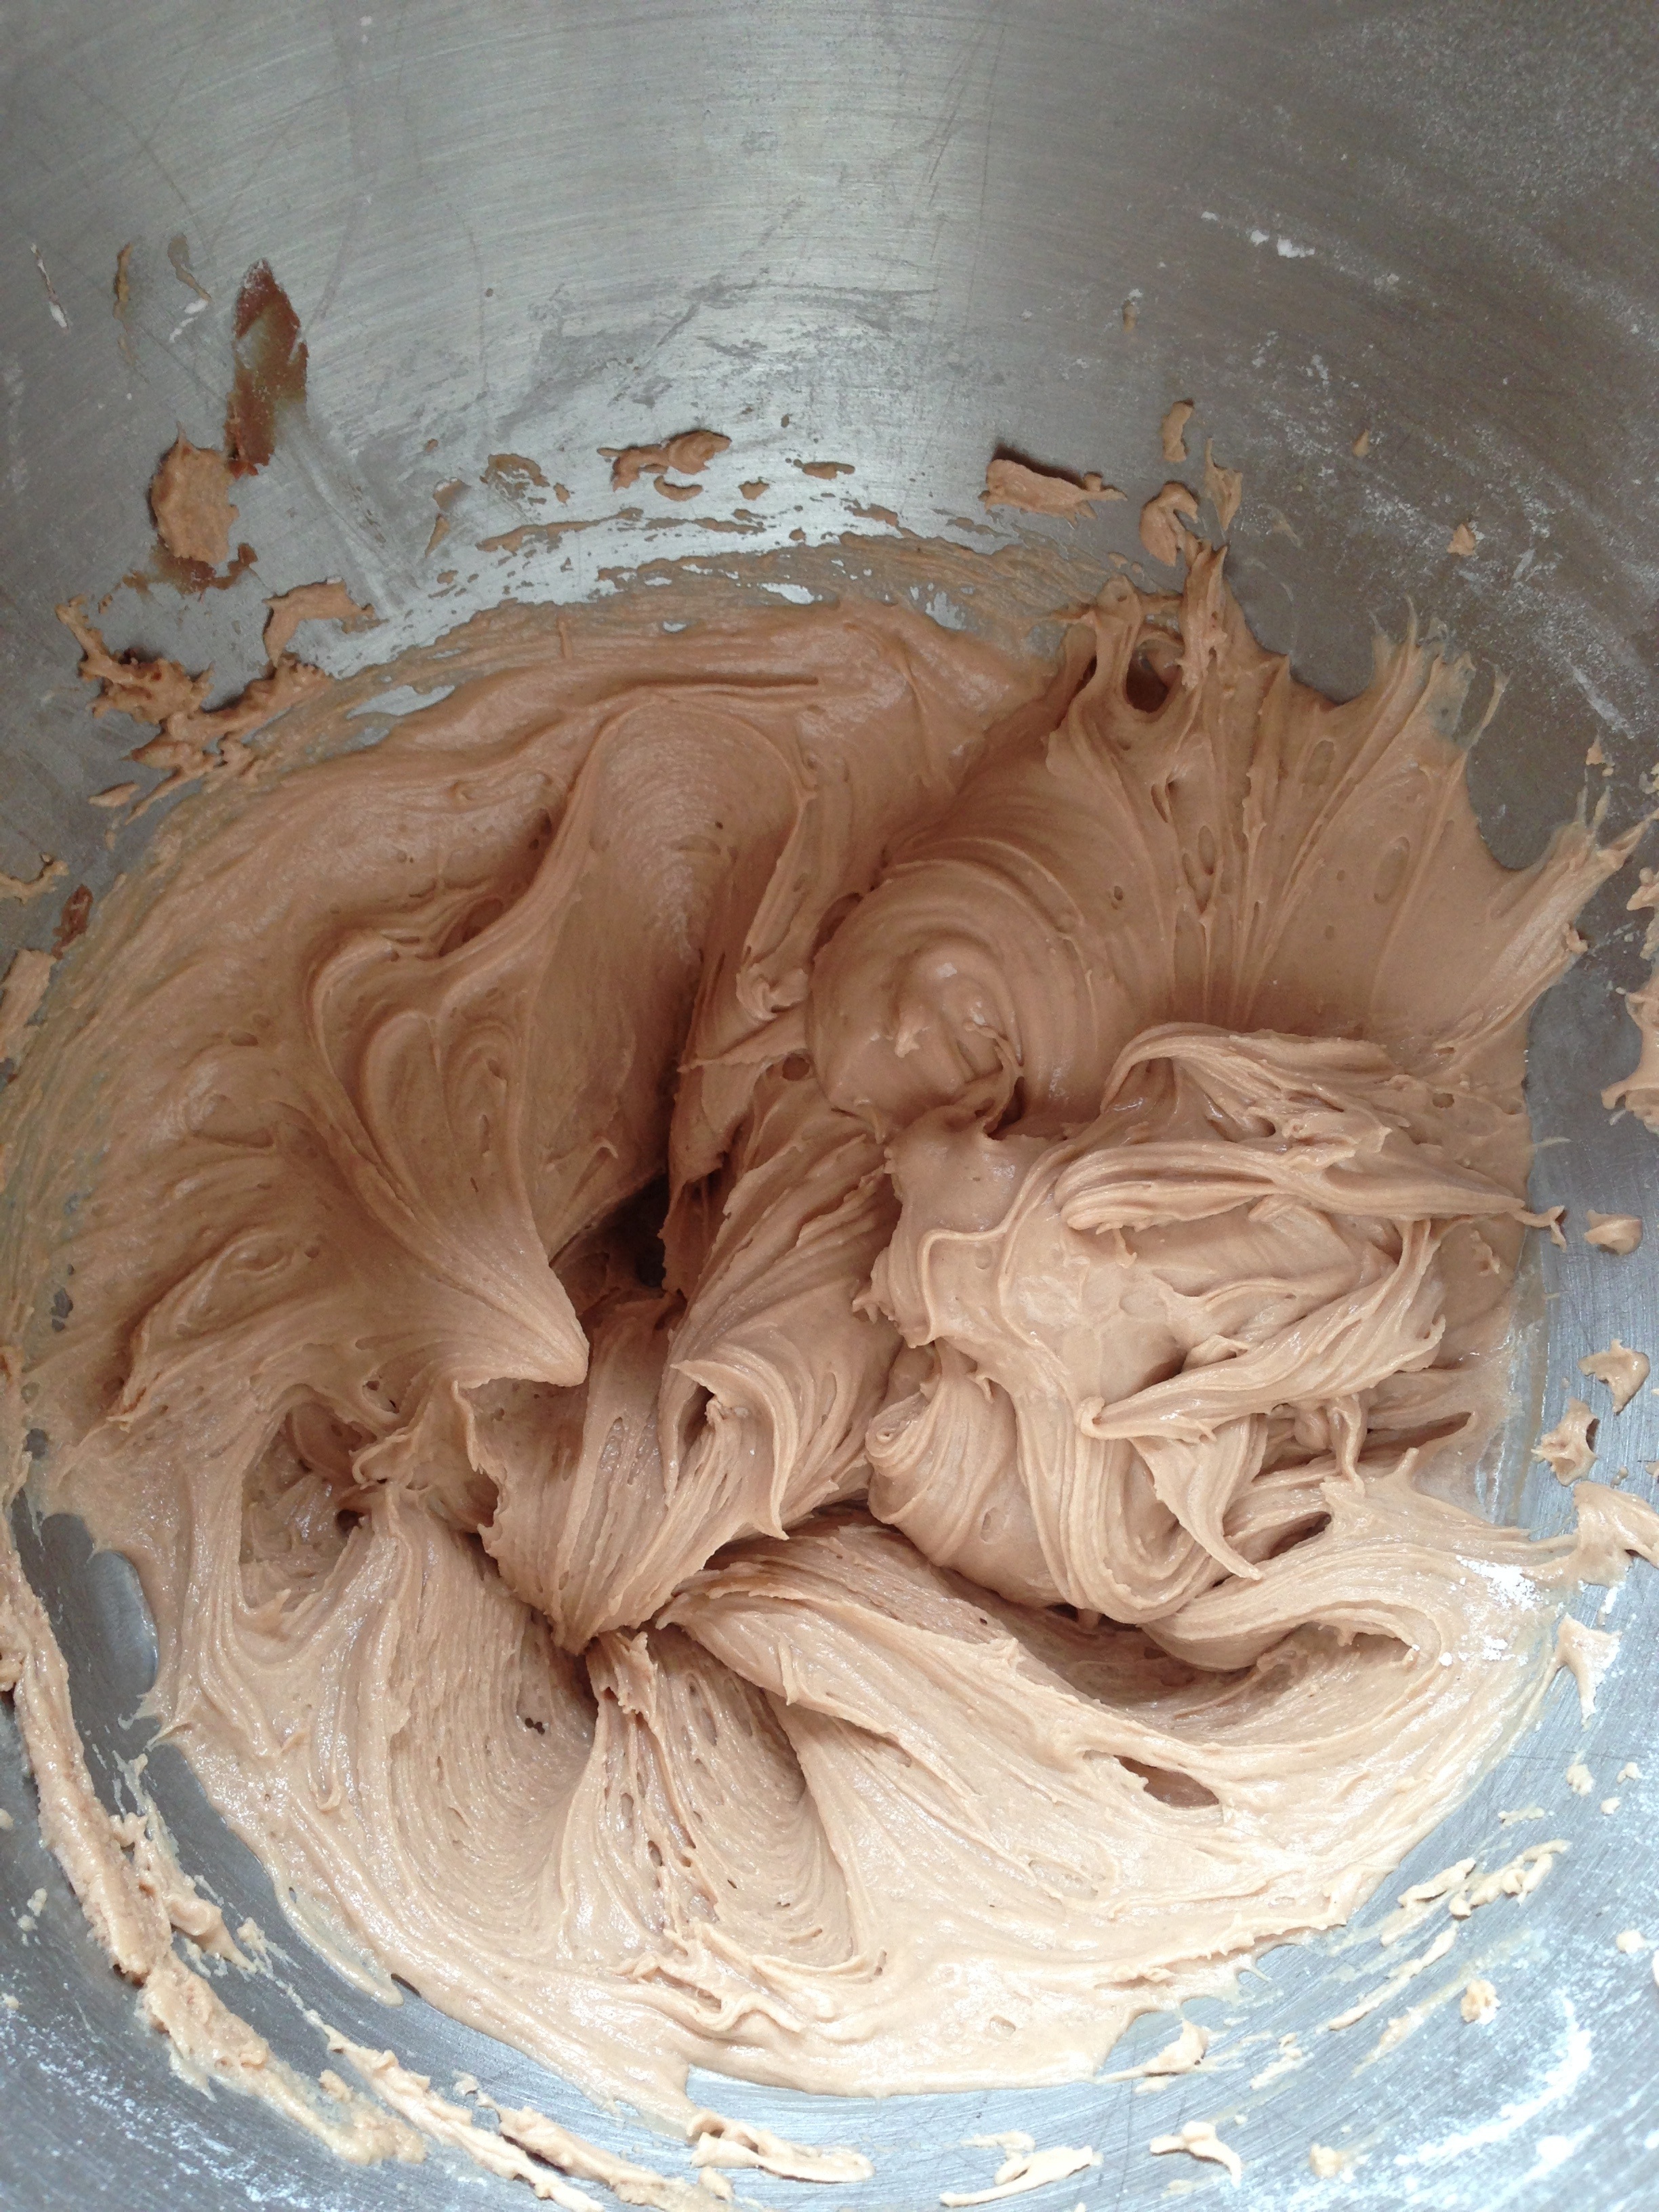
15) Whilst cooling, make your icing.
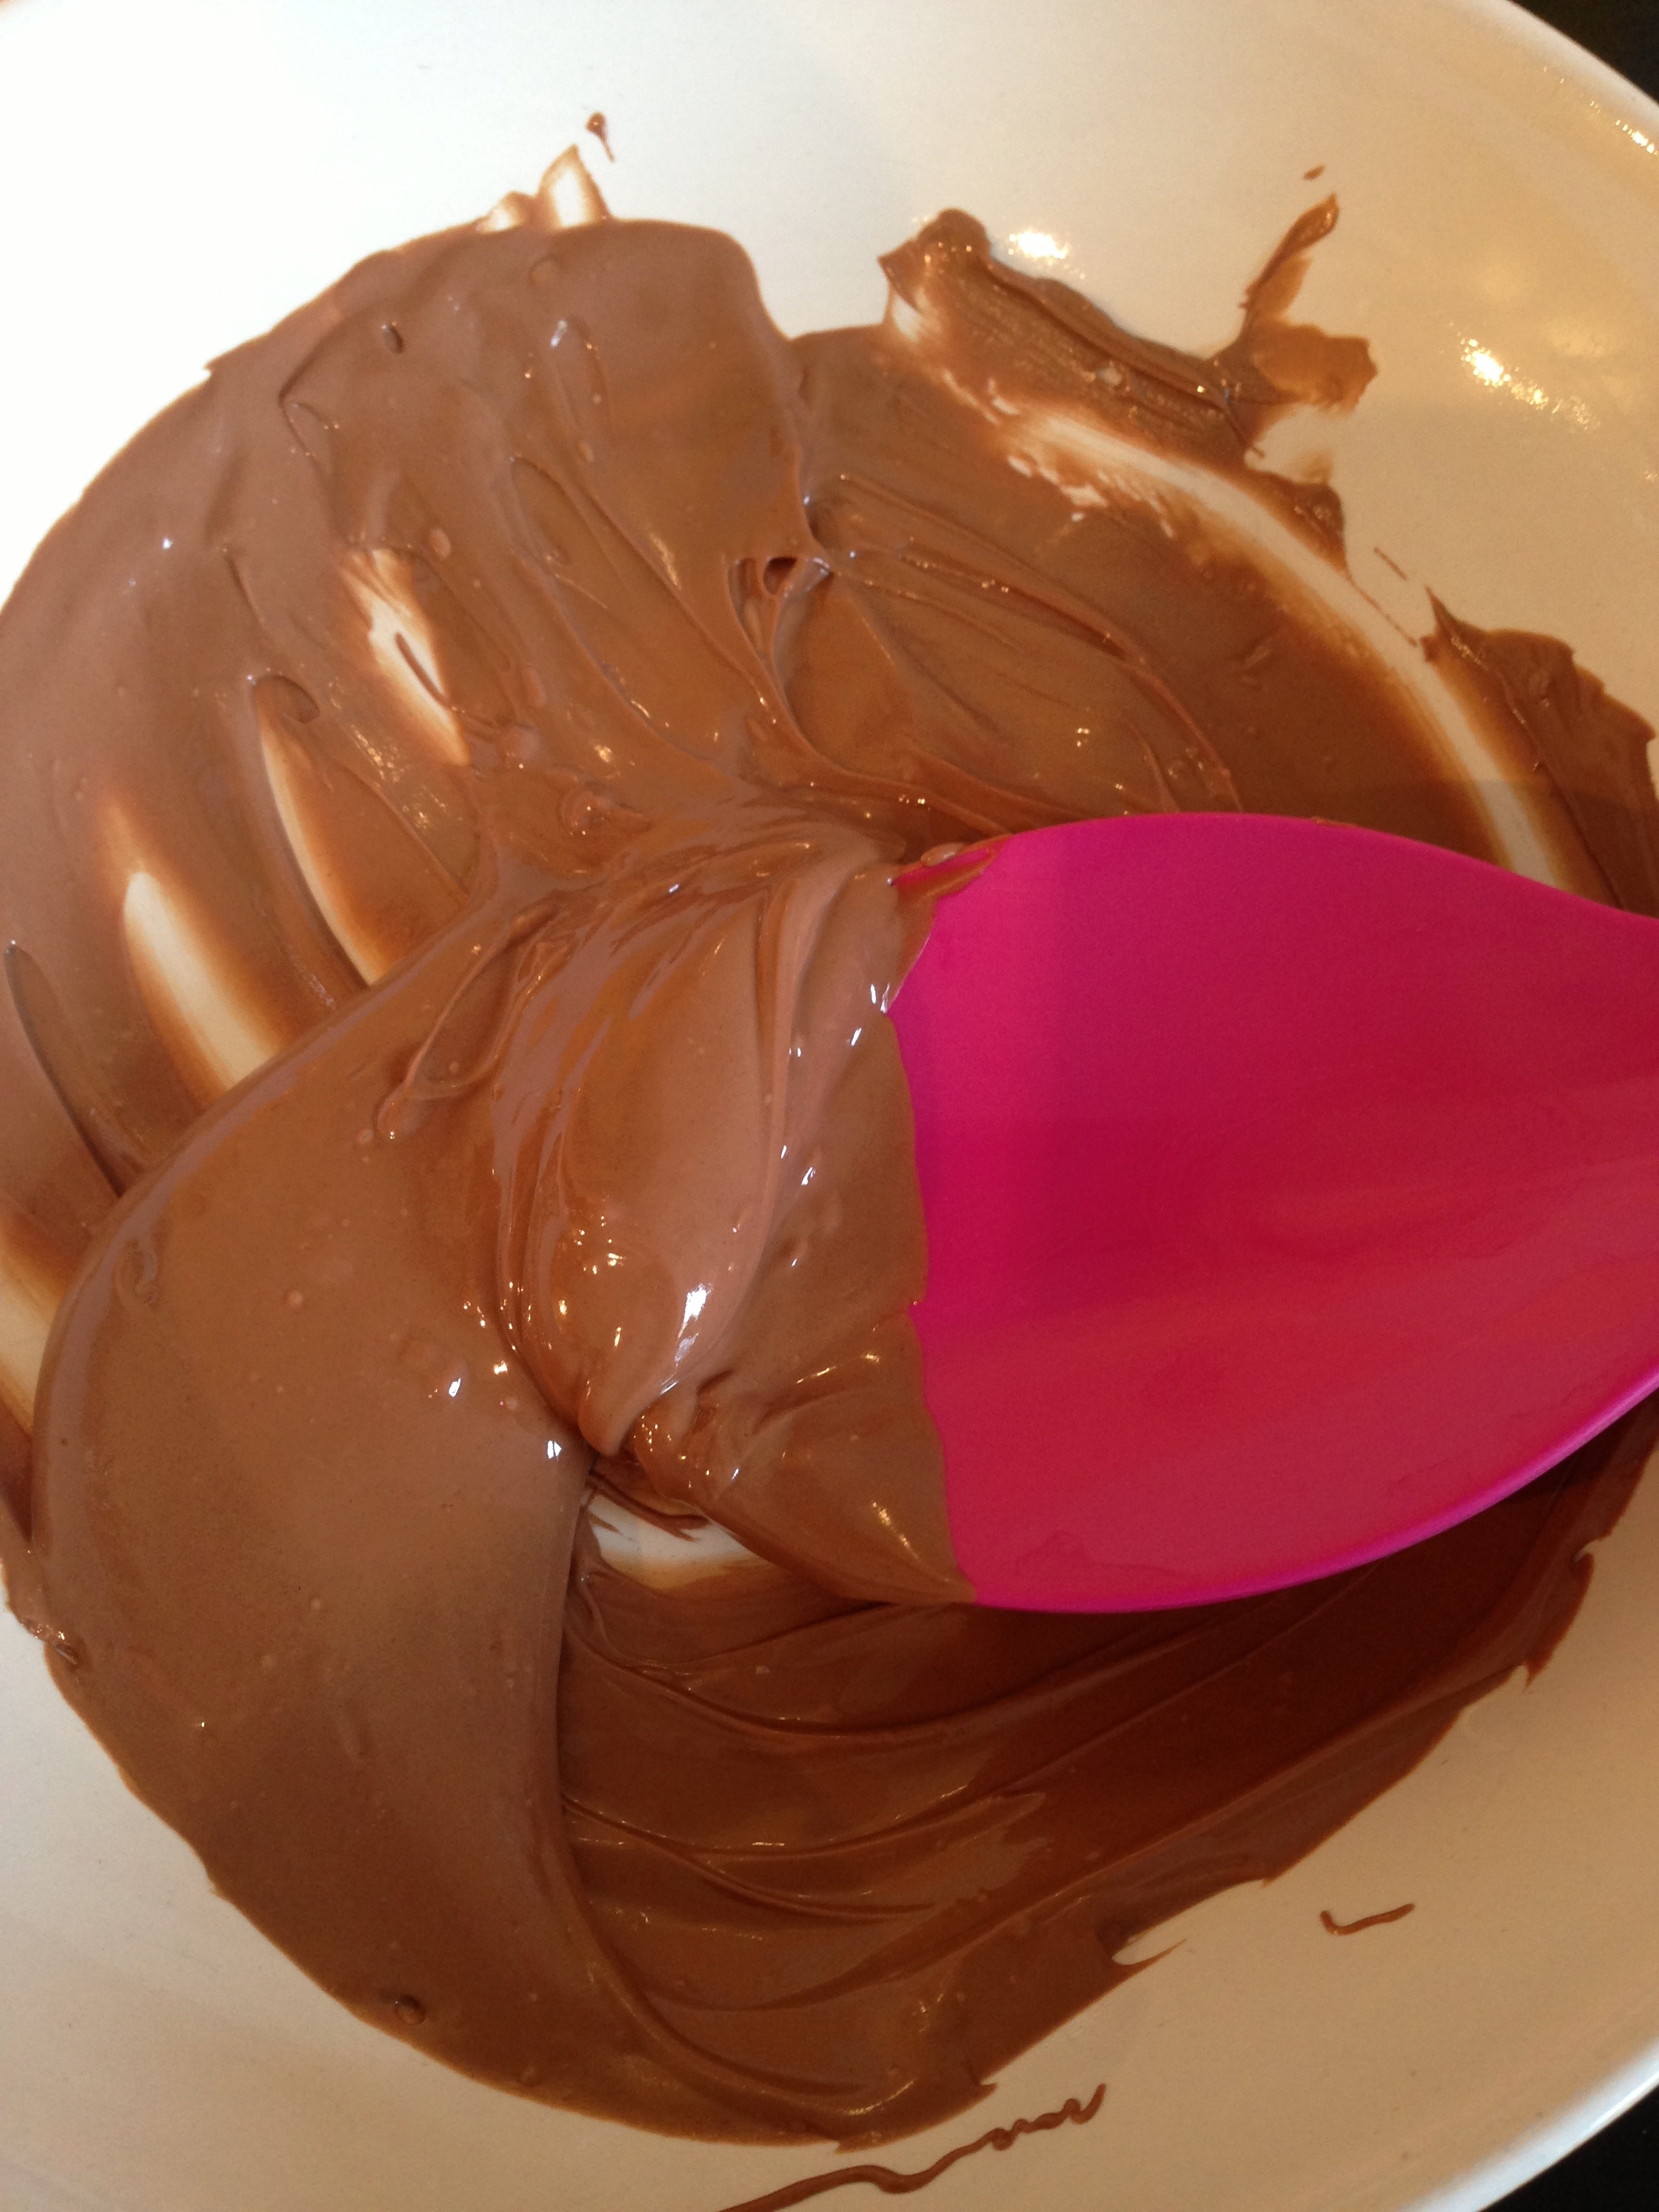
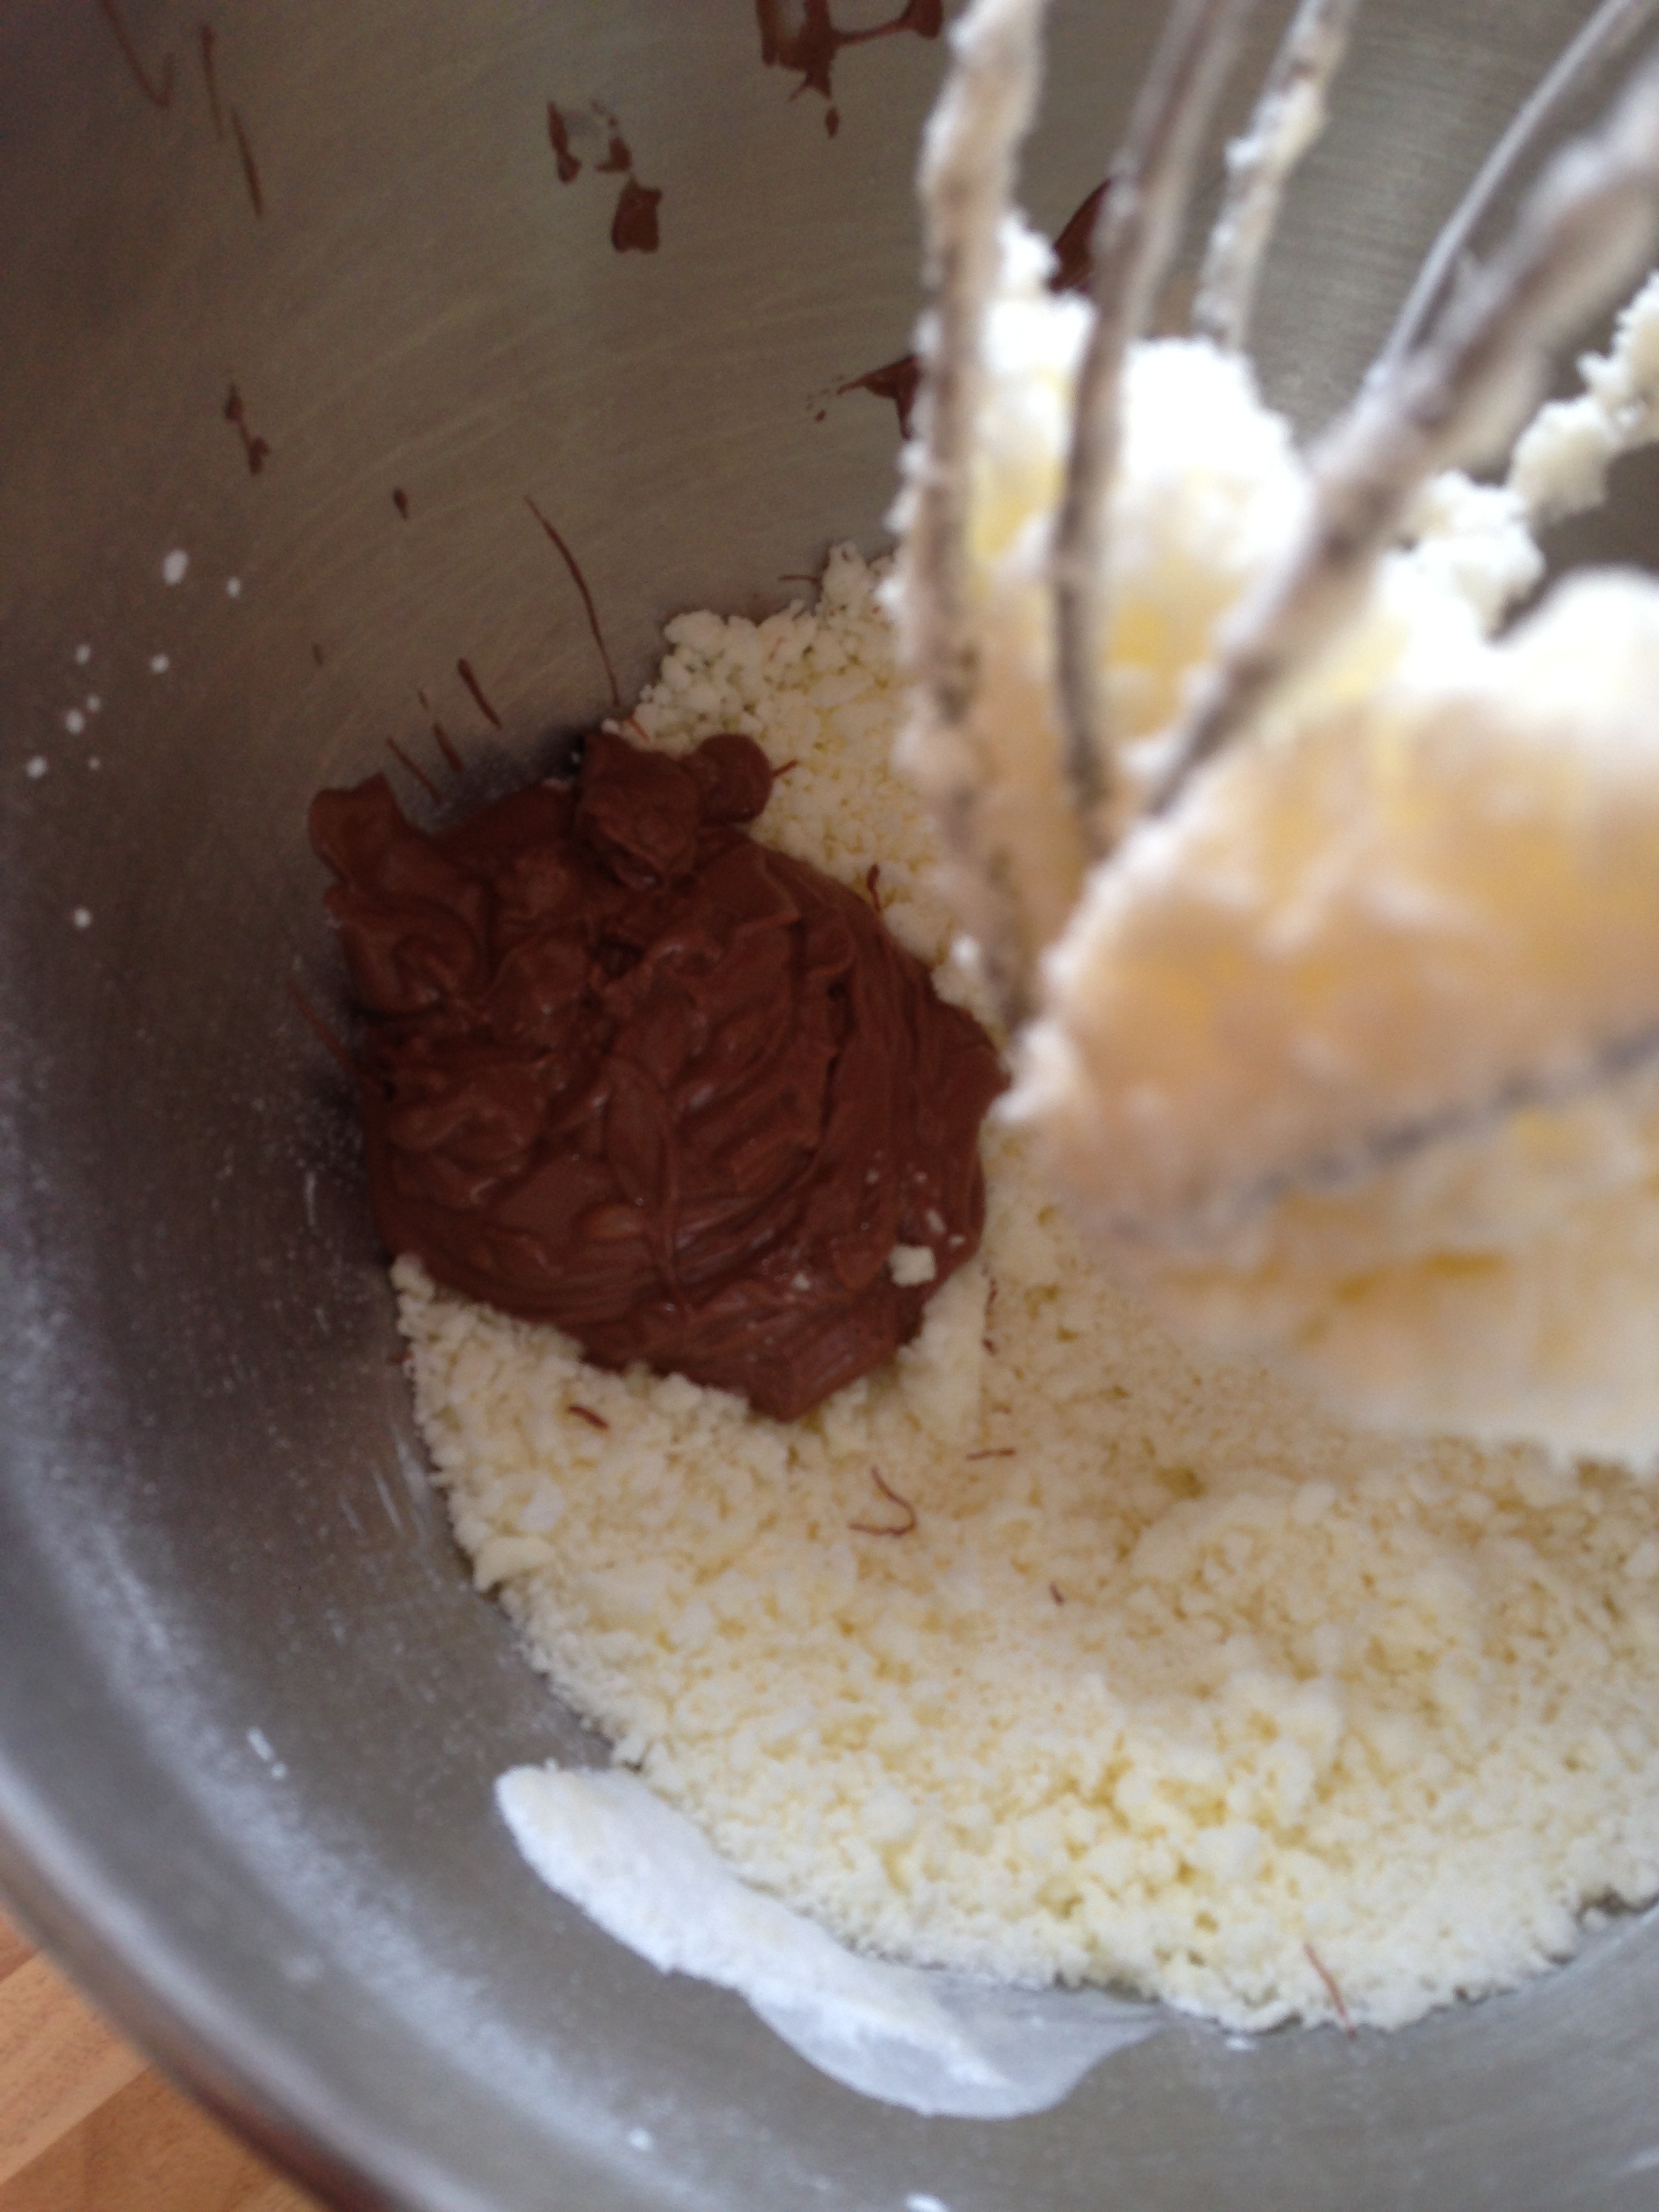
16) Melt your chocolate in a bowl set over a pan of simmering water.
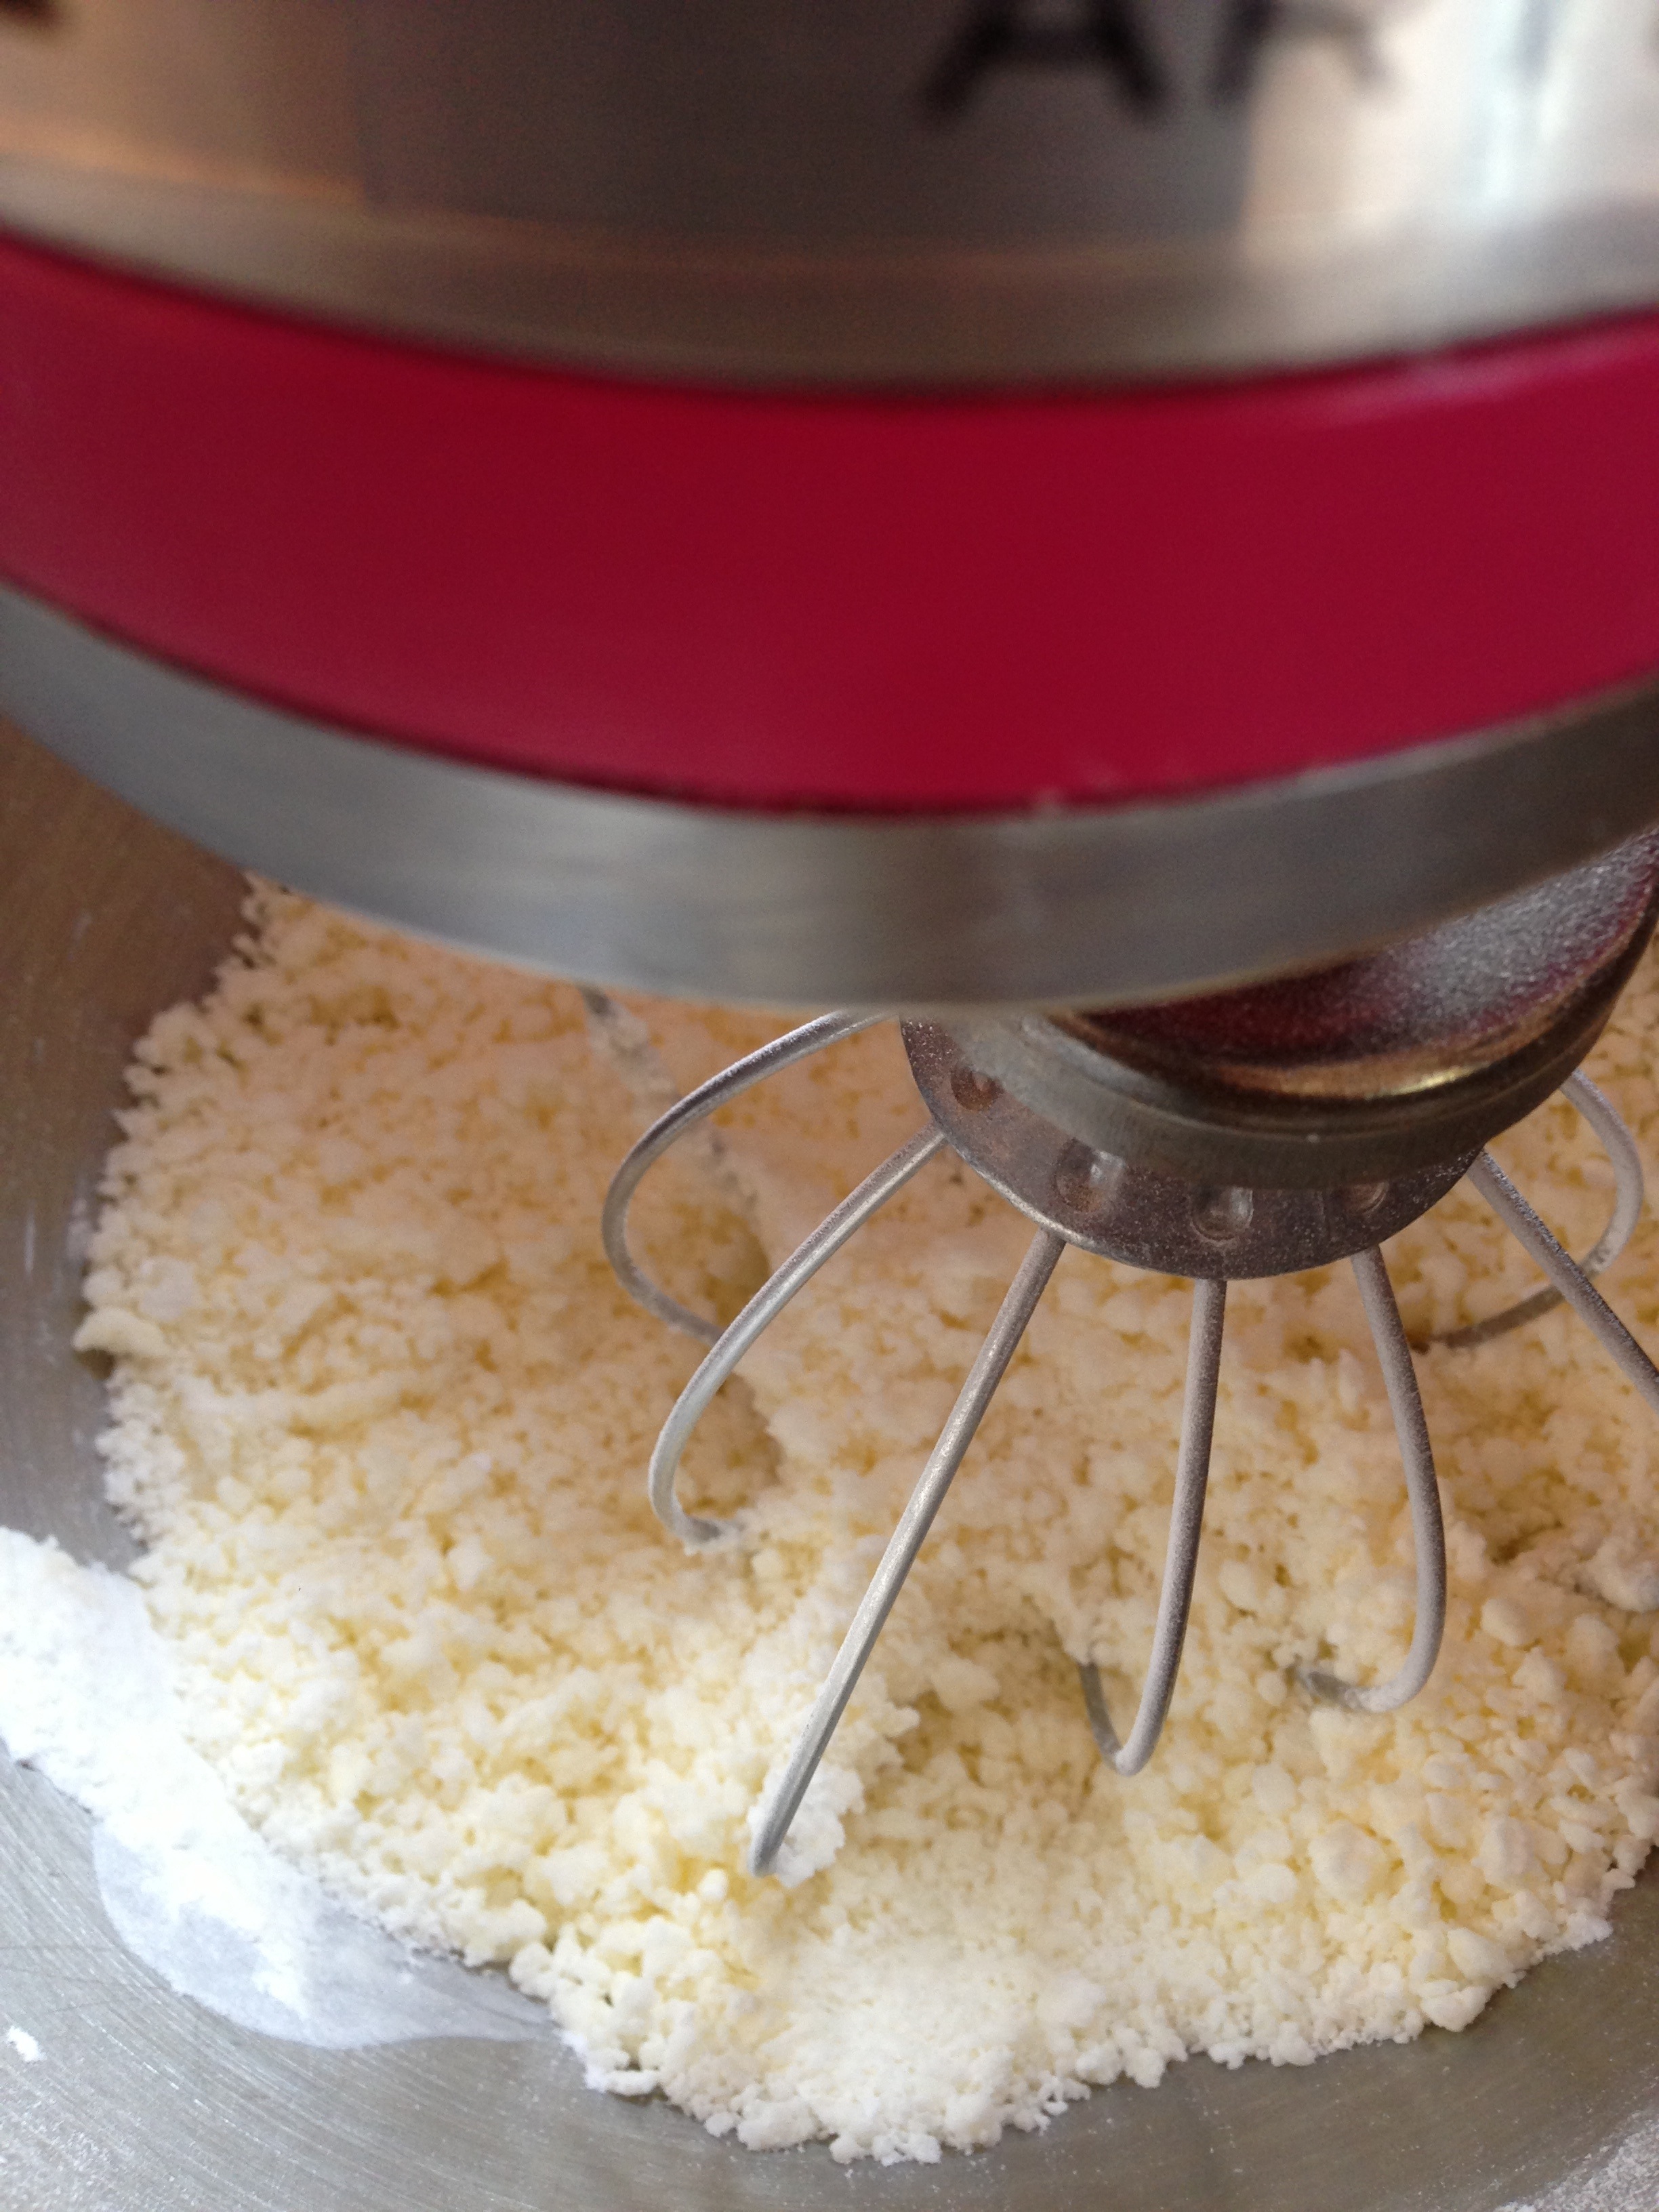
17) In the meantime, beat the butter with 225g of the icing sugar until the mixture resembles soft, thick breadcrumbs.

18) Pour in the melted chocolate and beat until incorporated.
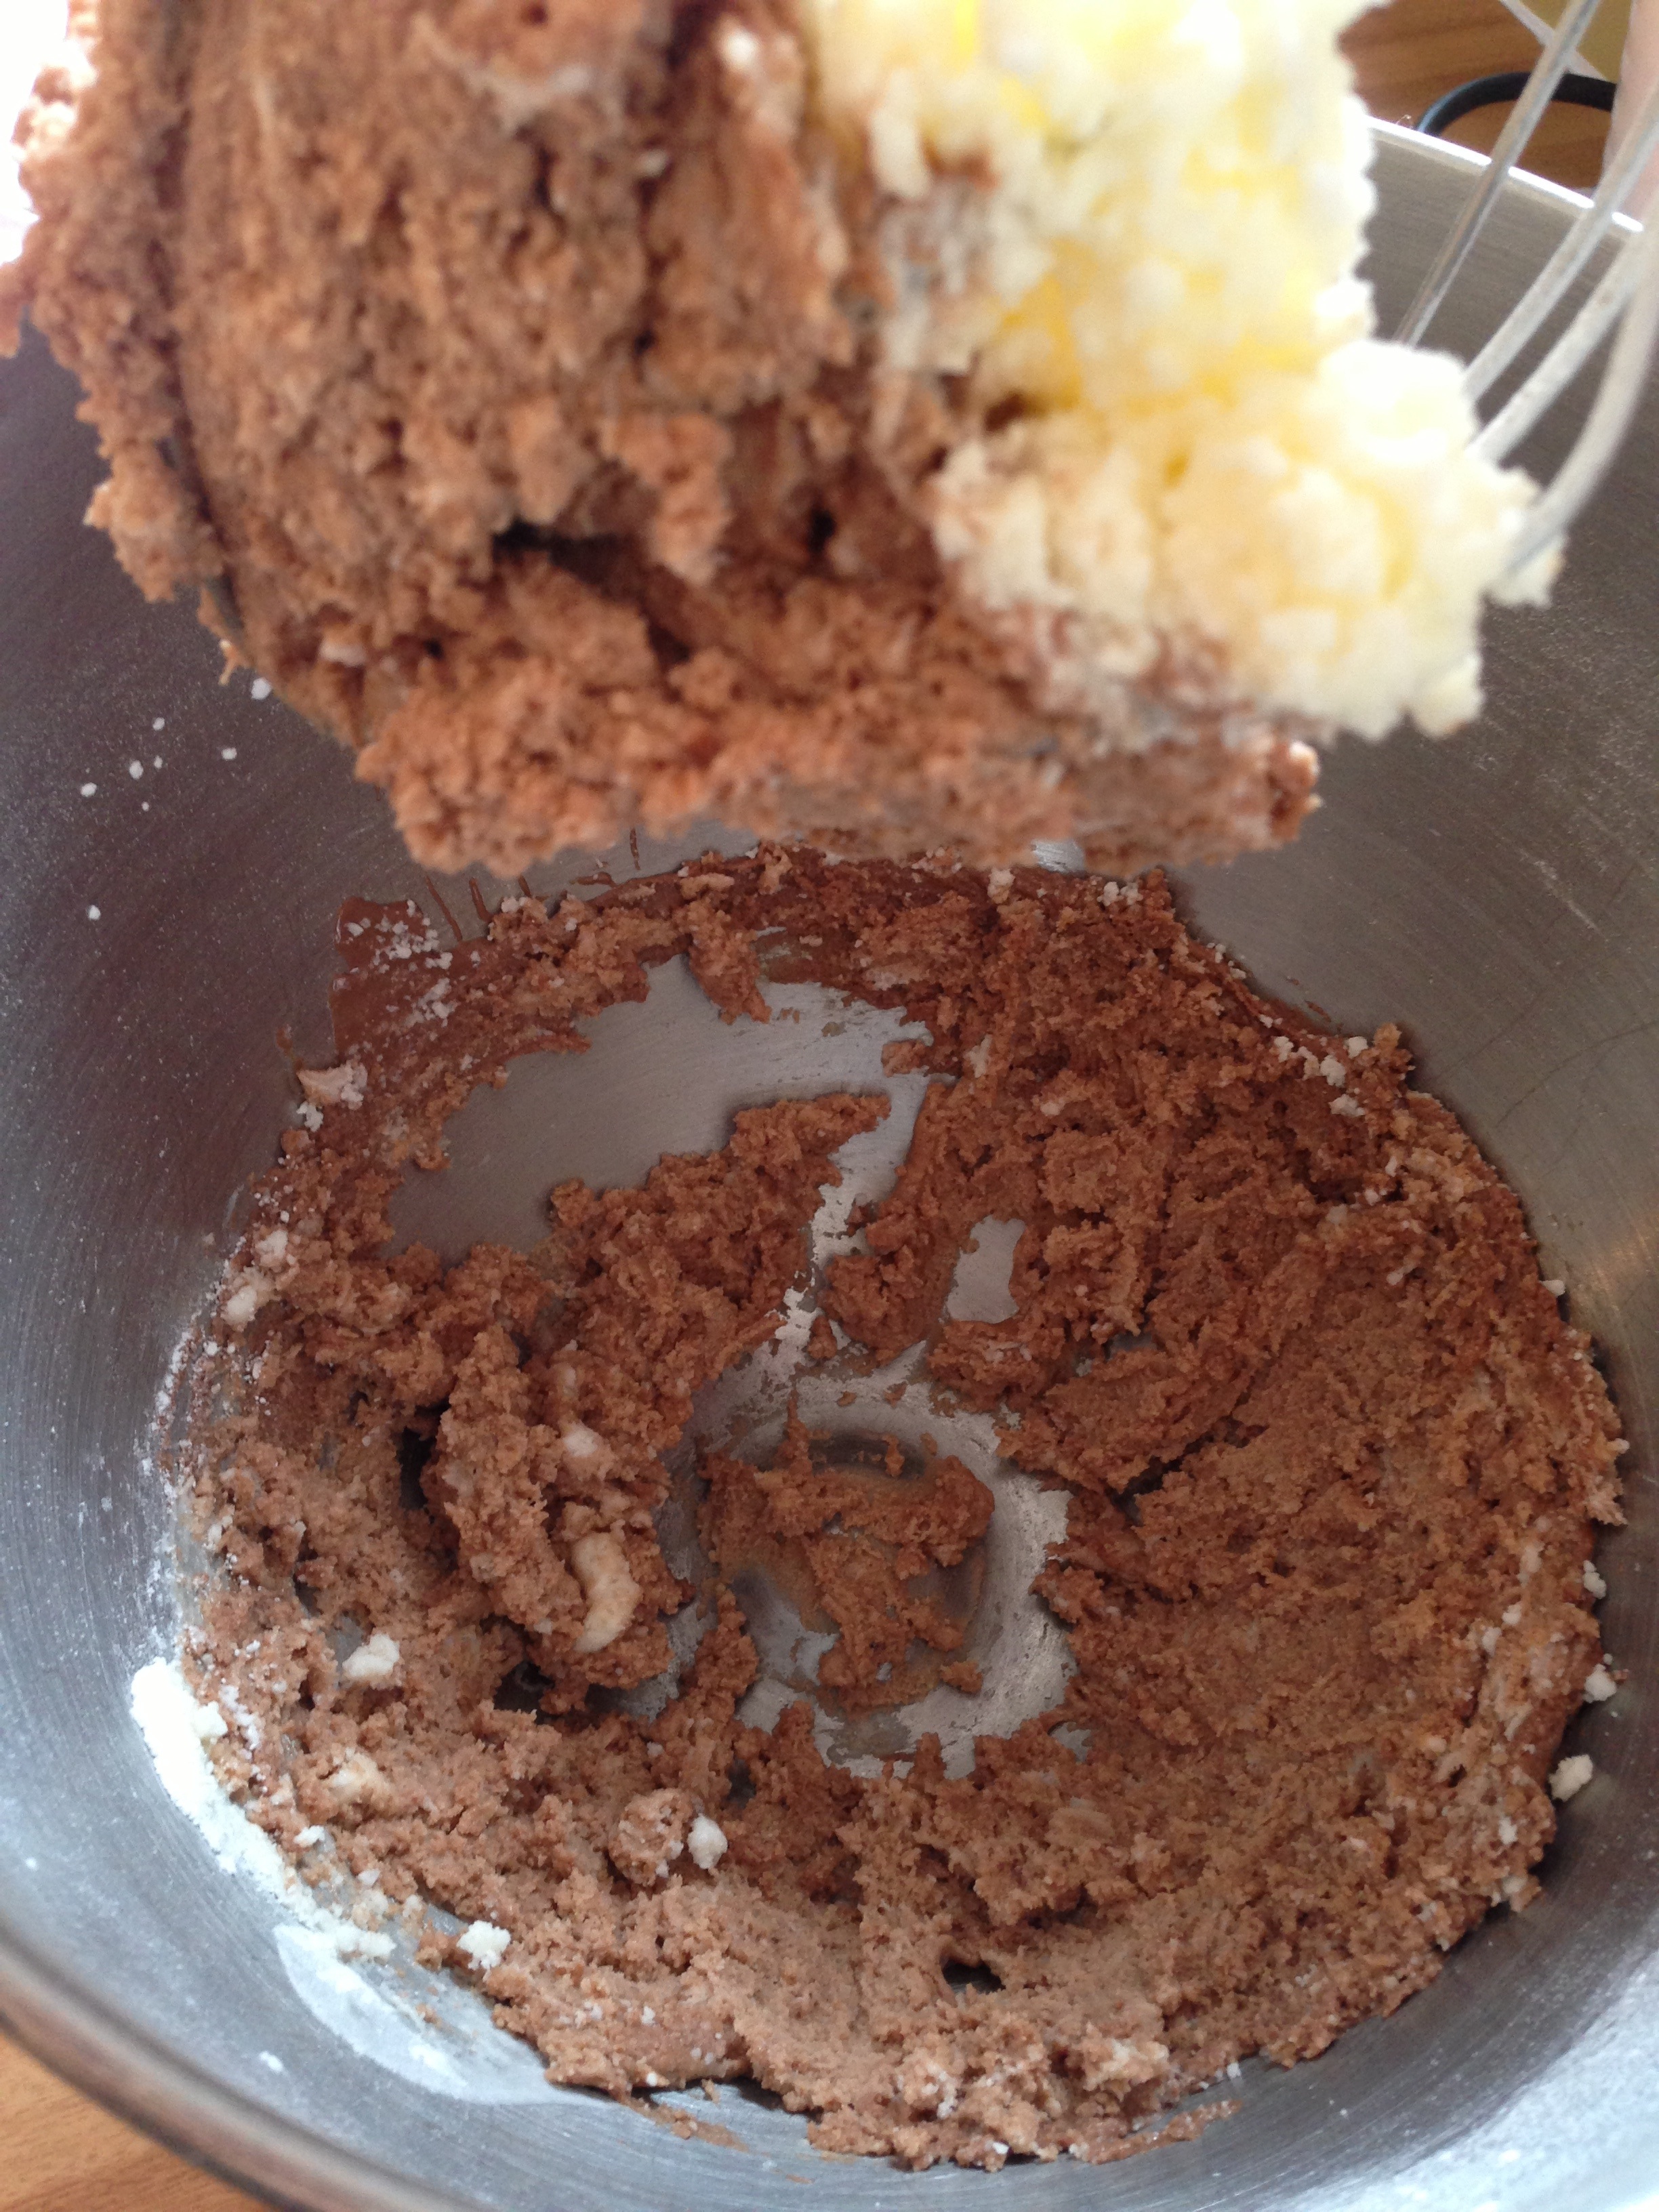
19) Add each tablespoon of milk followed by a third of the remaining icing sugar. Beat after each addition of icing sugar.
20) Keep beating the frosting for 5 minutes, so that is light and fluffy and delicious!
21) Pipe or spread your frosting into the cups (I piped!)
22) Decorate the frosting with mini eggs and/or smarties. I also added a bit of glitter!


Store these in an airtight container at room temperature for up to 3 days.